Customize global lighting
Explains how to use global lighting settings to refine the look and feel of your game.
Global lighting controls the overall look and atmosphere of your game. By adjusting a few properties on the Lighting service, you can change the color, shadows, time of day, and atmospheric effects of a scene.
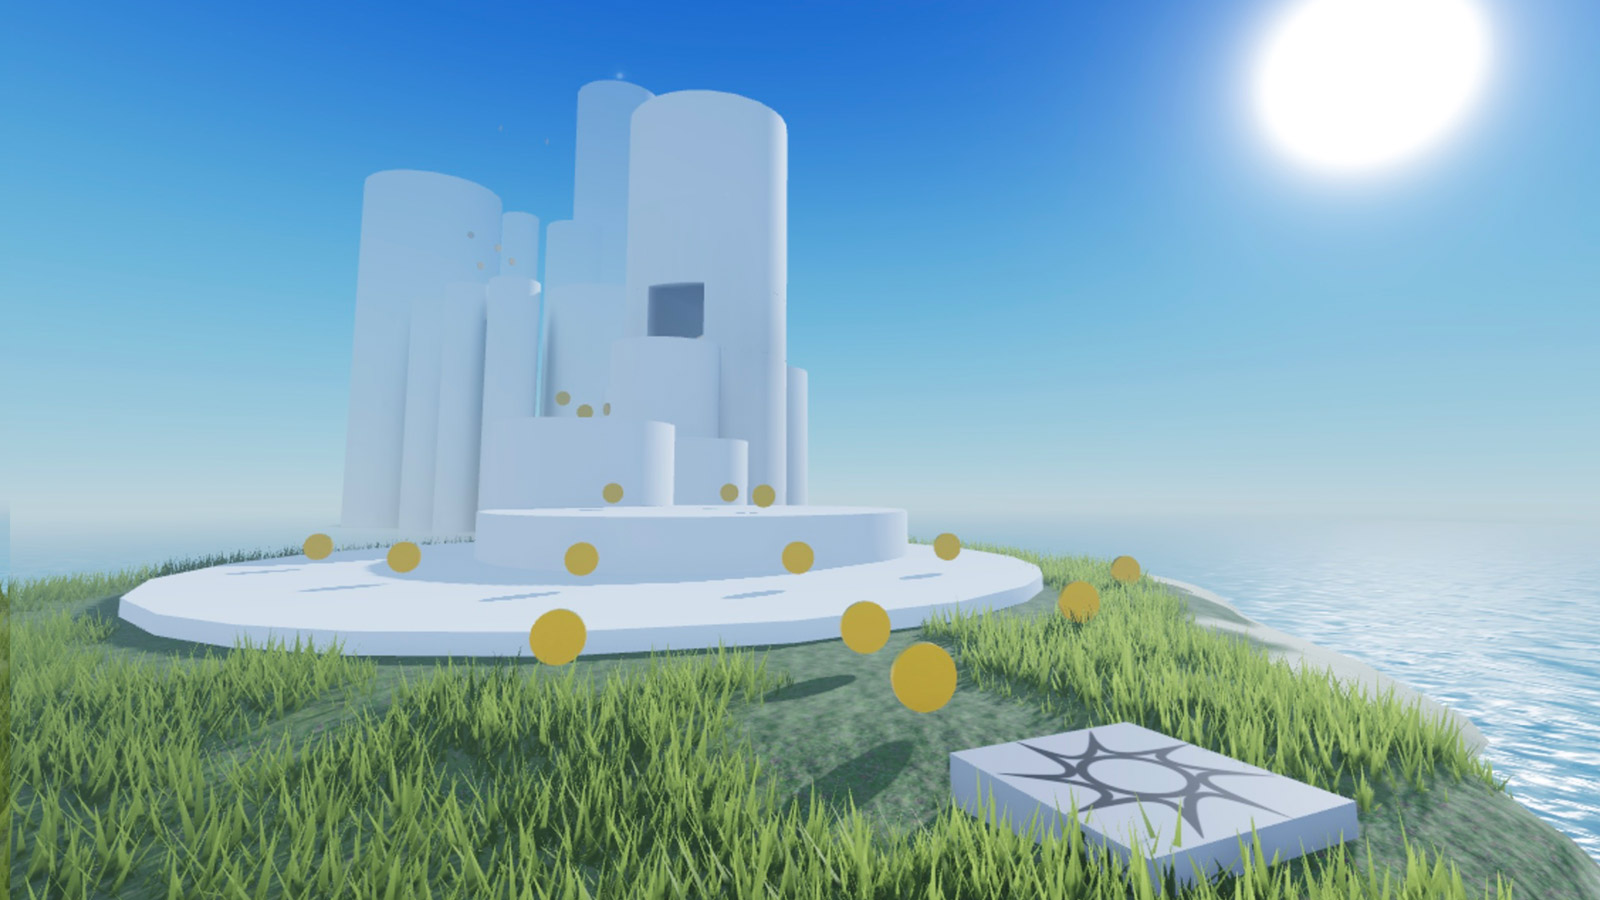
In this section, you'll update the lighting to match the Island Jump - Final sample.
Lighting is mostly configured through property values, making it a great fit for Assistant. After applying the prompt, spend some time in the viewport adjusting Ambient, ClockTime, and Density until the scene looks the way you want. For an overview of every lighting object Studio offers, see Lighting and effects.
Set lighting properties#
The Lighting service controls how light behaves in your game. The sample game adjusts properties such as ambient color, lighting technology, shadow settings, and sun position to create a cooler ocean palette, sharper shadows, and stronger directional lighting.
Build with Assistant
On the Lighting service, set the following properties:
- Ambient: Color3.fromRGB(16, 16, 16)
- ColorShift_Top: Color3.fromRGB(196, 222, 255)
- OutdoorAmbient: Color3.fromRGB(134, 158, 190)
- ShadowSoftness: 0
- LightingStyle: Realistic
- ClockTime: 9
- GeographicLatitude: 78
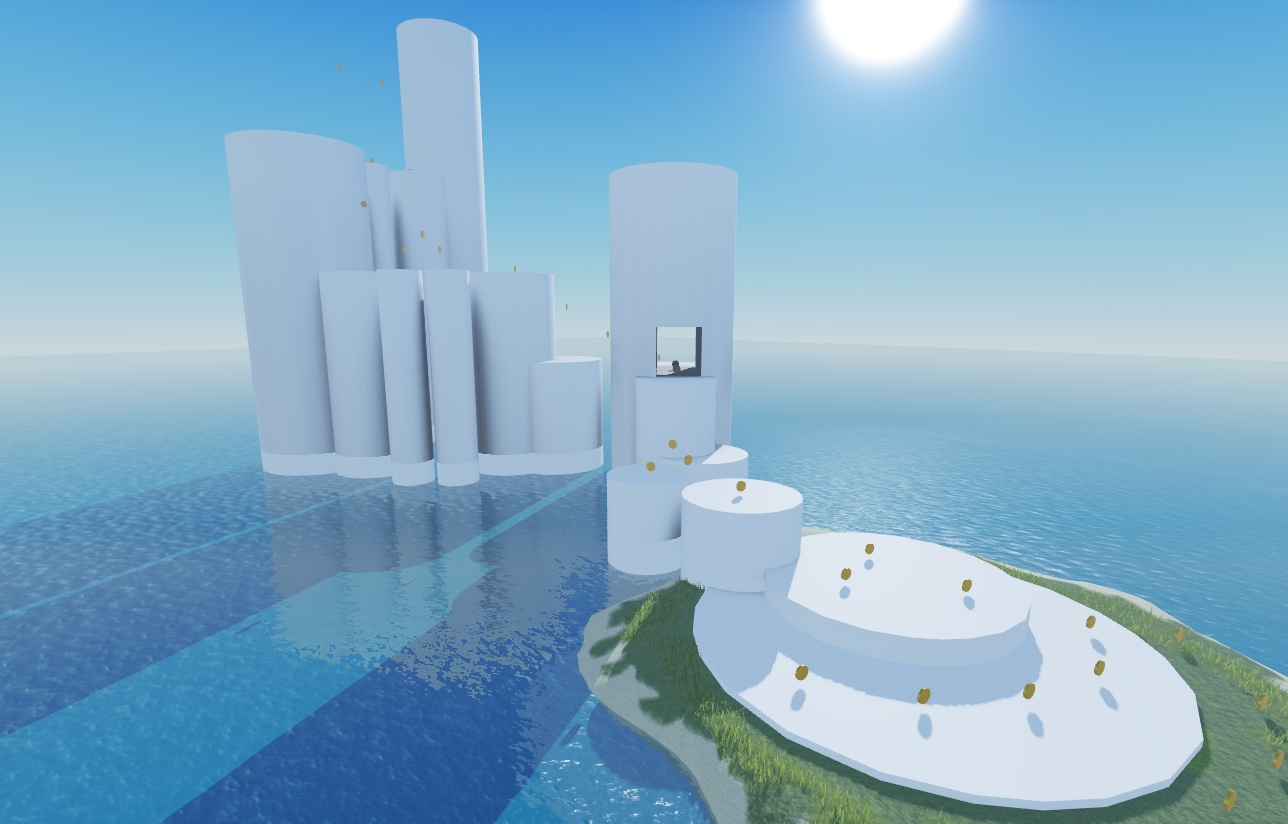
After it runs, the world picks up a cooler blue-grey tone, shadows get hard edges, and the sun shifts to mid-morning over to the right of your sea stacks.
Build it Yourself
In the Properties window of Lighting:
Tint the ambient and reflective light.
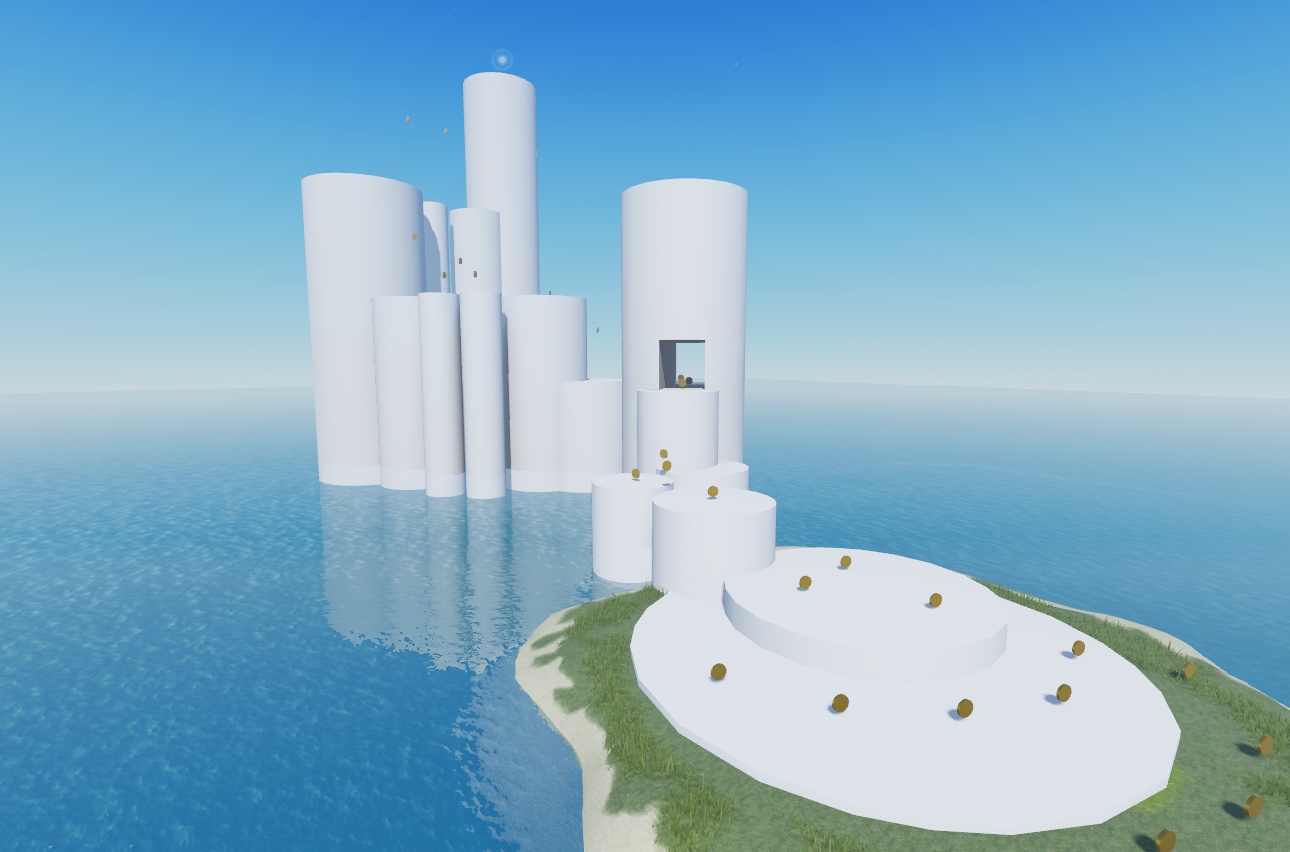
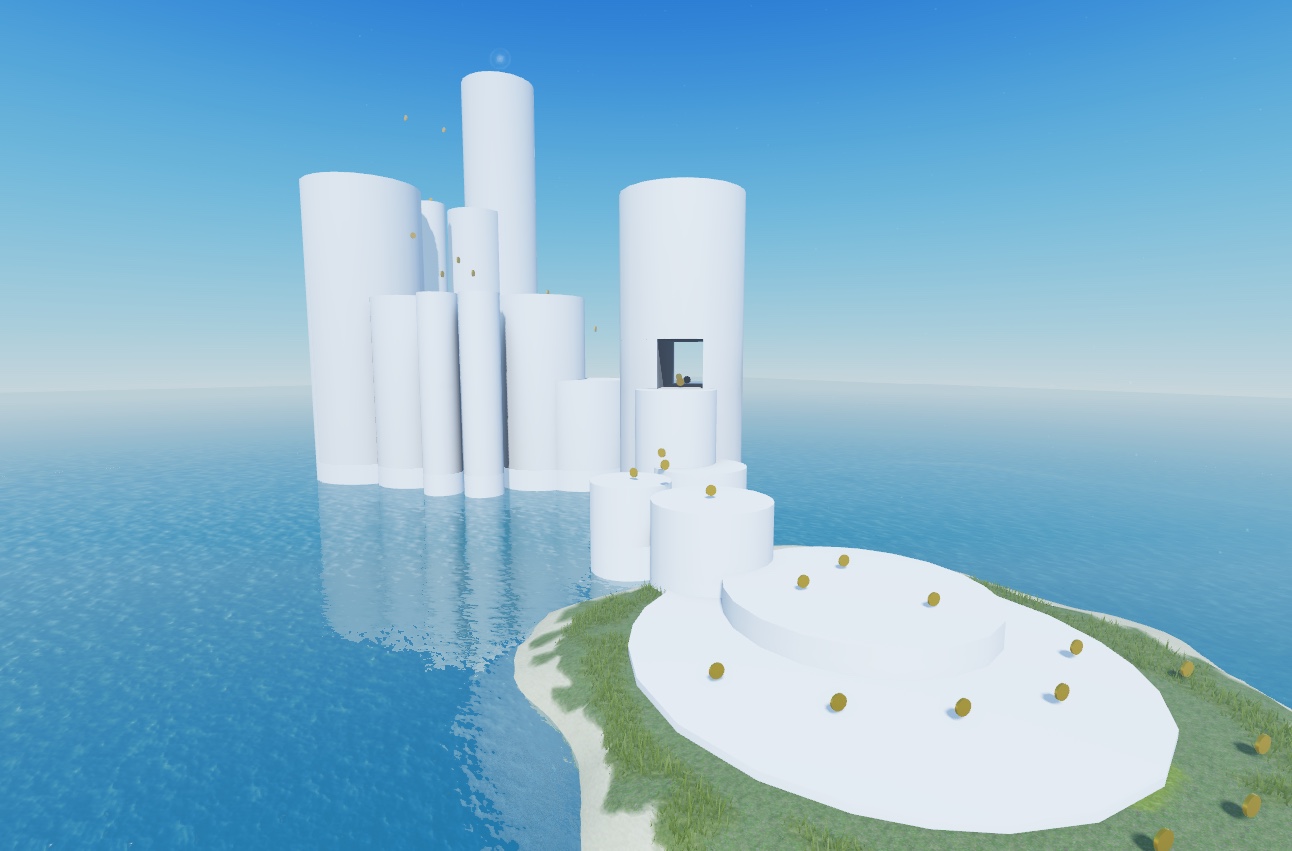
Lighting.Ambientcolors light in shaded areas (like the inside of your tunnel),Lighting.OutdoorAmbientcolors light where the sky is visible, andLighting.ColorShift_Toptints surfaces facing the sun. Together they pull the whole world toward a cool blue-grey ocean tone.- Set Ambient to
16, 16, 16. - Set ColorShift_Top to
196, 222, 255. - Set OutdoorAmbient to
134, 158, 190.
A comparison between the sample Island Jump game's default and custom ambient lighting- Set Ambient to
- Switch to realistic lighting. Studio defaults to
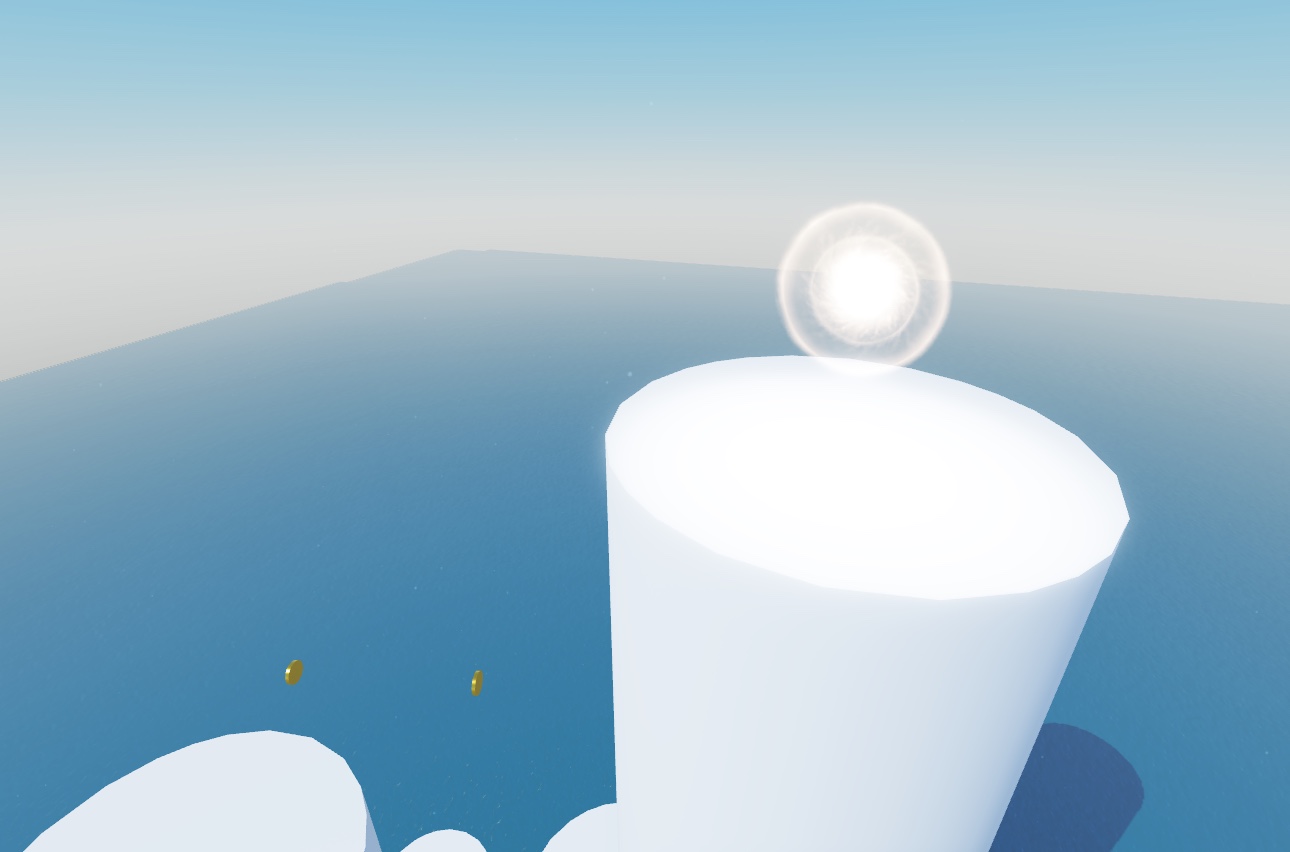
Soft, which produces a flatter look. Set LightingStyle toRealisticso local light sources cast precise shadows and illumination. Your flare will start dropping a real shadow on the platform beneath it.
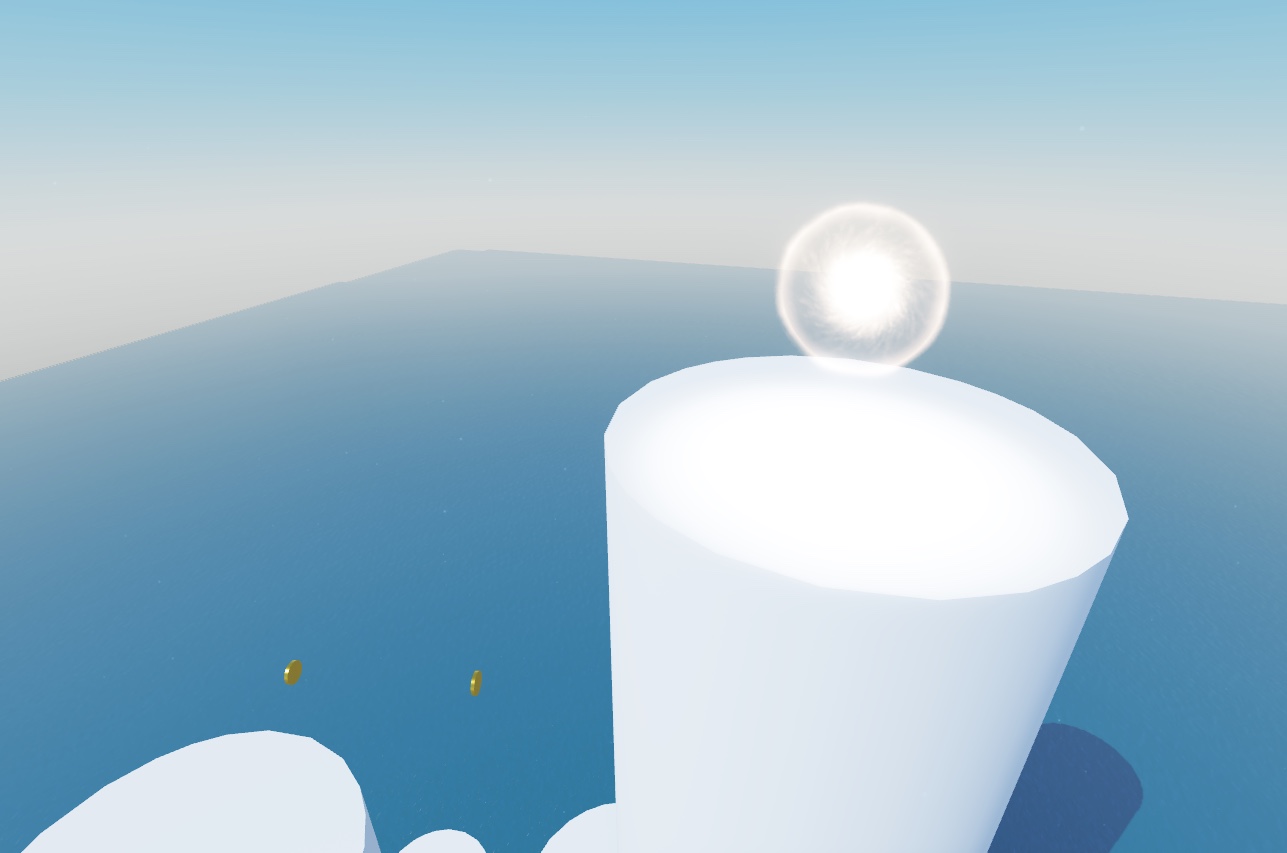
- Harden shadows. Set ShadowSoftness to
0to give shadows crisp edges. This makes the moment players step from outside into the tunnel feel more dramatic.
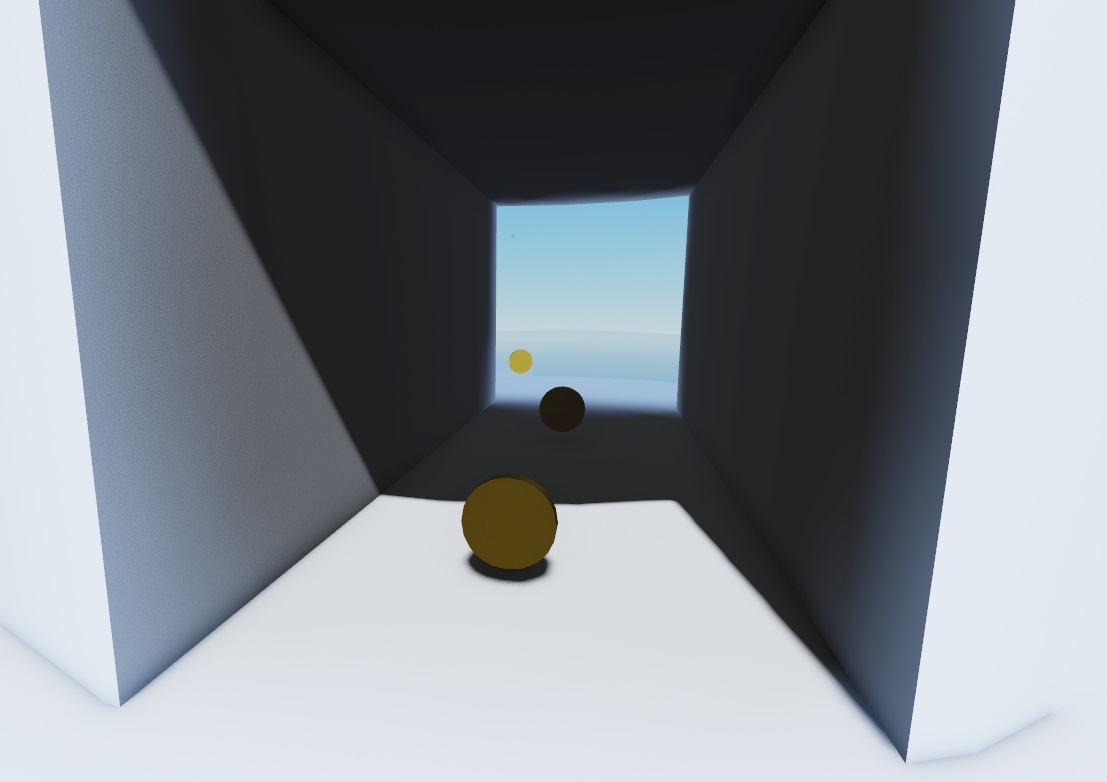
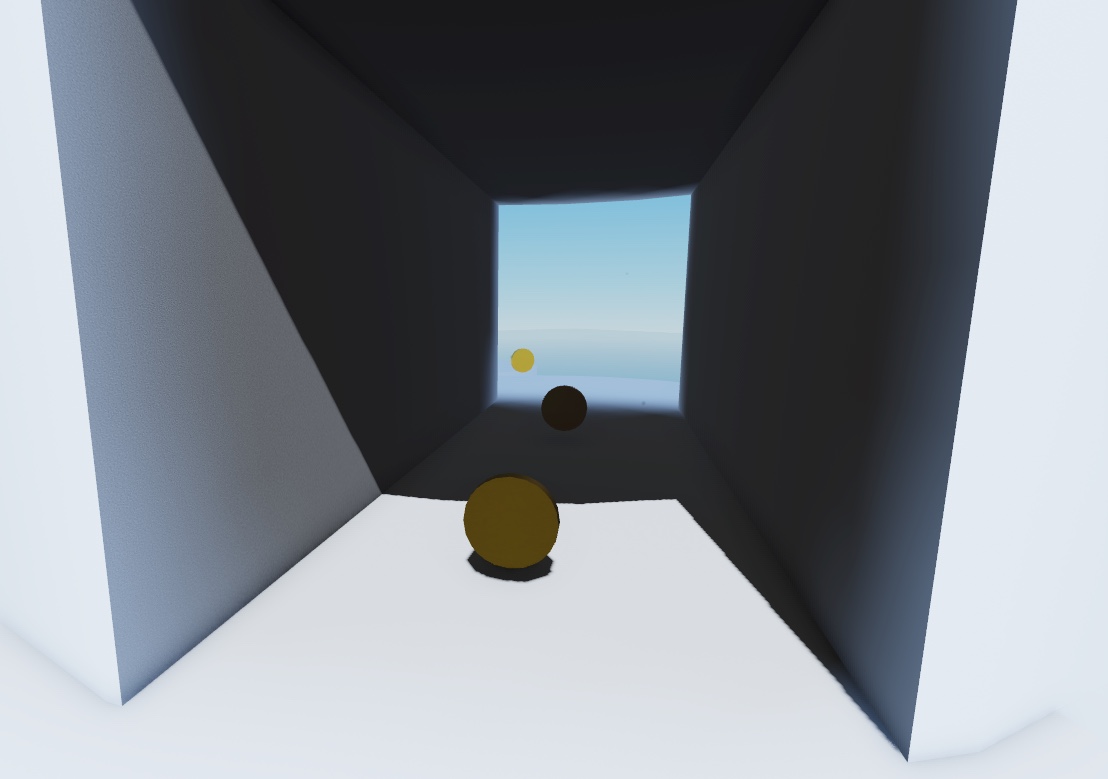
Move the sun.
ClockTimeis the time of day on a 0-24 hour scale, andGeographicLatituderotates the world to position the sun at a different angle. The values below drop the sun toward the right of the sea stacks for longer, more directional shadows.- Set ClockTime to
9. - Set GeographicLatitude to
78.
- Set ClockTime to
ClockTime and TimeOfDay are linked. Changing one updates the other, so you only need to set one.
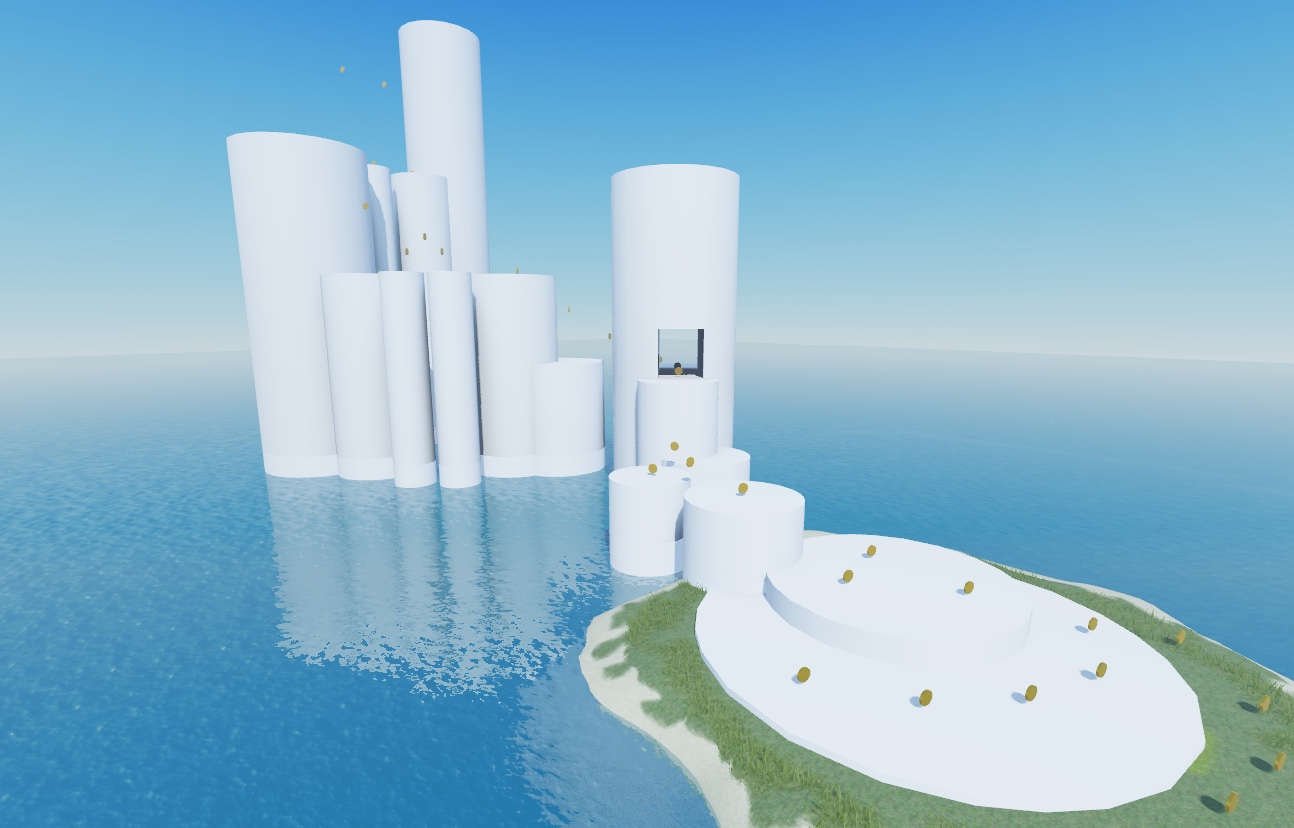
For an overview of the rest of the Lighting properties, see Global lighting.
Atmosphere properties#
The Atmosphere object is a child of the Lighting service. It adds depth by simulating particles in the air and blending distant scenery into the sky. The two most important properties are Density, which controls the thickness of the atmosphere, and Offset, which controls where that blending begins.
Build with Assistant
On the Atmosphere object inside the Lighting service, set:
- Density: 0.375
- Offset: 0.17
Build it Yourself
In the Explorer, expand the Lighting service and select its child Atmosphere object. In the Properties window:
- Set Density to
0.375to thicken the air. This obscures the edge of your water terrain, so players don't see where the world ends.
- Set Density to
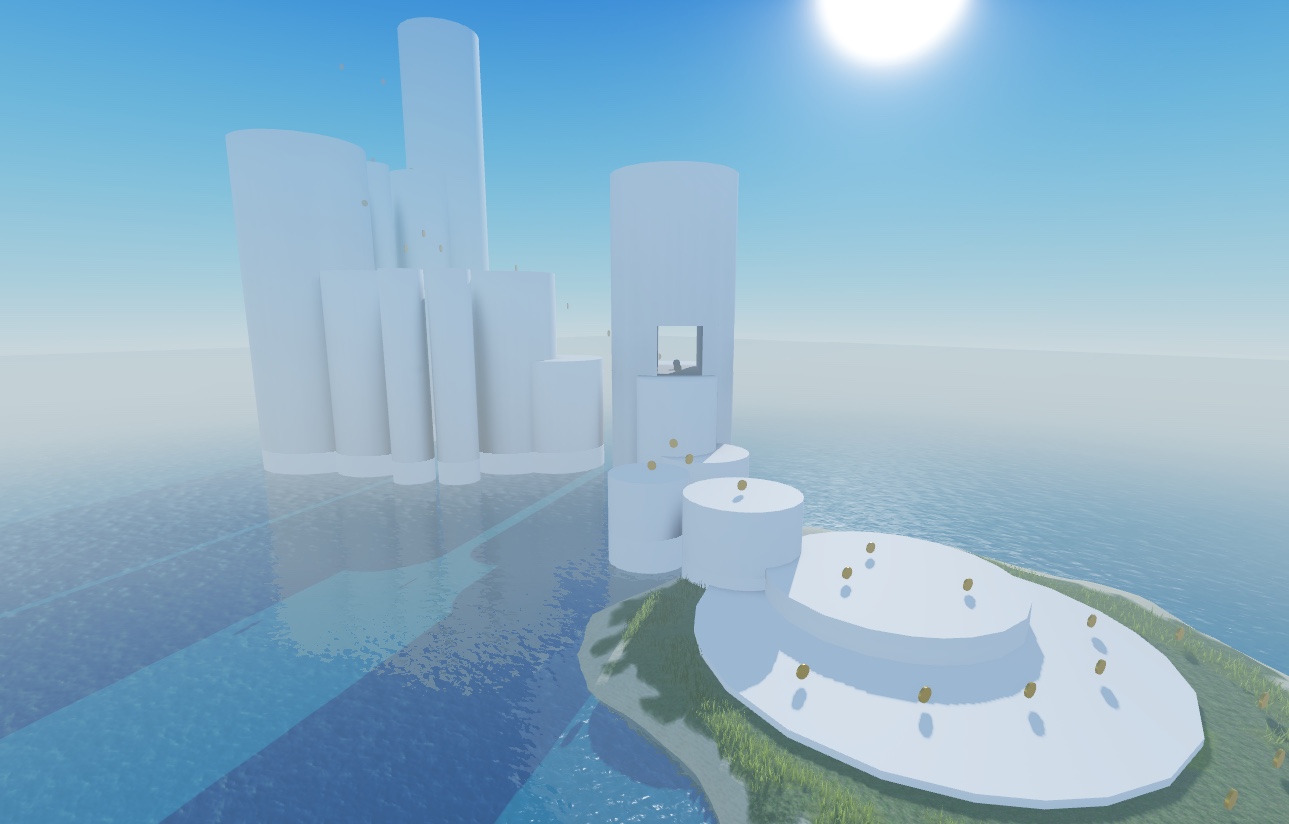
1. Set Offset to 0.17. Lower offset values blend distant objects into the sky, which is good for endless-feeling worlds. Higher values keep a clear silhouette. This middle value keeps the mountains you'll add next chapter visible while still giving you a hint of distant fog.
Atmosphere.Offset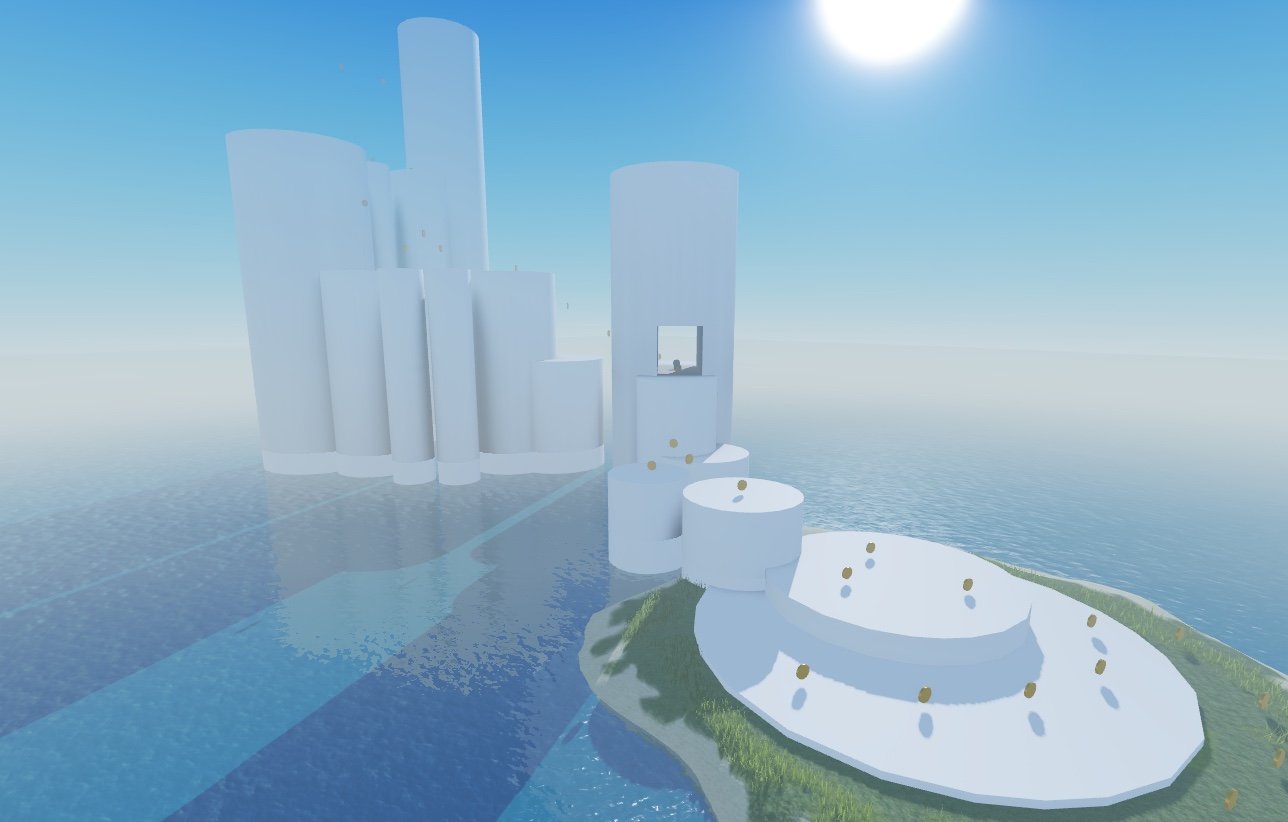
Atmosphere.Offset
For more information about Atmosphere, see Atmospheric Effects.
Now that you've configured the game's lighting, the next section shows you how to replace the greybox layout with polished assets.
Pre-Customization
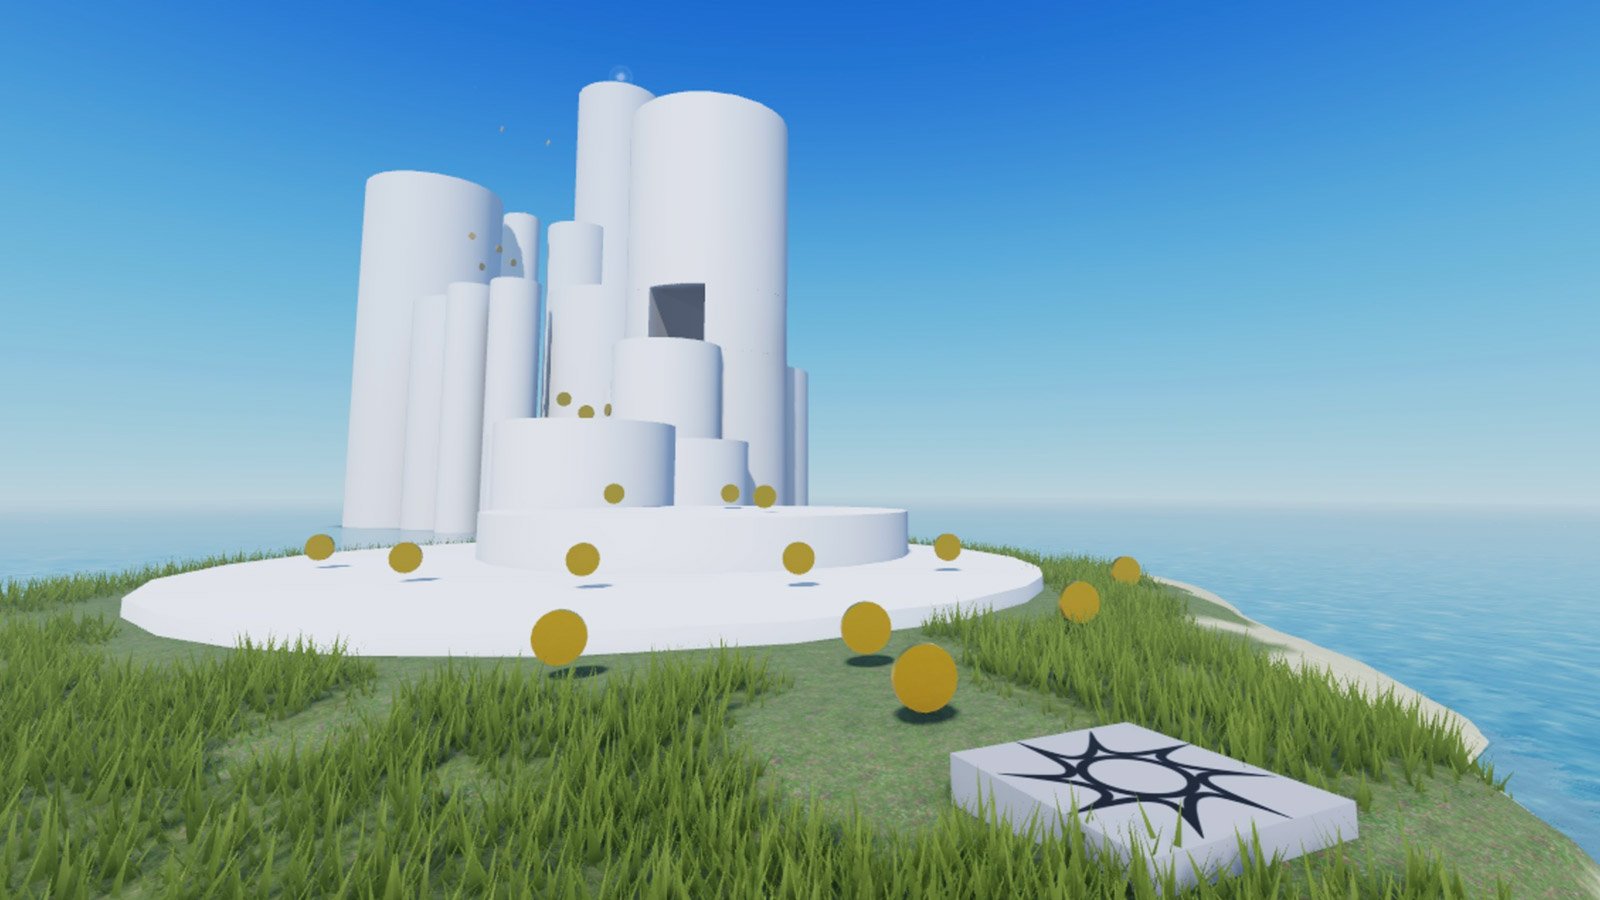
Customized Visual Effects