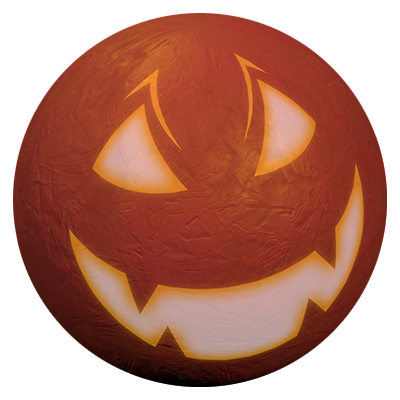
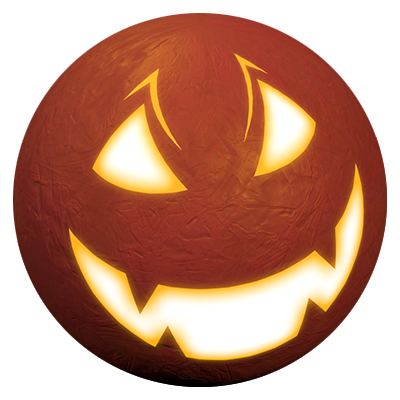
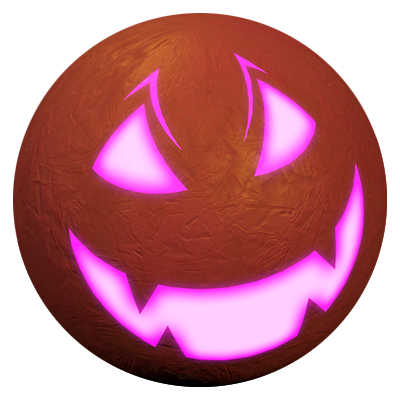
PBR textures
PBR textures are advanced textures using multiple texture maps.
Physically-Based Rendering (PBR) textures allow you to represent realistic shading and lighting by using multiple types of texture images, or maps, on a single object. Combining multiple texture maps can more accurately simulate color, roughness, and reflectivity in any lighting environment and can enhance the visual elements of your assets and environment.
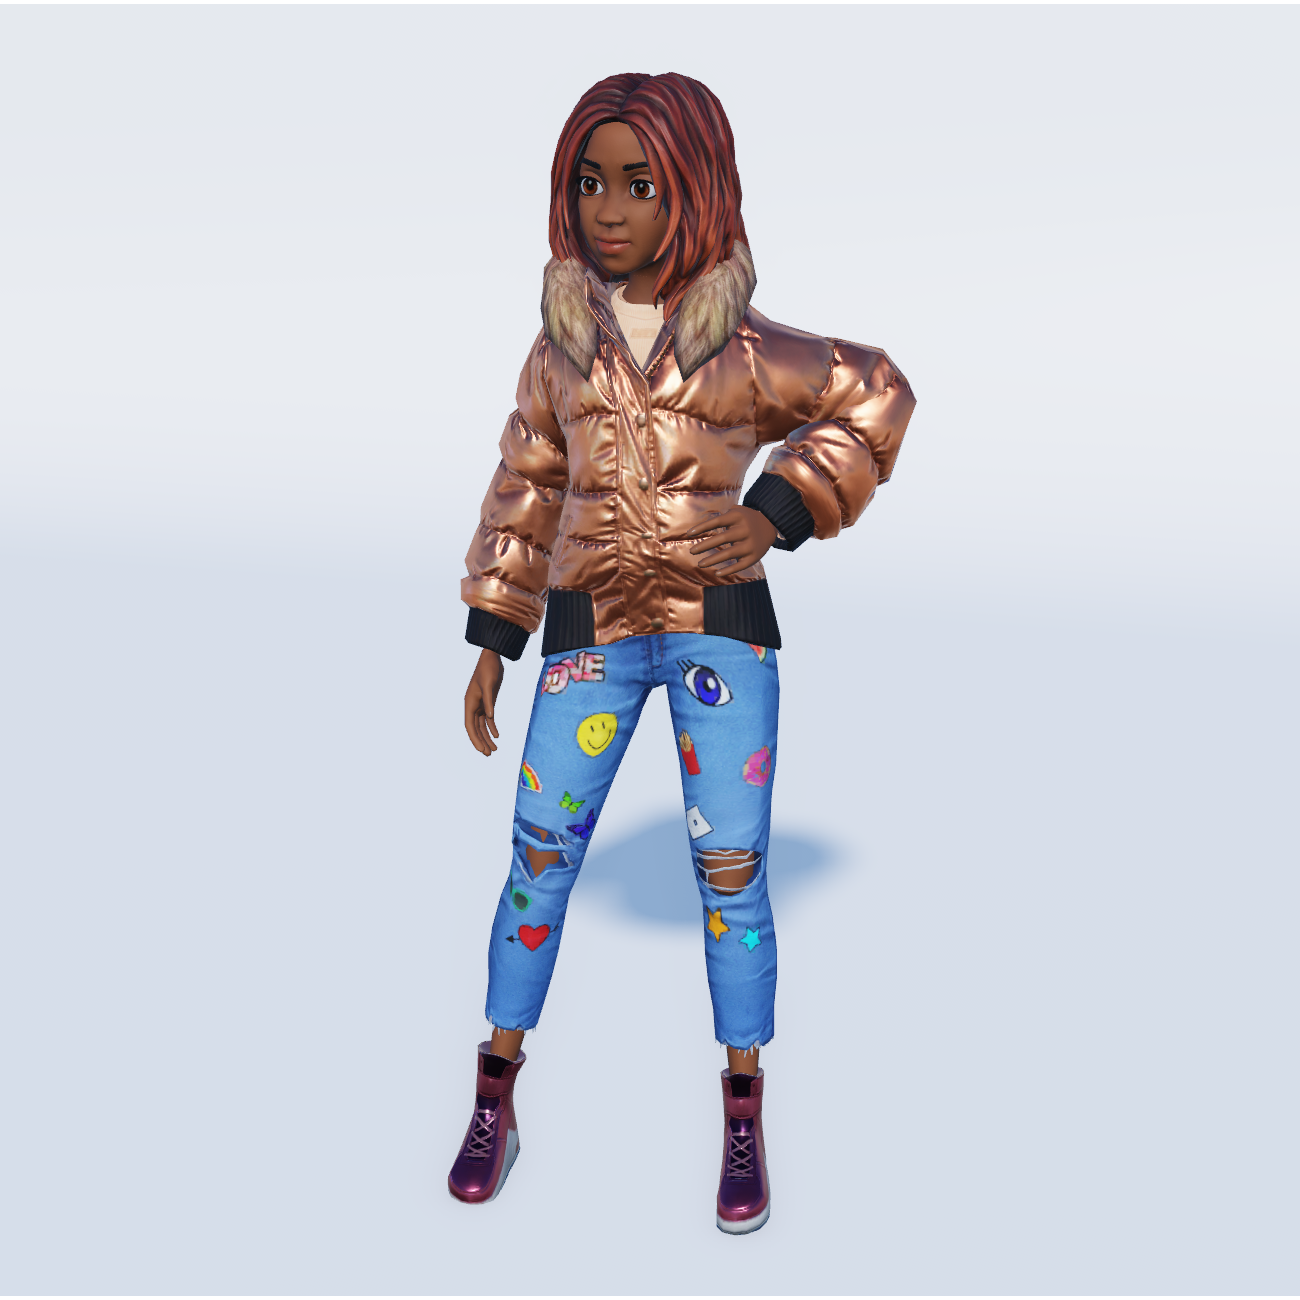
Clothing
Environment
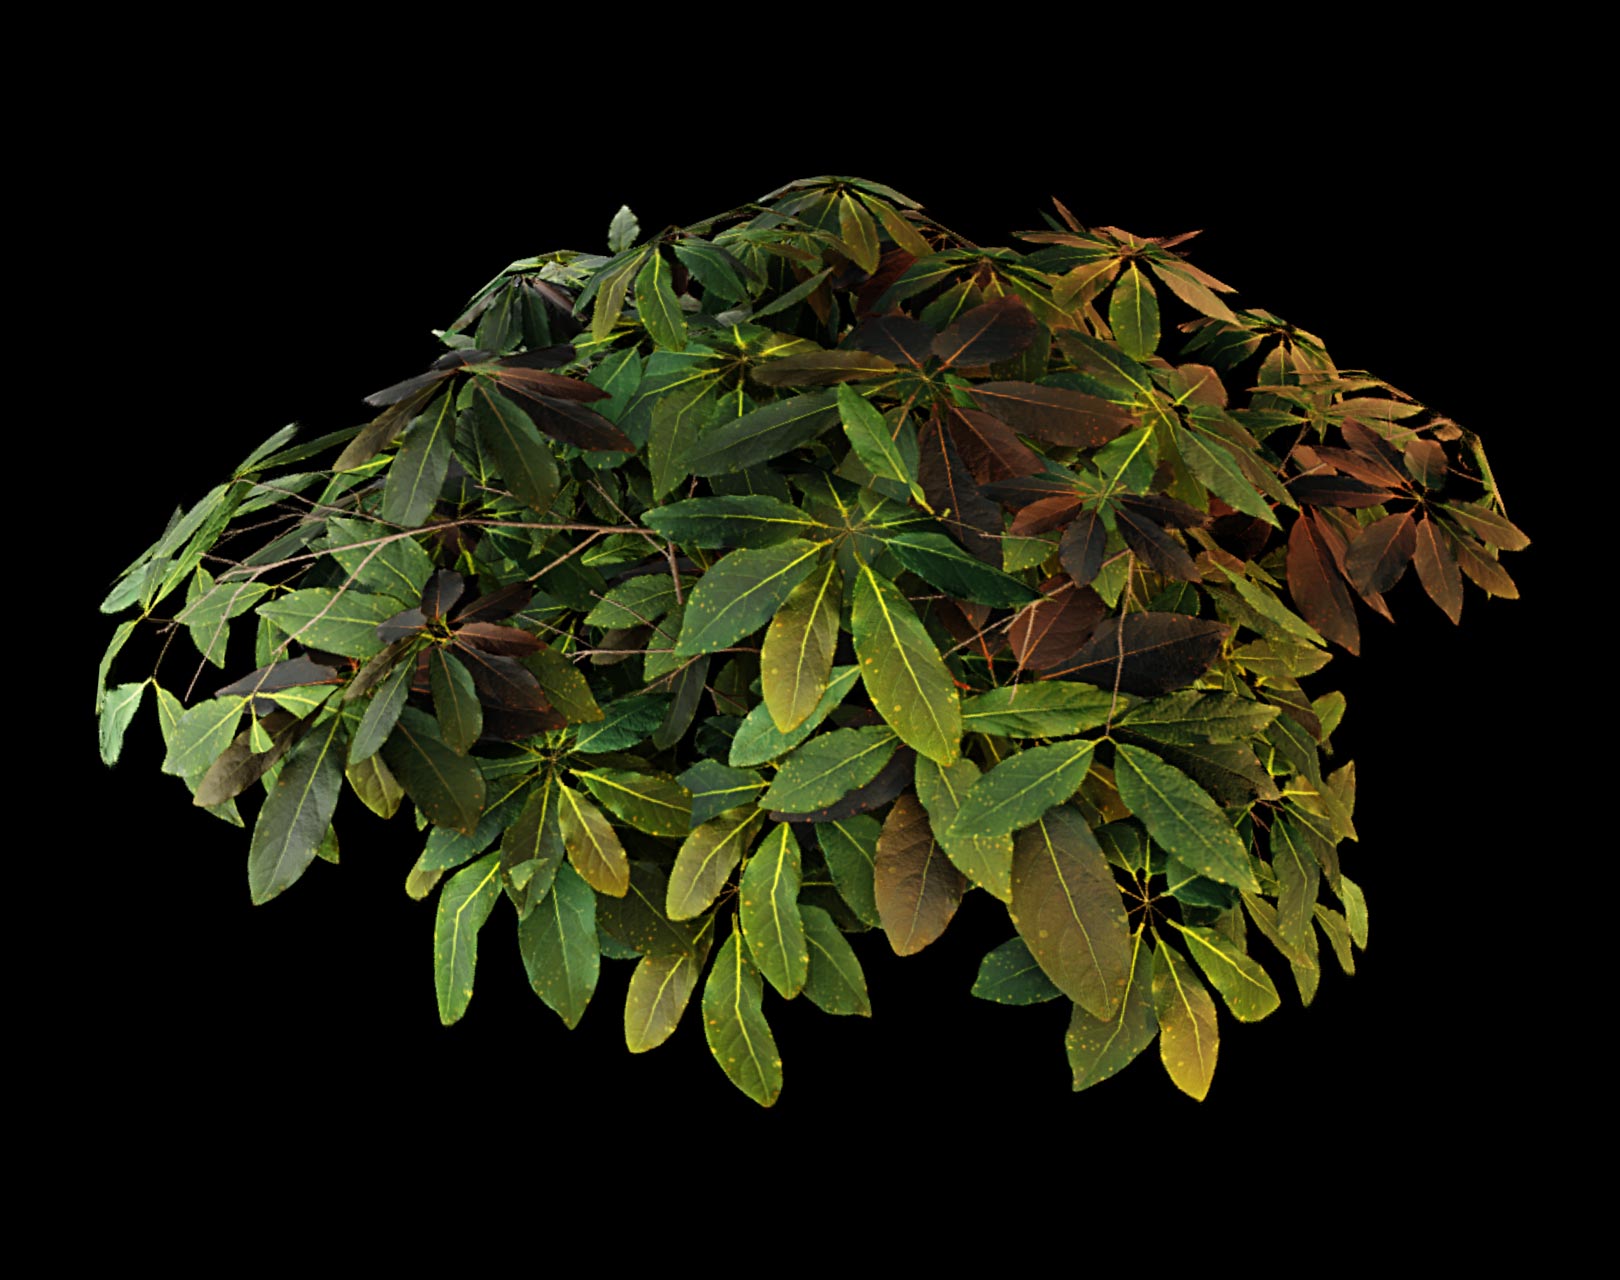
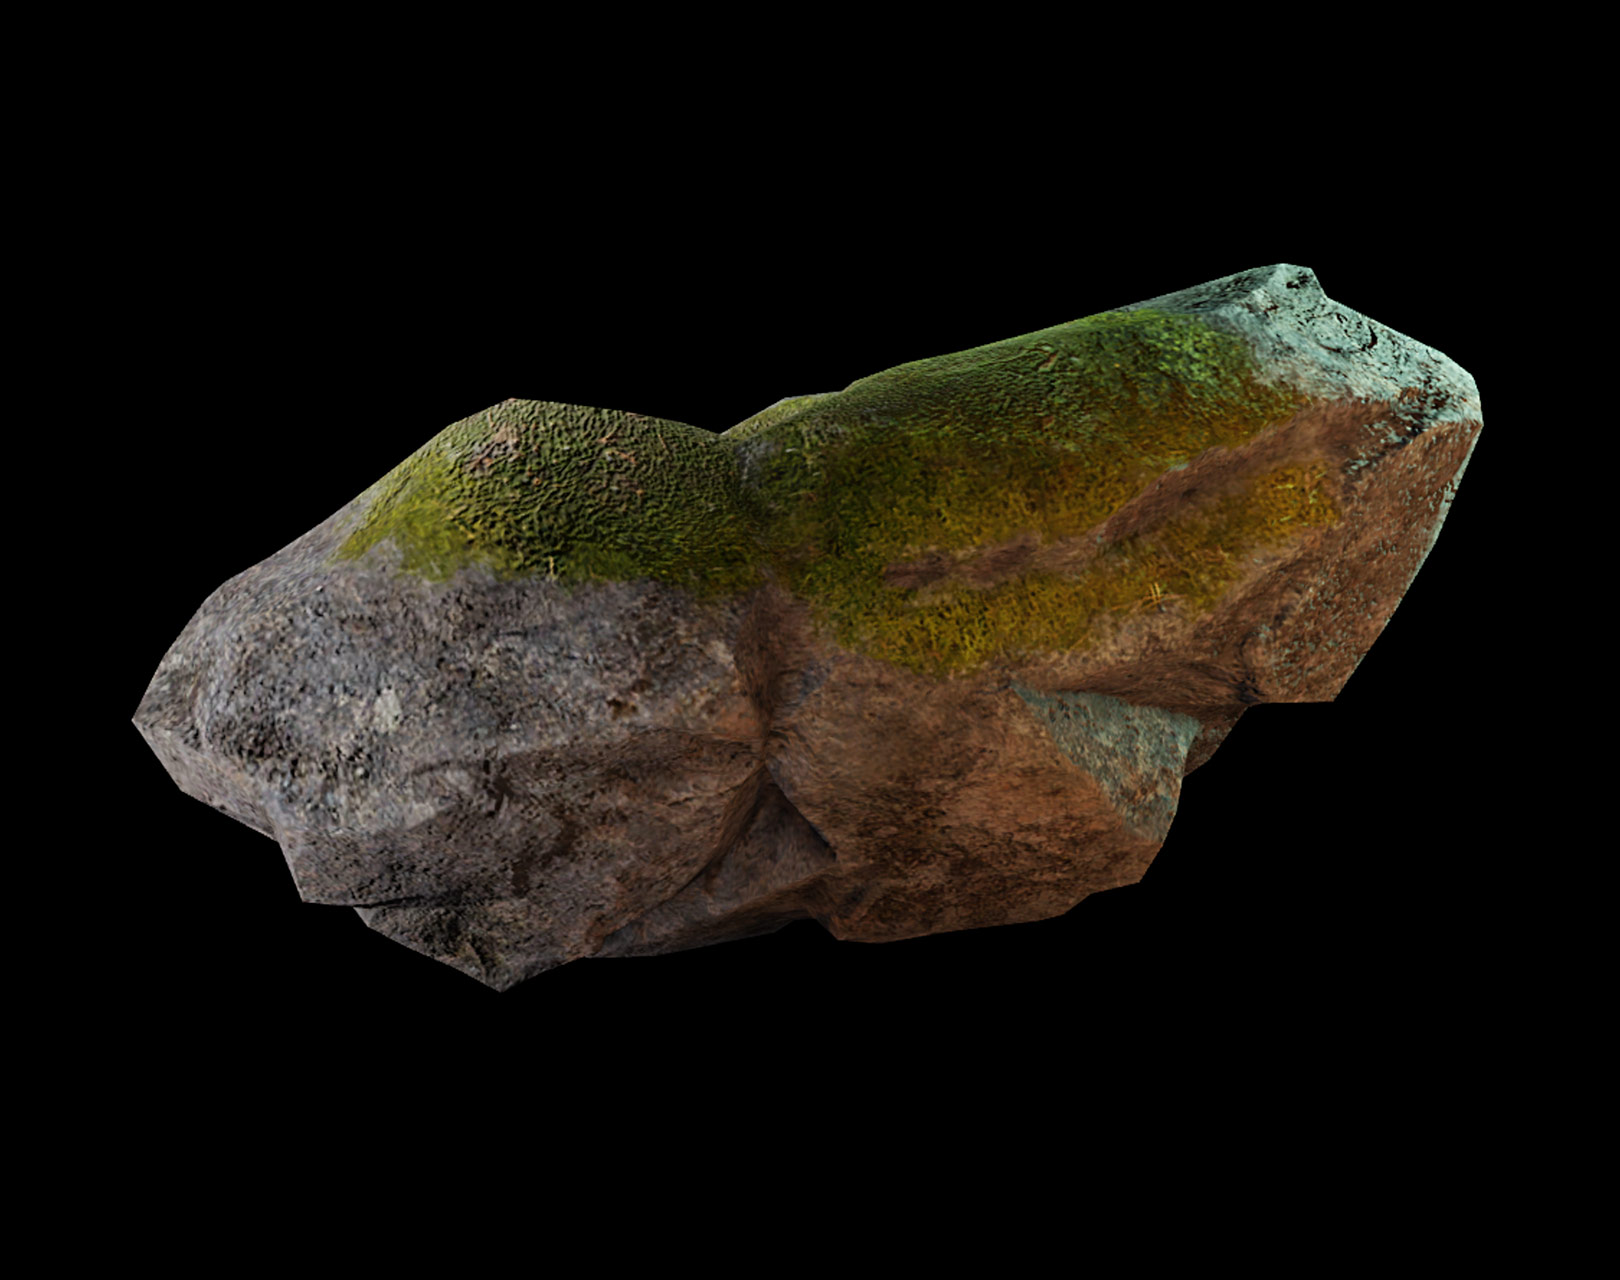
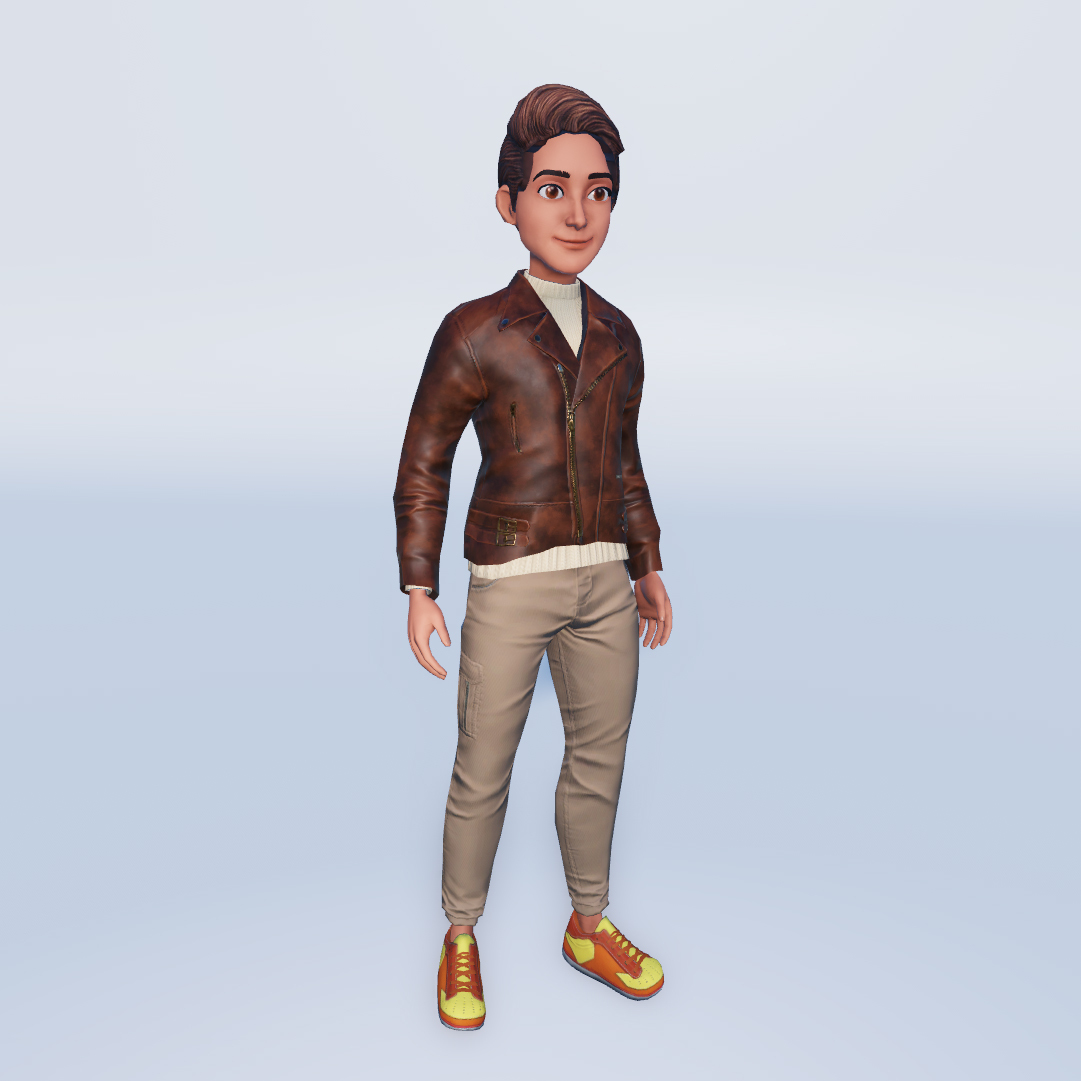
Various applications and workflows are available for creating PBR textures. You can use these during the modeling and texturing phases of custom 3D object creation, provided that Roblox Studio supports the specific texture maps you're using.
For information on how to properly connect PBR textures to your model in Blender and Maya for import into Studio, see Blender / Maya texture settings.
This guide provides instructions on setting up your mesh objects to use PBR texture maps, and describes common use-cases and best practices for Roblox's supported PBR texture maps. When creating your own surfaces, see material references for common material values, image comparisons and clothing examples.
Enable surface appearance#
You can add PBR textures to any MeshPart by adding a SurfaceAppearance object which overwrites the original assigned texture. In general, you can't modify SurfaceAppearance properties by scripts during a game because the engine requires some pre-processing to display these graphics. Similar to adding a basic texture, each texture image map must point to the appropriate uploaded image asset ID.
To enable surface appearance for a MeshPart:
In the Explorer window, hover over the
MeshPartand click the ⊕ button.Insert a
SurfaceAppearancefrom the contextual menu.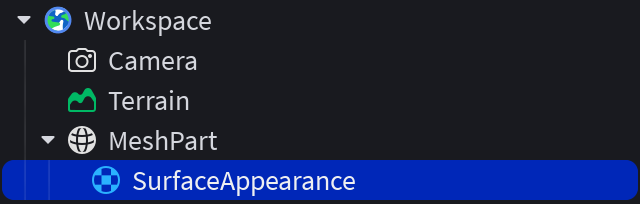
When you're ready to add texture maps to the
SurfaceAppearanceobject, you can click each map property in the Properties window and enter an asset ID.
Texture maps#
Studio currently supports 5 types of PBR texture maps: color, normal, roughness, metalness, and emissive. Each of these maps corresponds to an important aspect of the object's surface appearance. Texture maps only change visual appearance and don't affect the geometry of the MeshPart object.
Avoid adjusting material values to look better in one specific lighting situation. You should base your material values on the physical characteristics and test and iterate to achieve a result that remains visually accurate in various lighting environments.
See the following examples for an overview of Roblox's supported texture maps and additional resources:
Color
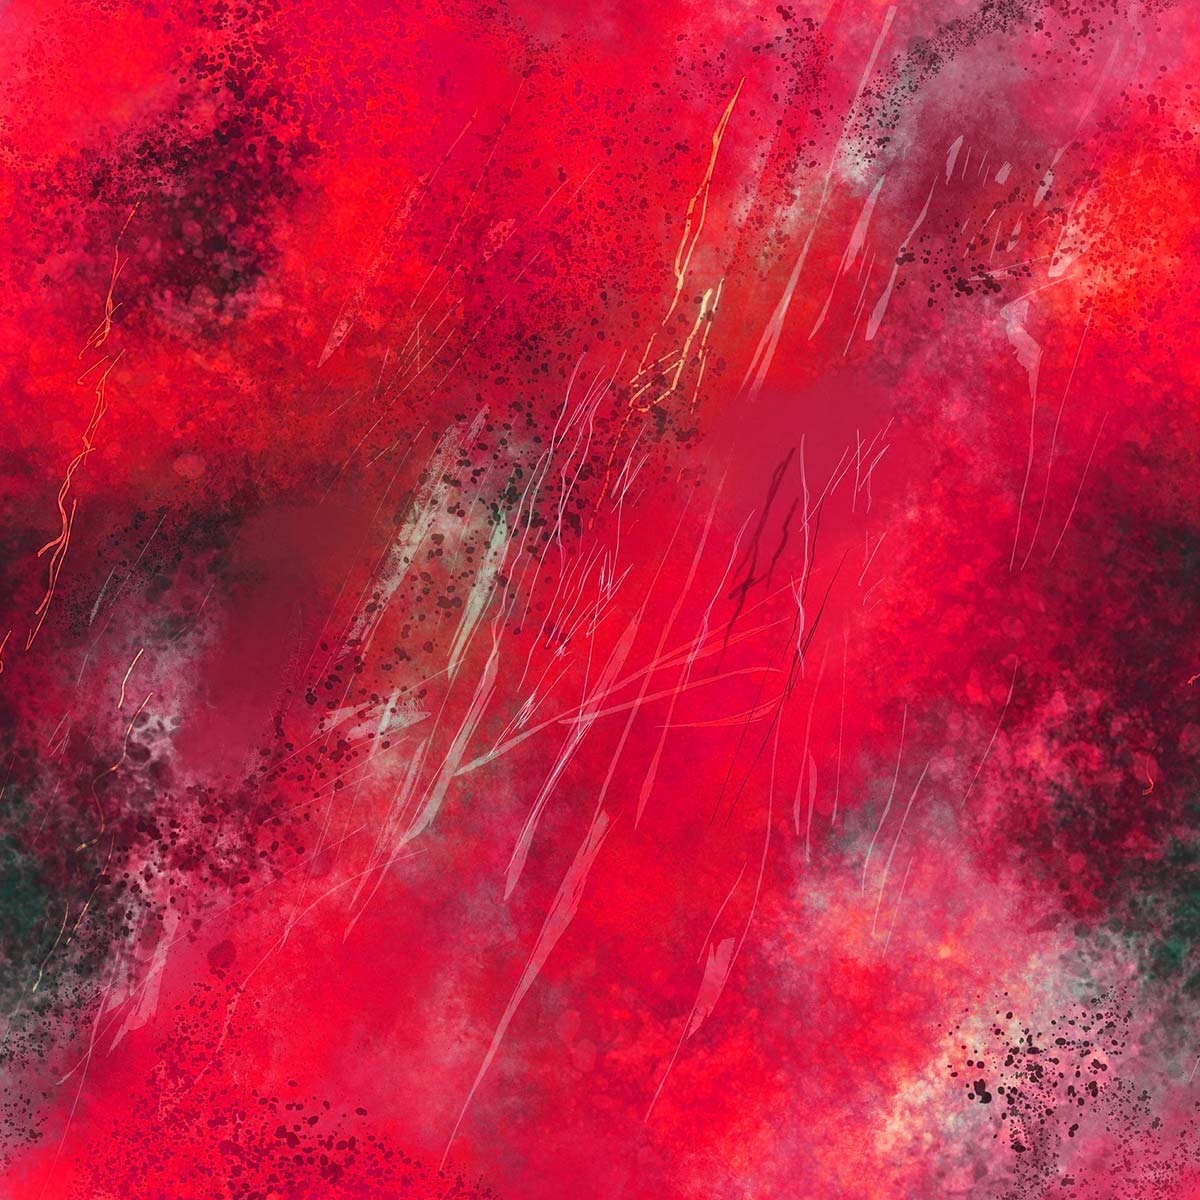
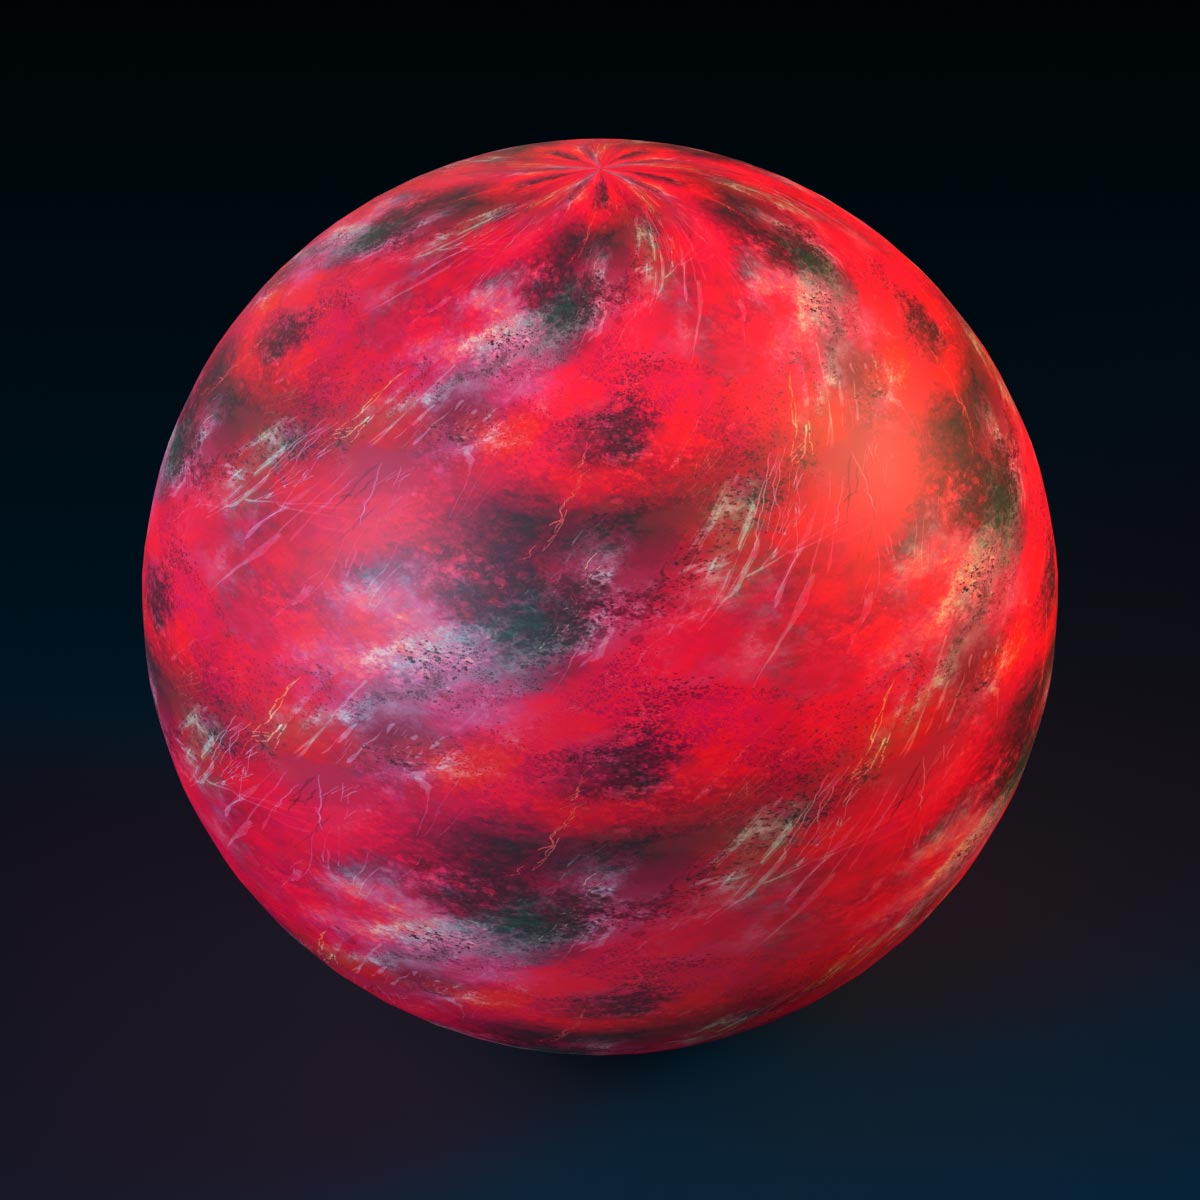
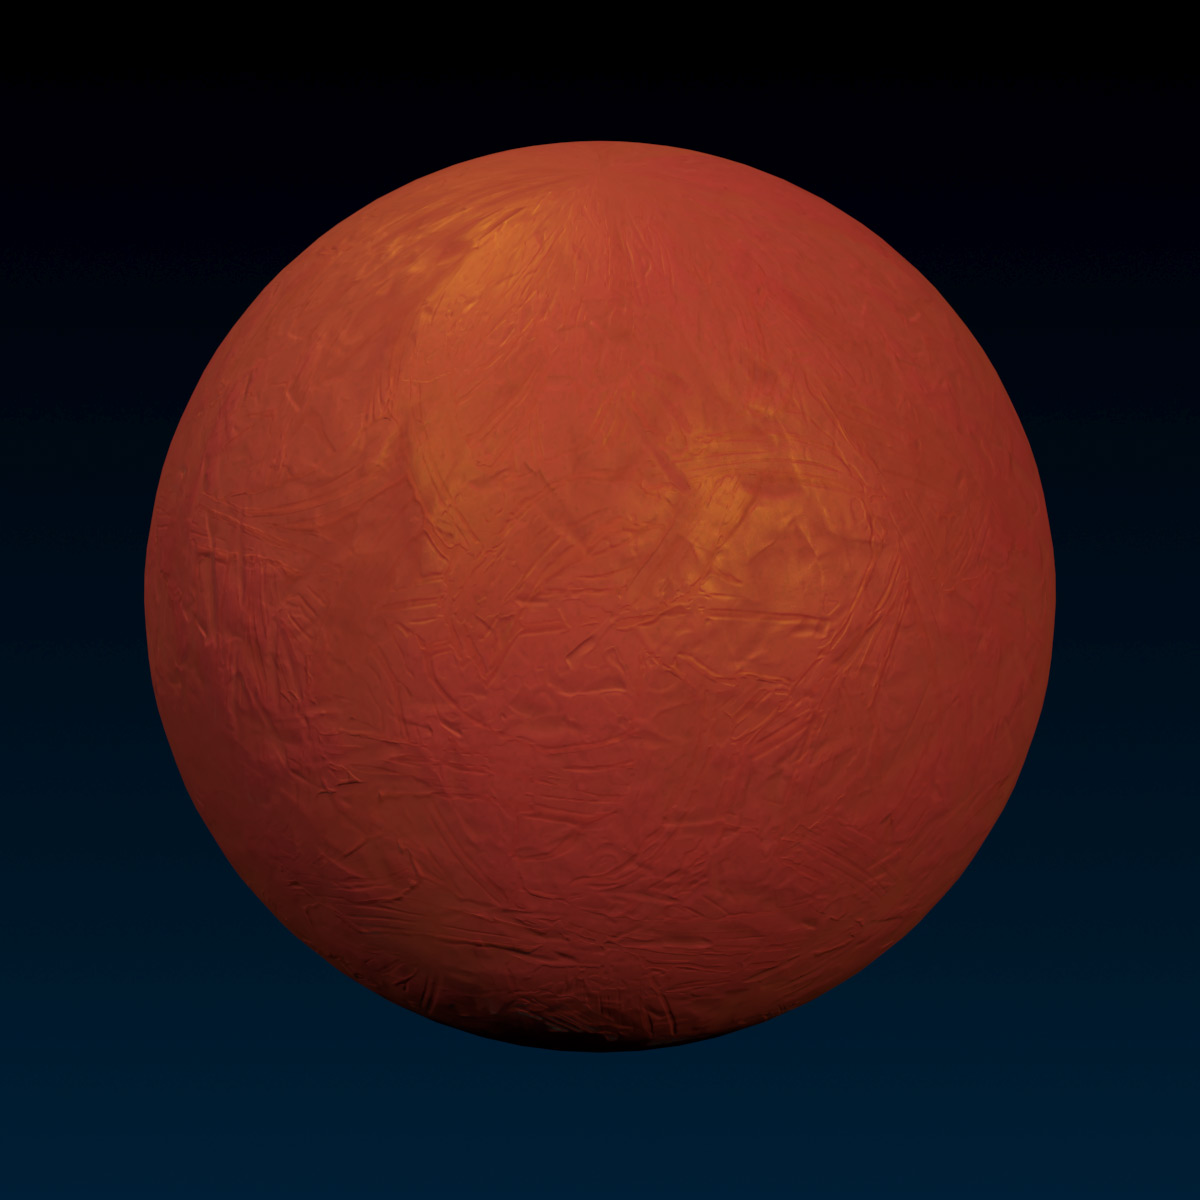
The ColorMap property sets the color data of the surface, including any transparency present in the map. See color (albedo) for additional information.
Normal
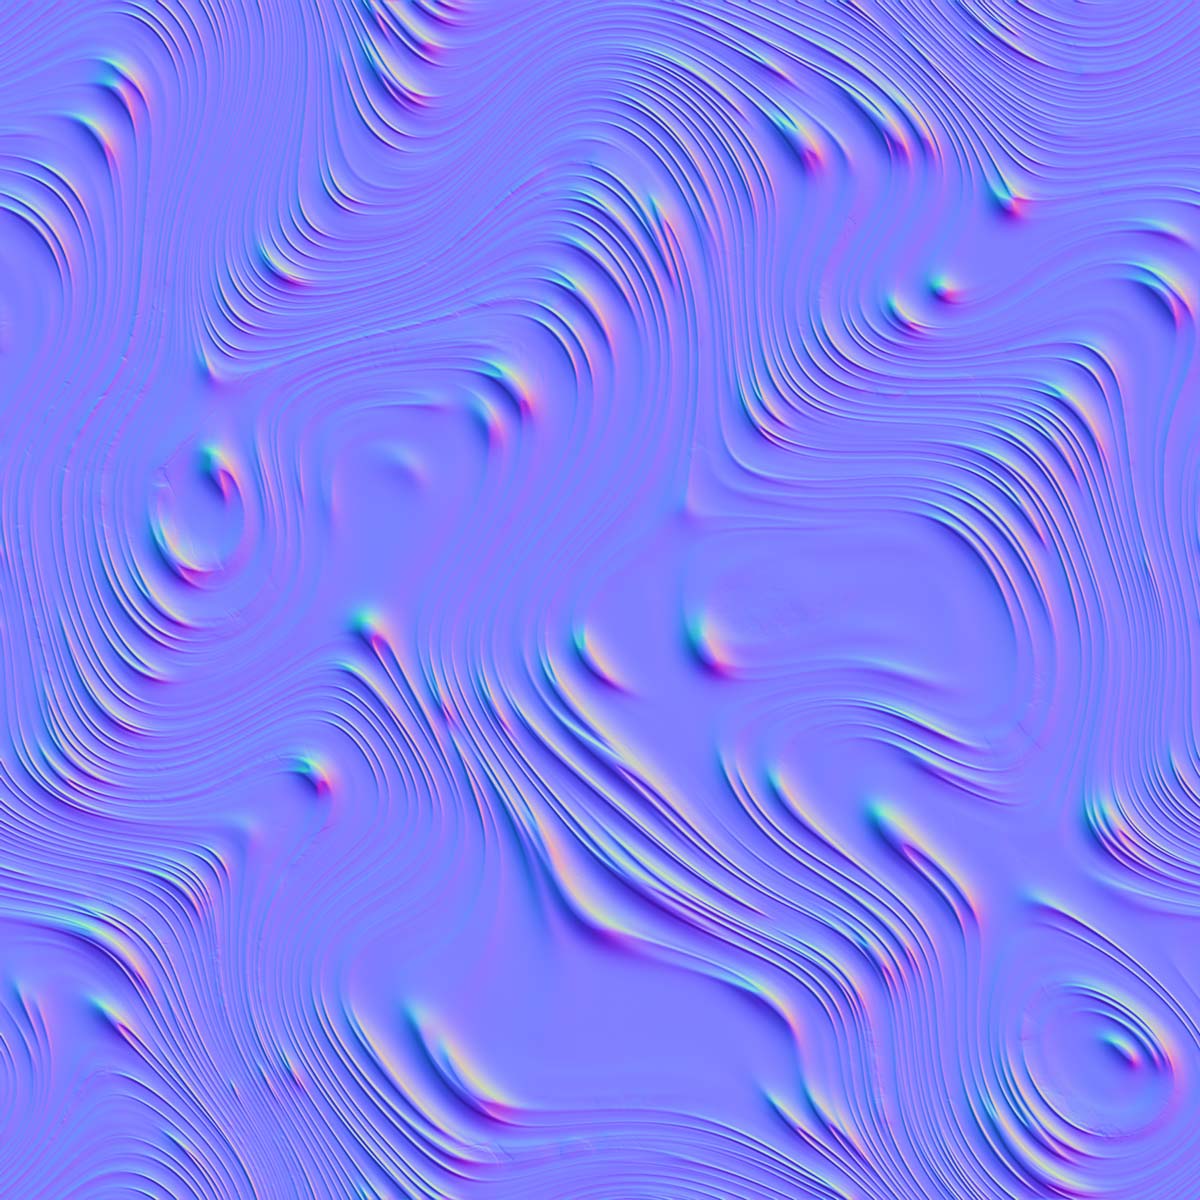
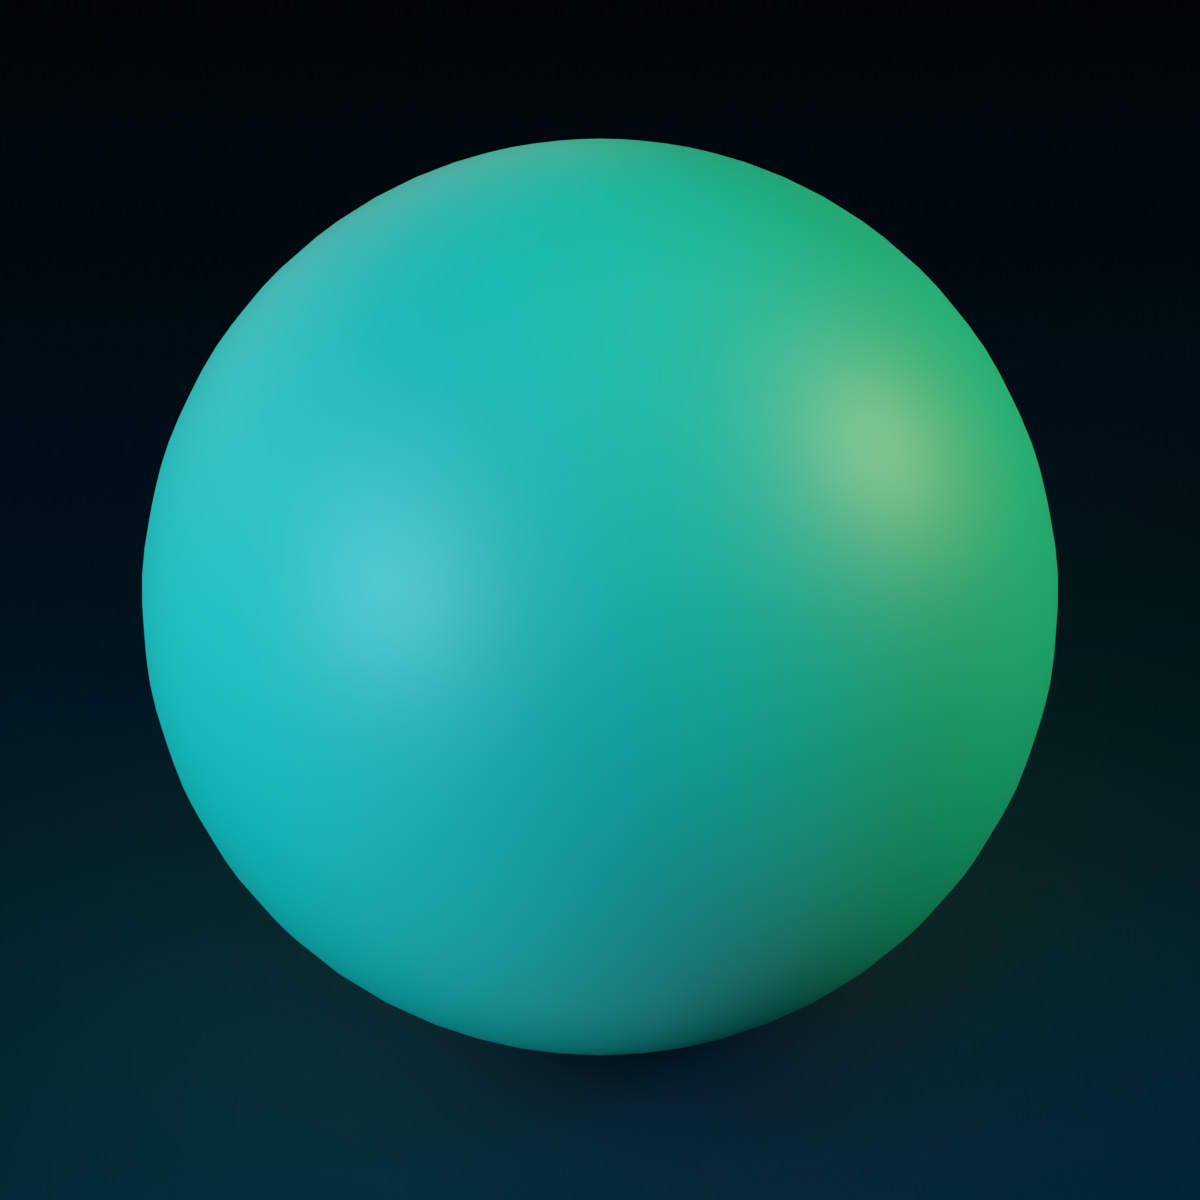
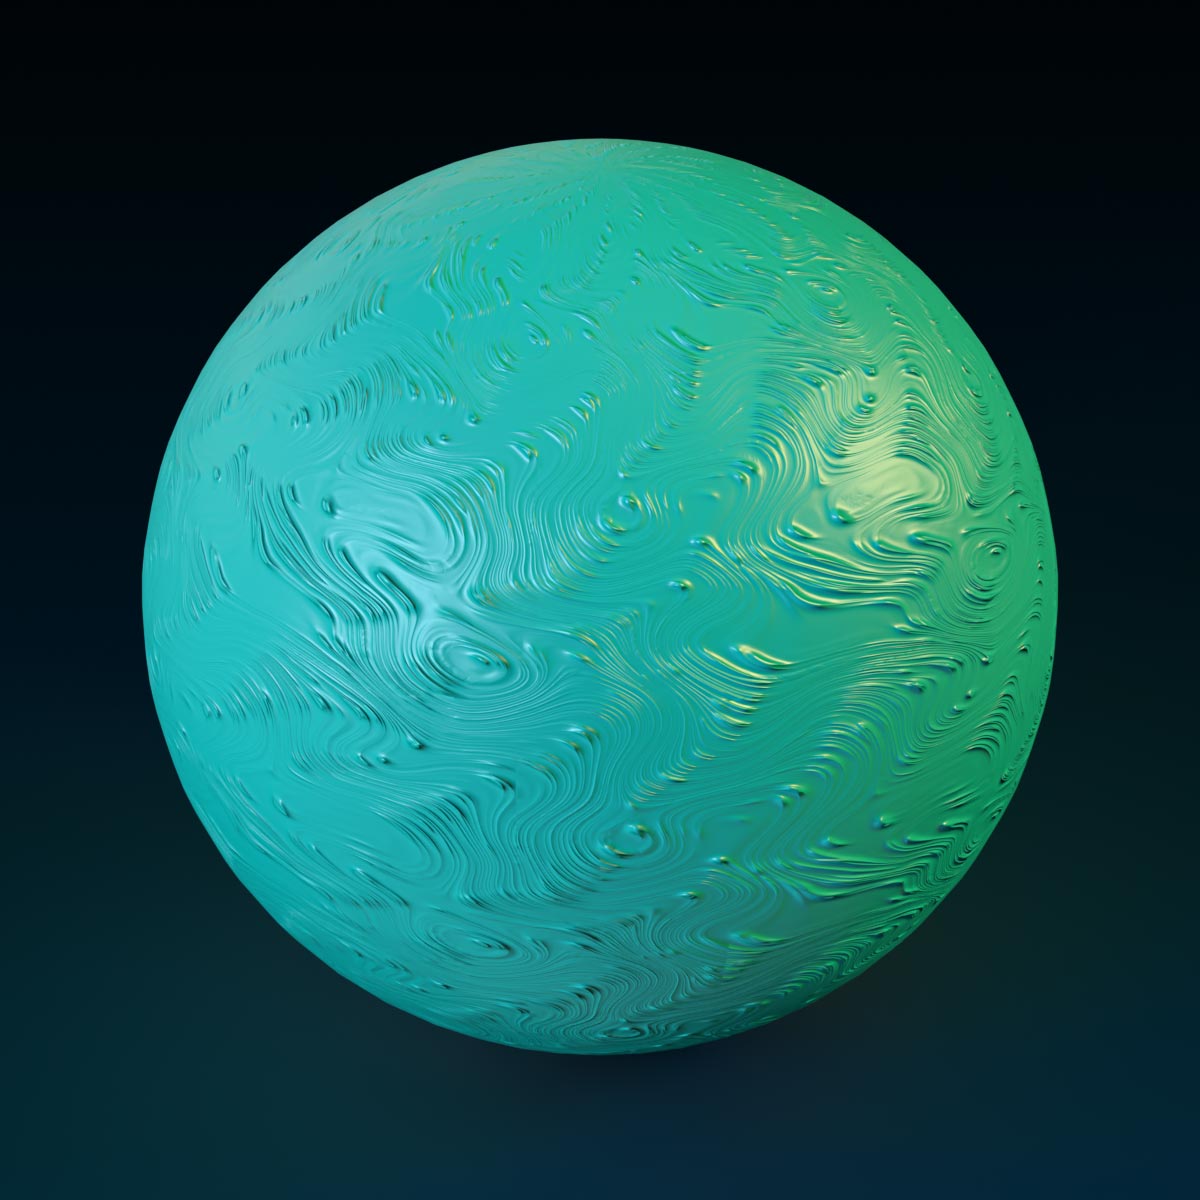
The NormalMap texture property defines the topography of the surface allowing you to add visual textures such as bumps, dents, or cracks to your surface. See normal for additional information.
Roughness
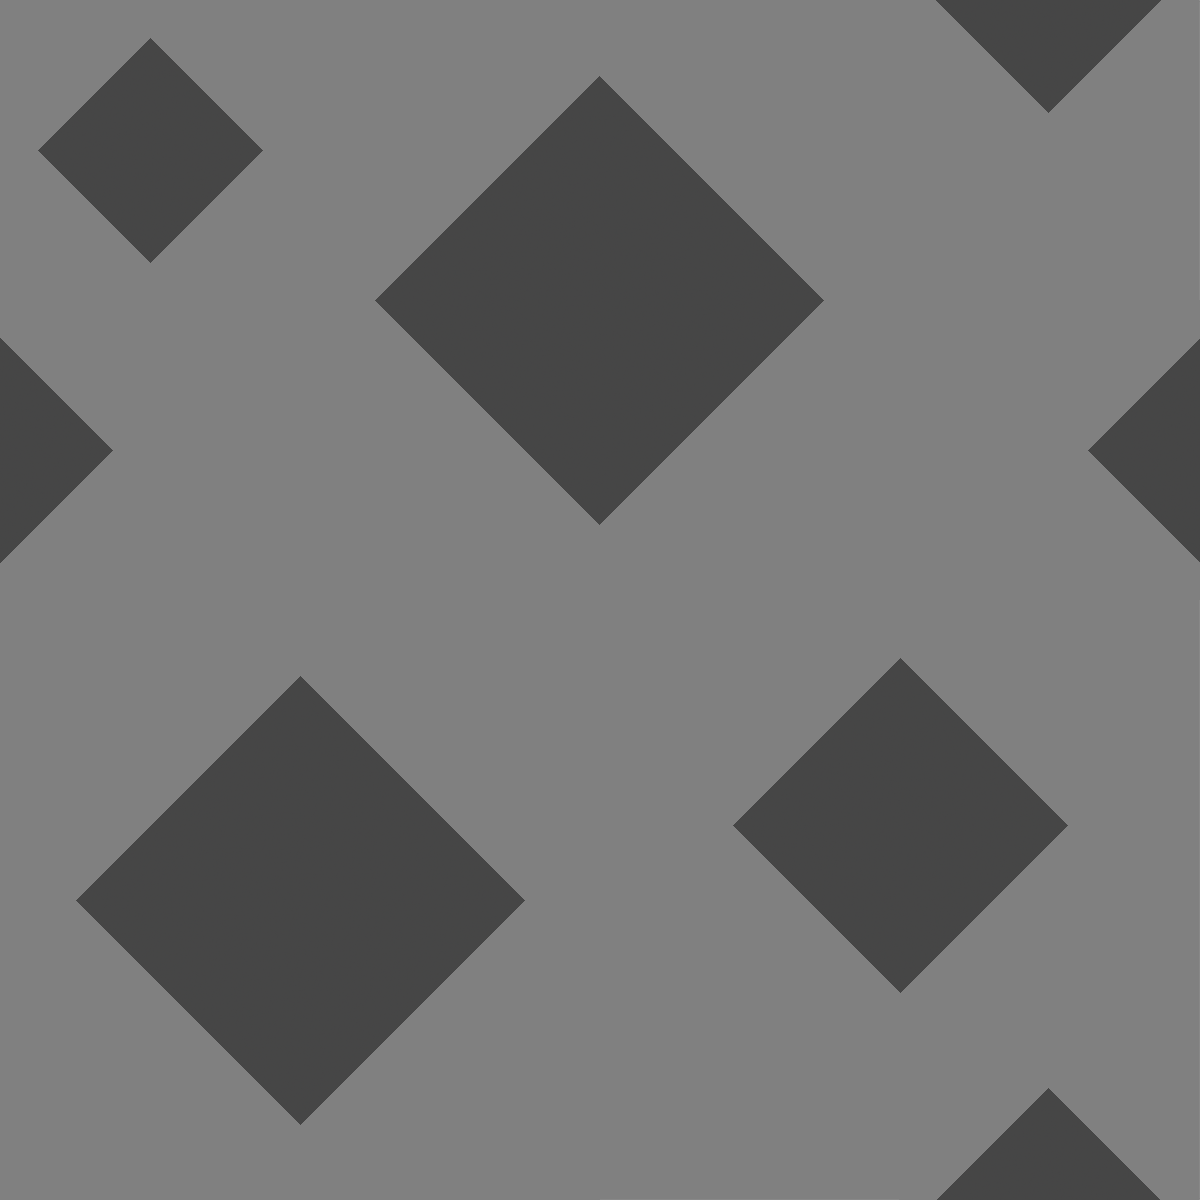
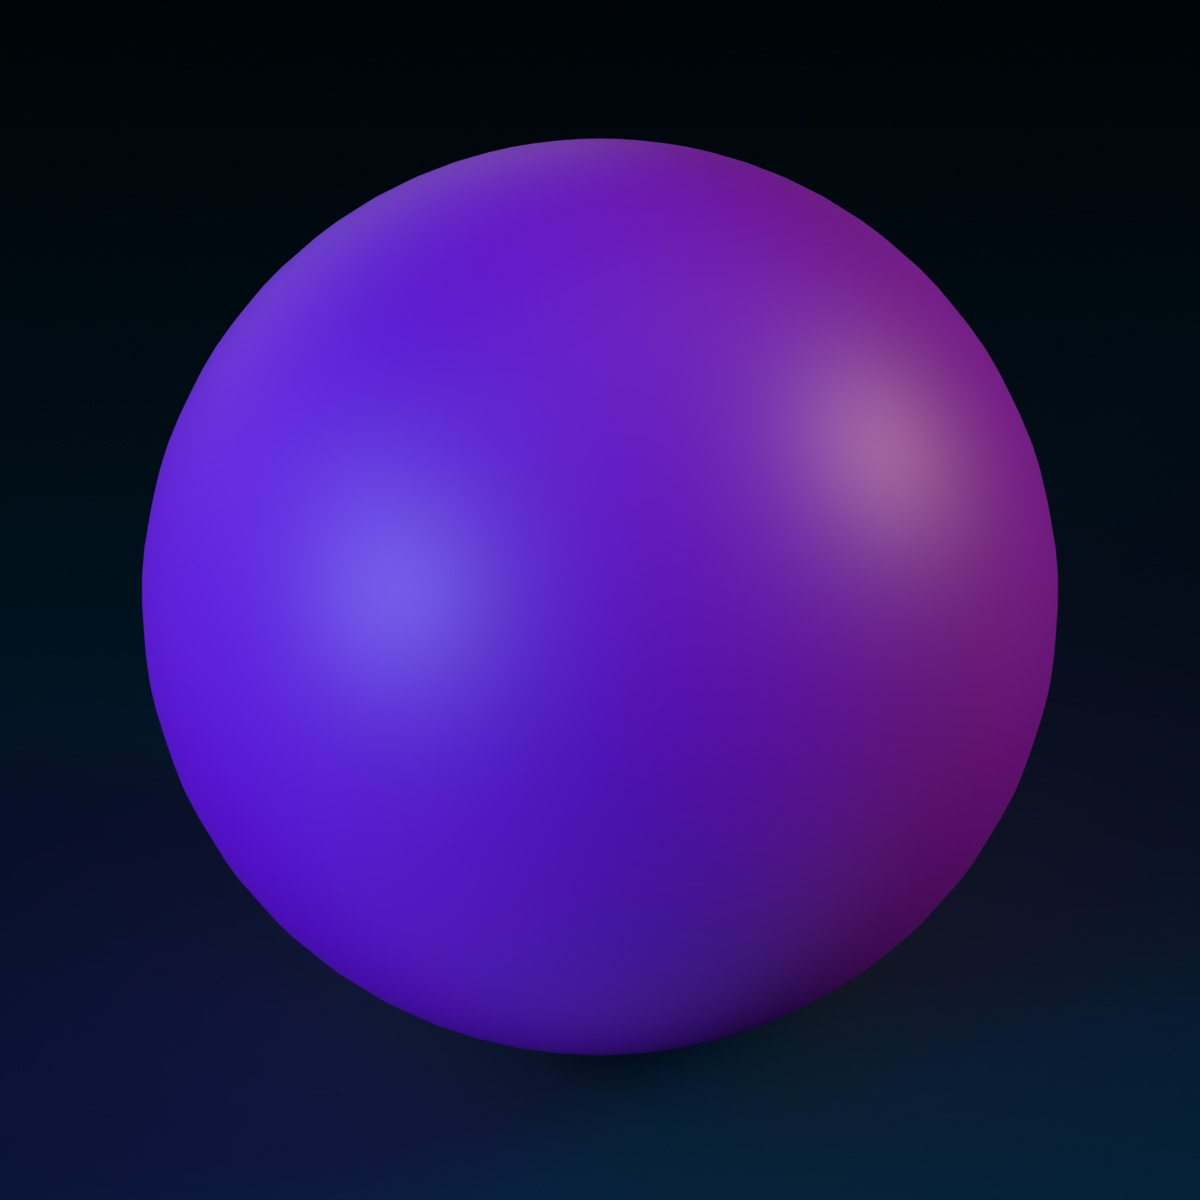
The grayscale RoughnessMap texture property defines the smoothness of the surface, allowing for a glossy or matte visual appearance. See roughness for additional information.
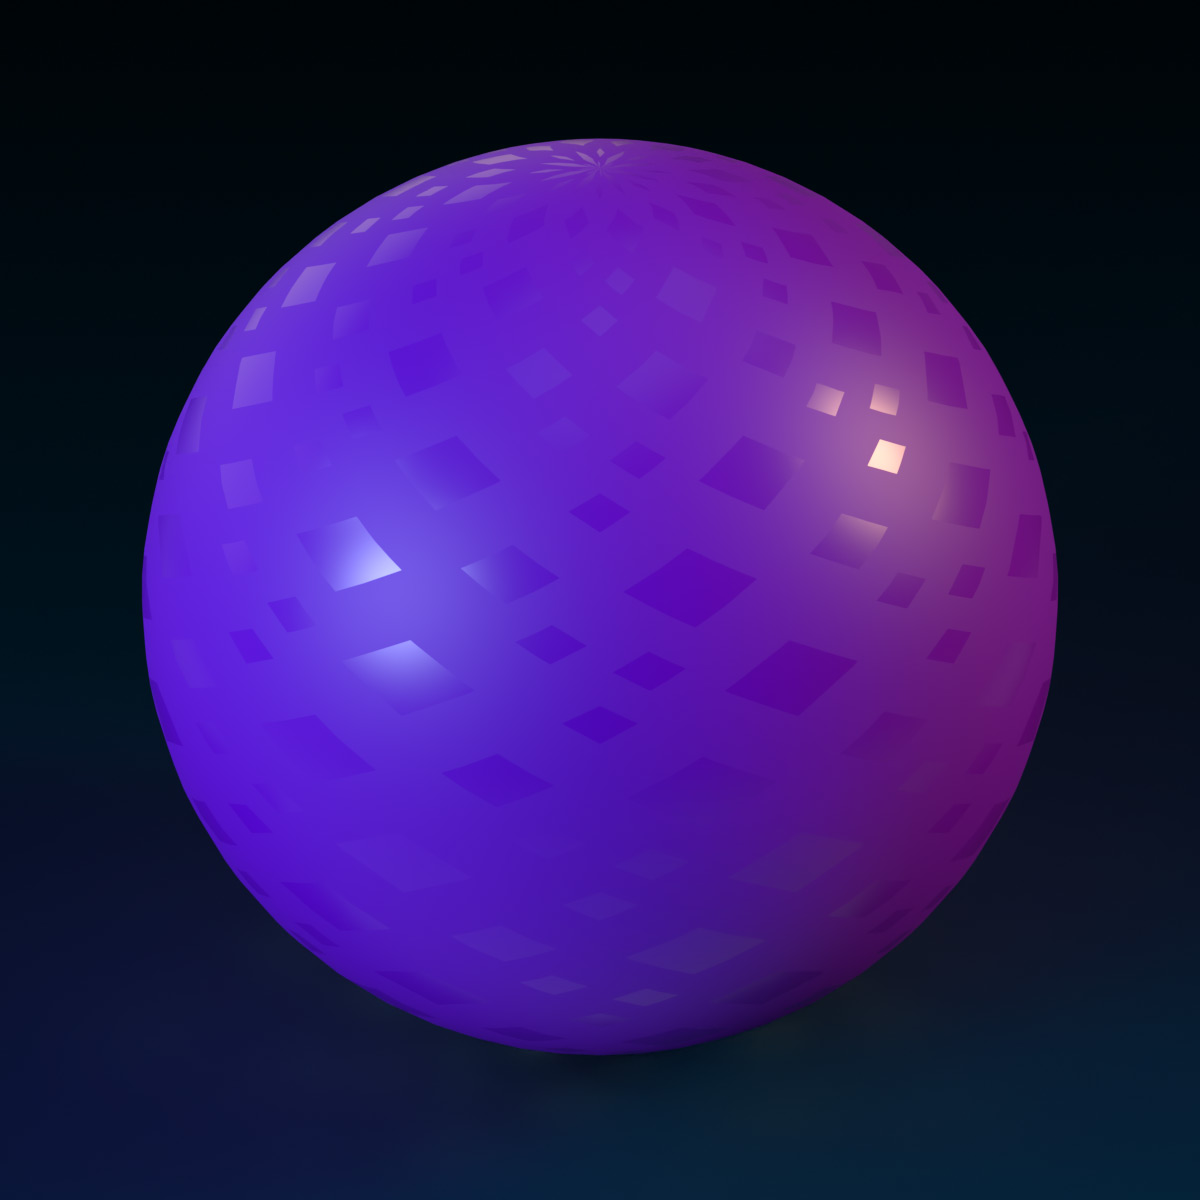
Metalness
The grayscale MetalnessMap texture property defines the metallic visual properties of the surface. See metalness for additional information.
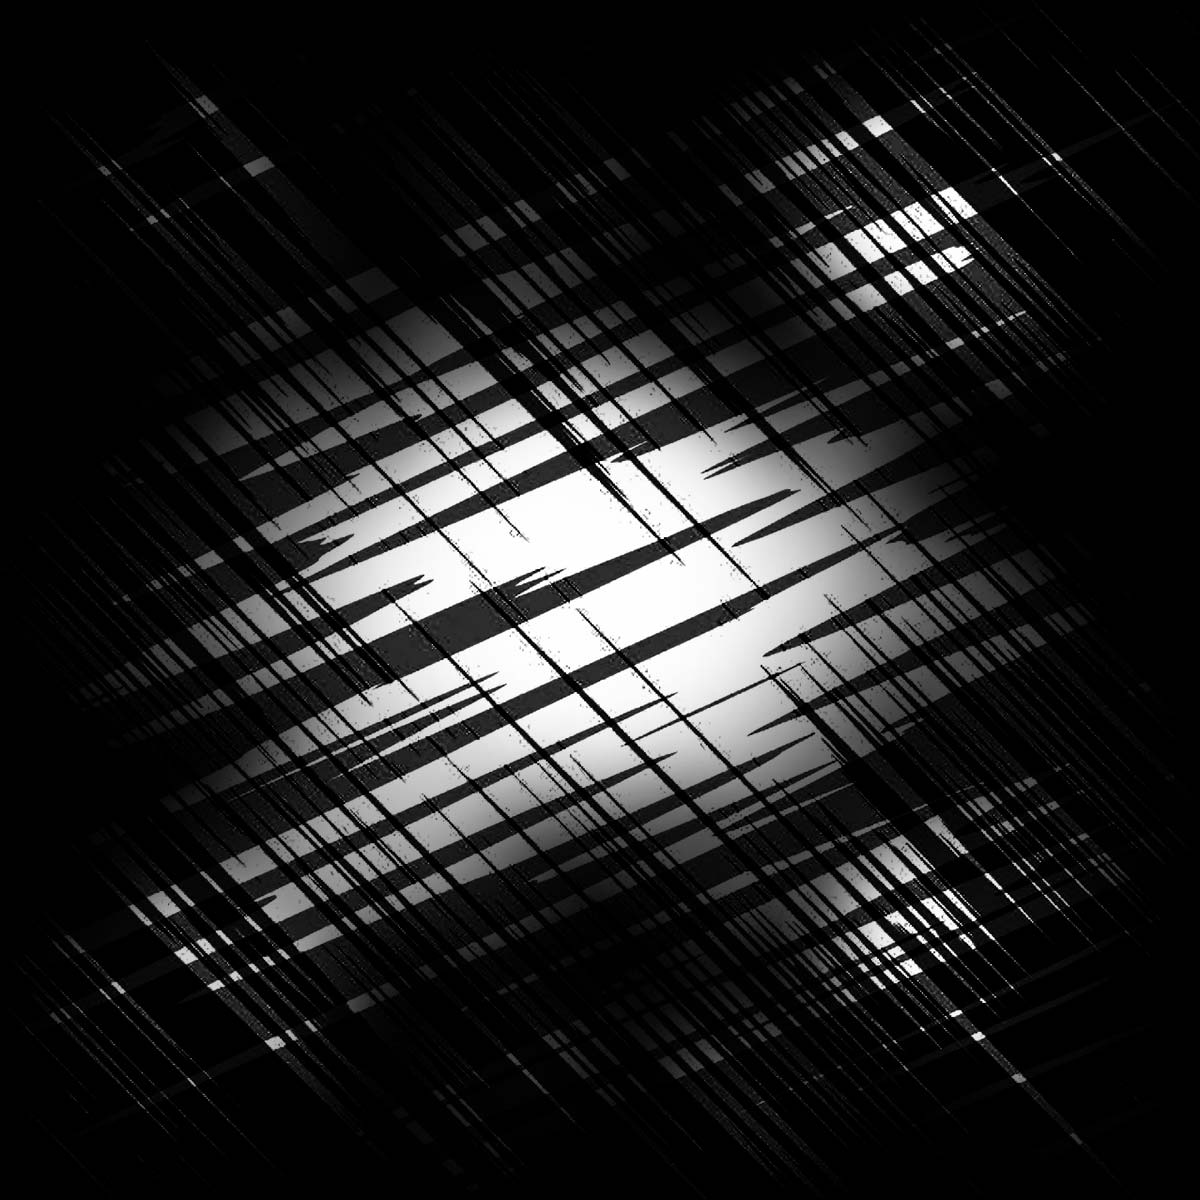
Emissive Mask
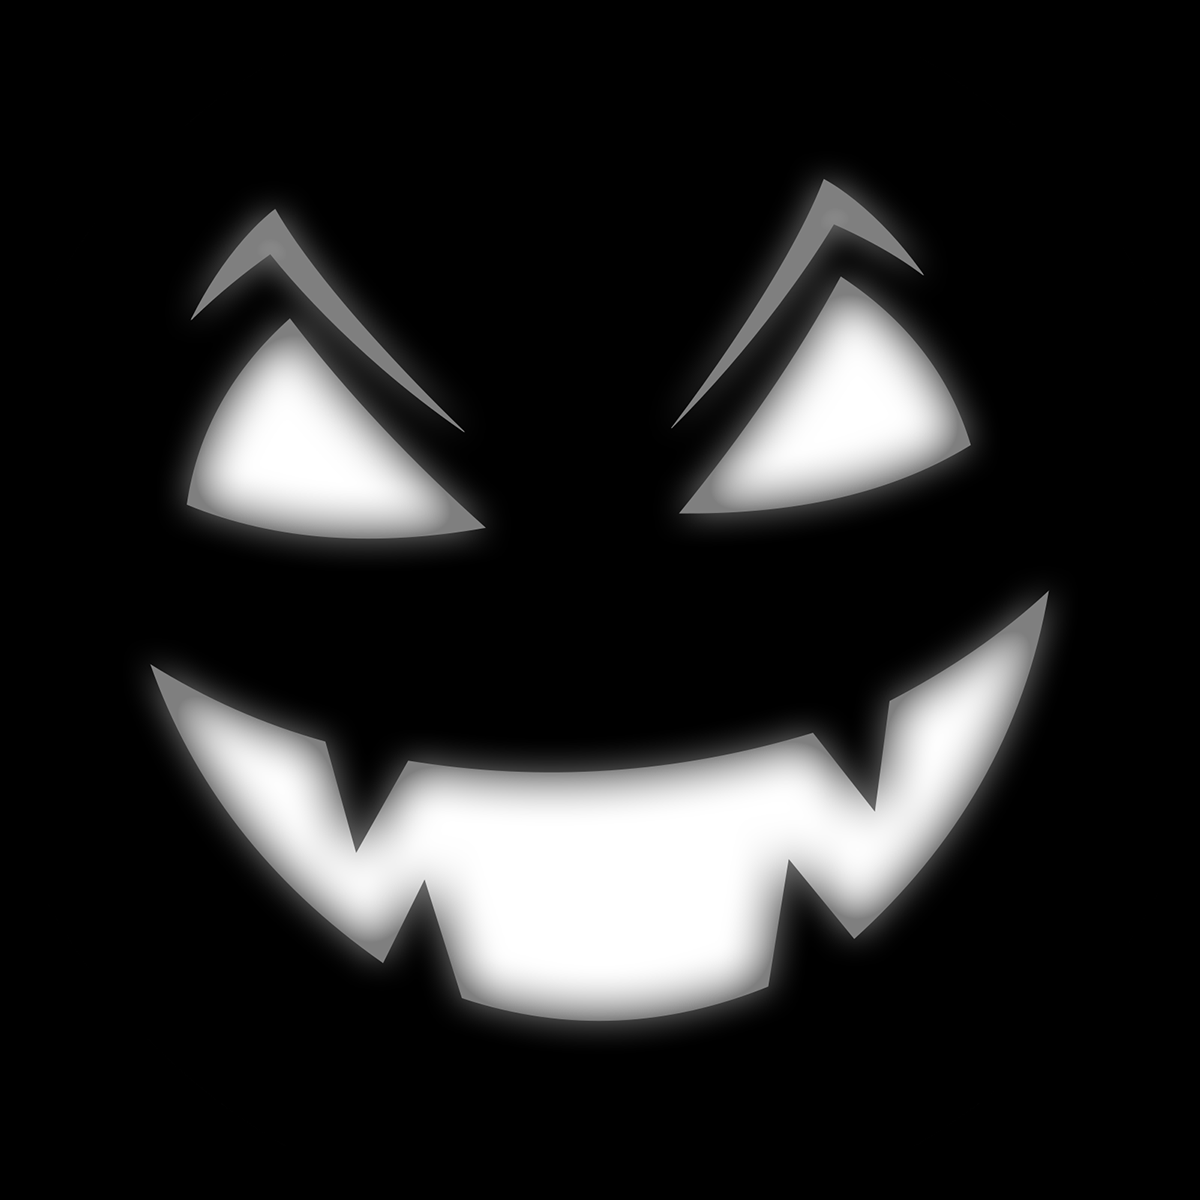
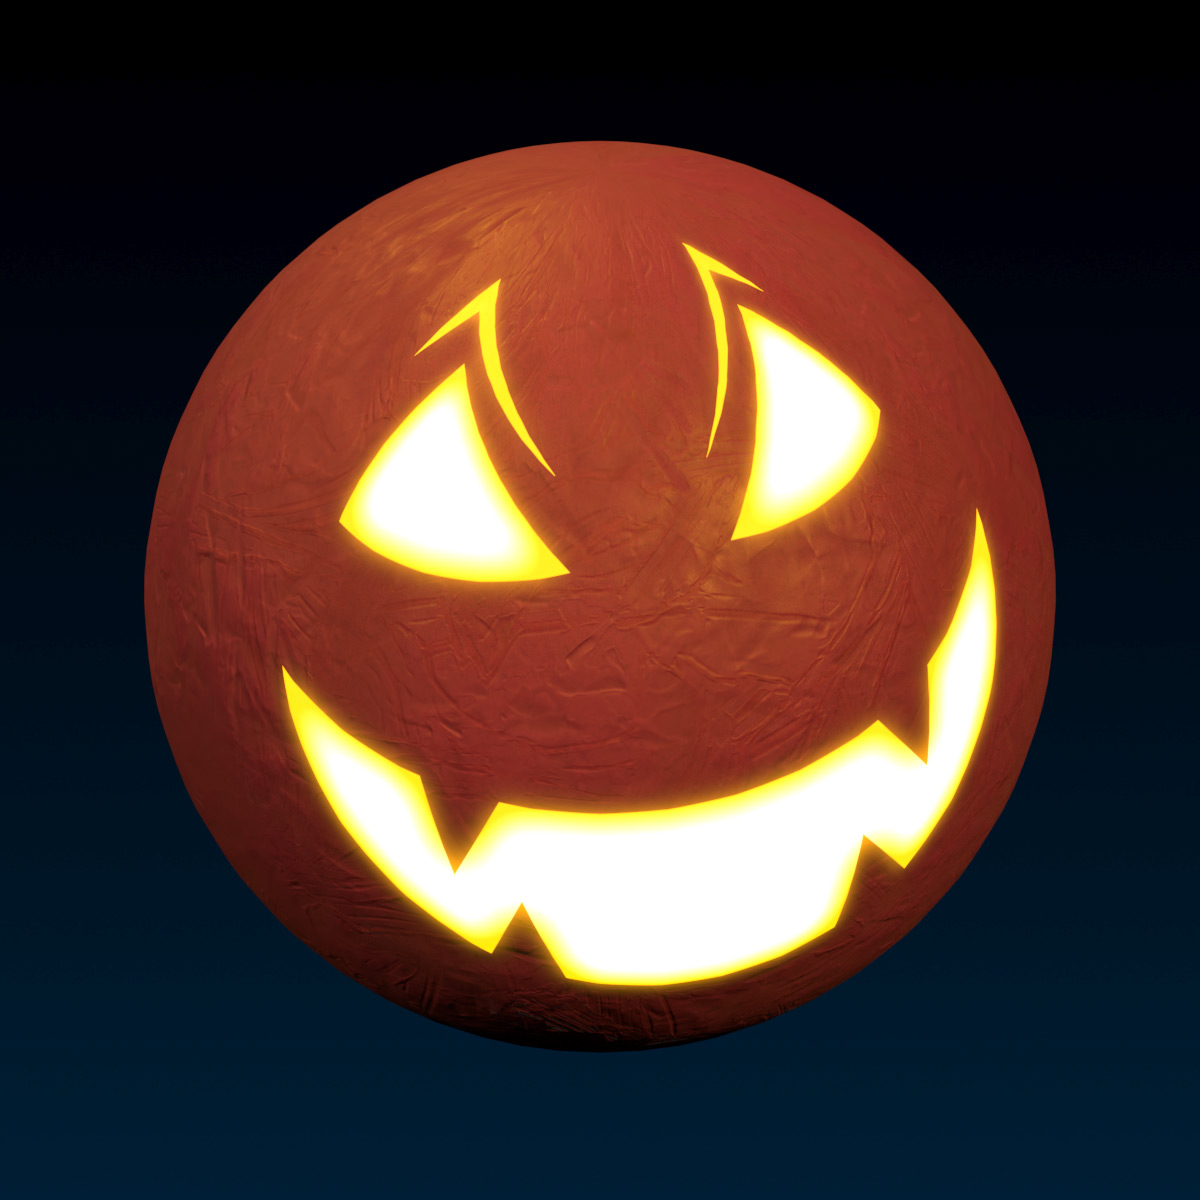
The grayscale EmissiveMaskContent content property determines emissivity across the surface, alongside EmissiveStrength and EmissiveTint. See emissive for additional information.
For technical details on texture file requirements, see texture requirements.
Color (albedo)#
The color, or albedo, map determines the color of your texture and consists of mostly color information with little to no lighting or textural information. For additional customization, you can also add transparency in your albedo texture by adding opacity to your image map.
While albedo maps and generic non-PBR texture maps, commonly known as diffuse maps, contain very similar base color data for a surface, diffuse maps often include shading and lighting values to imitate a specific visual element that are more effectively handled by PBR's normal, roughness, and metalness maps. Using a typical diffuse map instead of an albedo map may often look incorrect when the lighting doesn't match with these added baked-in texture elements.
Alpha modes#
For objects that require partial or complete sections of transparency, such as grass, leaves, lace, or decals like dirt or grunge, you can use various alpha modes to apply transparency to your color map. If your color map image format supports alpha channels, you can apply a grayscale alpha map where 0.0 is transparent and 1.0 is opaque. Similarly, when using an image format such as a .png, any opacity on the color map applies as transparency on the asset.
You can apply transparency in two different behaviors by setting the following AlphaMode values:
- Opaque — Ignores the alpha channel of the
ColorMapand uses the color value directly from the color map. - Overlay — Overlays the
ColorMapover the underlying mesh'sMeshPart.Color. Color maps using overlay mode reveal the base color of the mesh anywhere transparency is present. This is the default setting. - Transparency — Removes the visible mesh based on transparency in the
ColorMap. This renders the mesh see-through and does not reveal the original mesh color whenever transparency is present. - Tint mask — Blends the tinted
ColorMapover the un-tintedColorMap.
Opaque#
This mode is currently in beta. Enable it through File ⟩ Beta Features ⟩ MaterialVariant Alpha Mode.
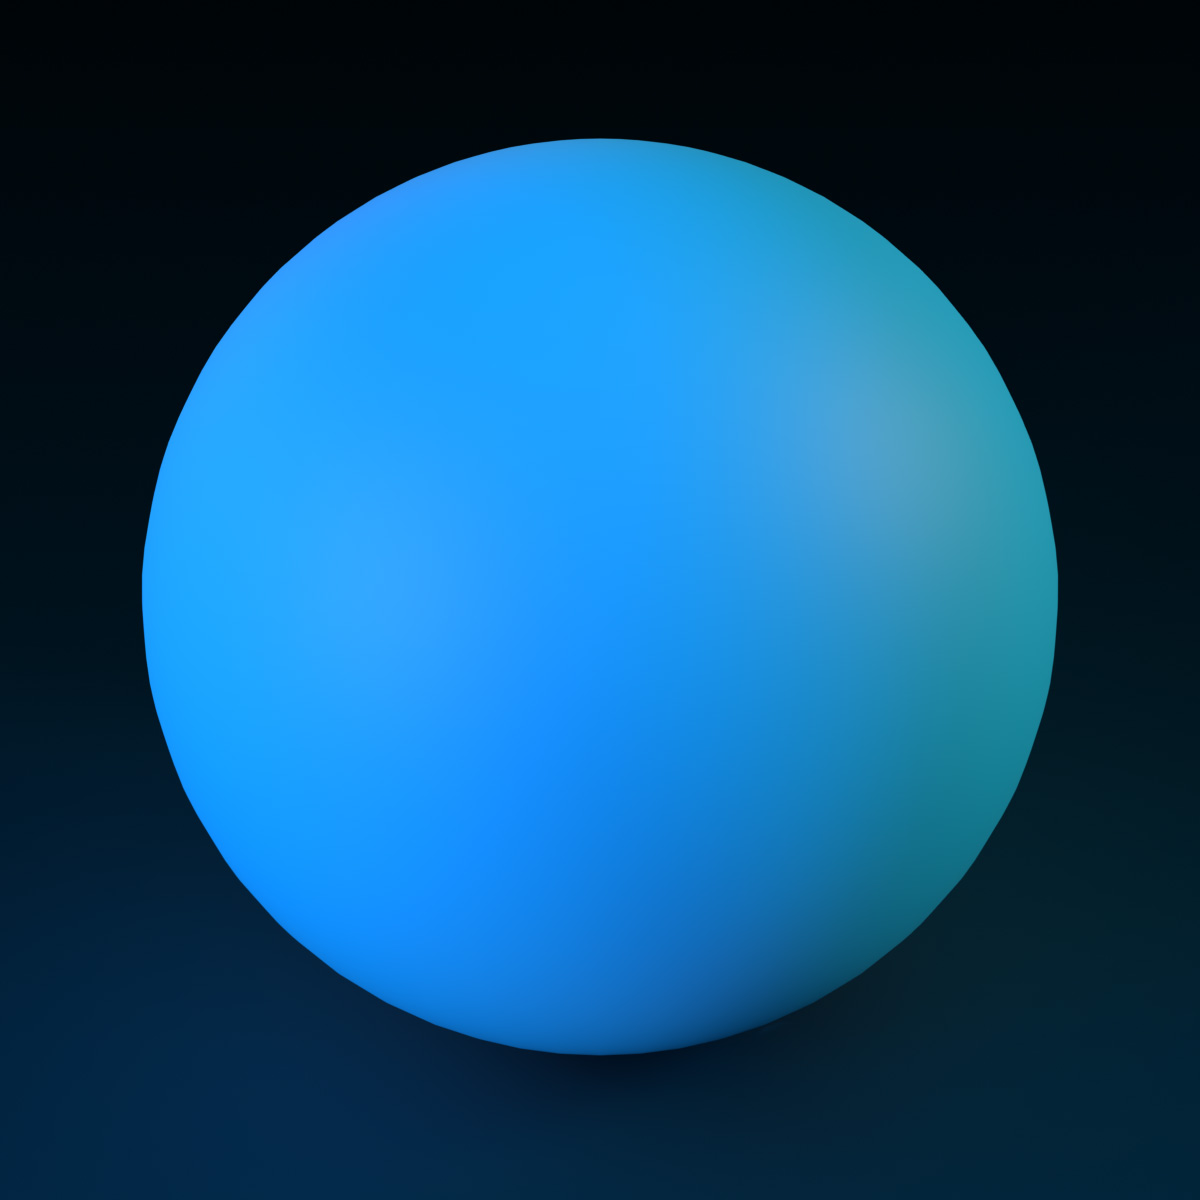
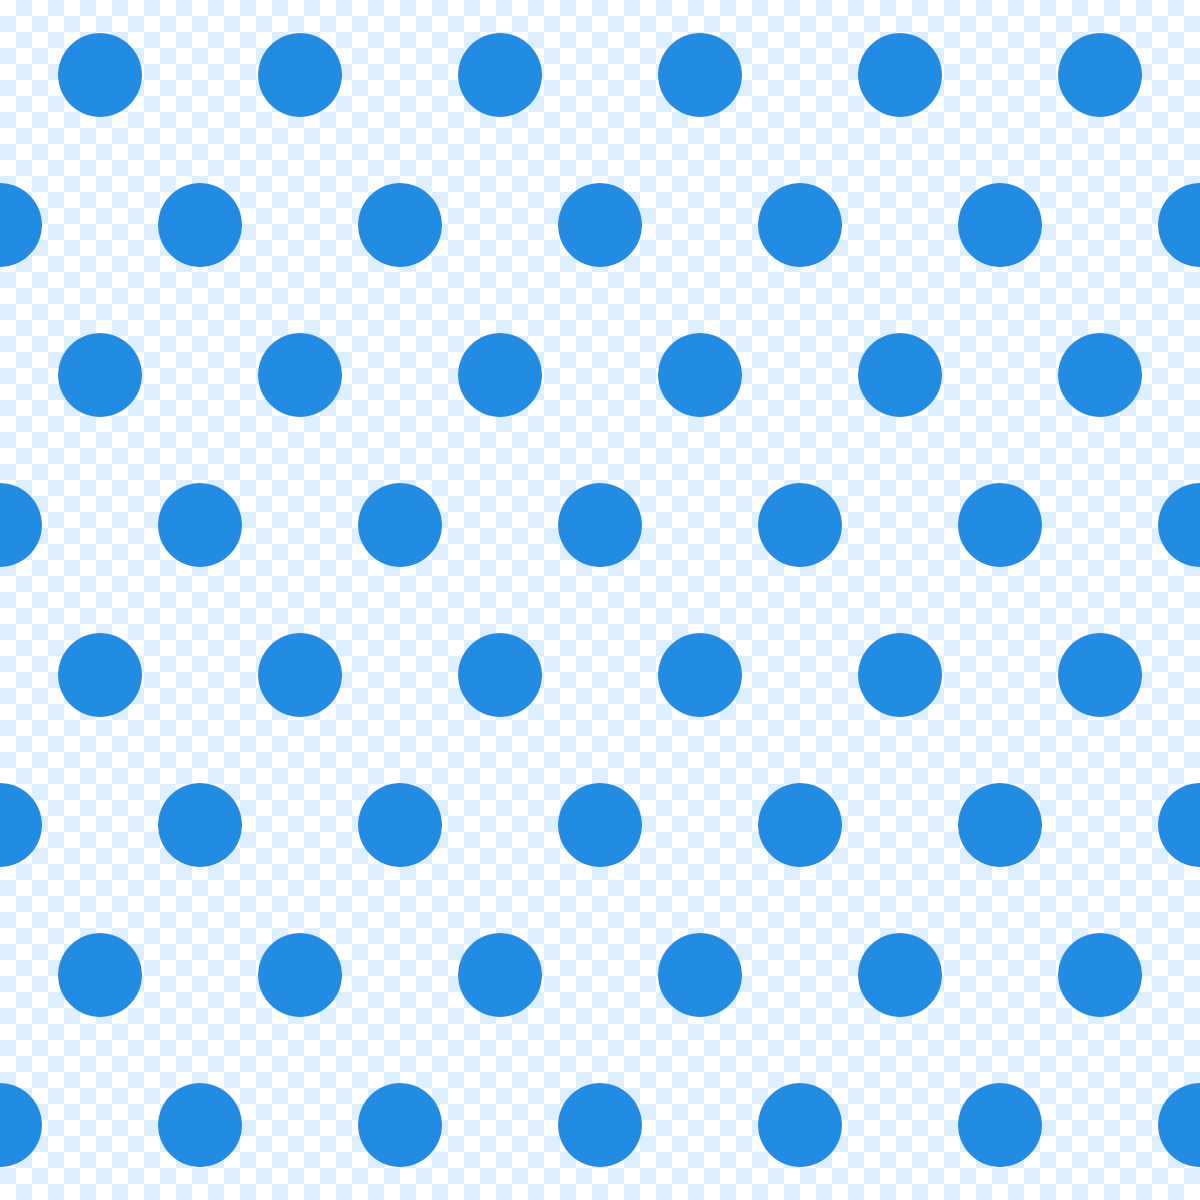
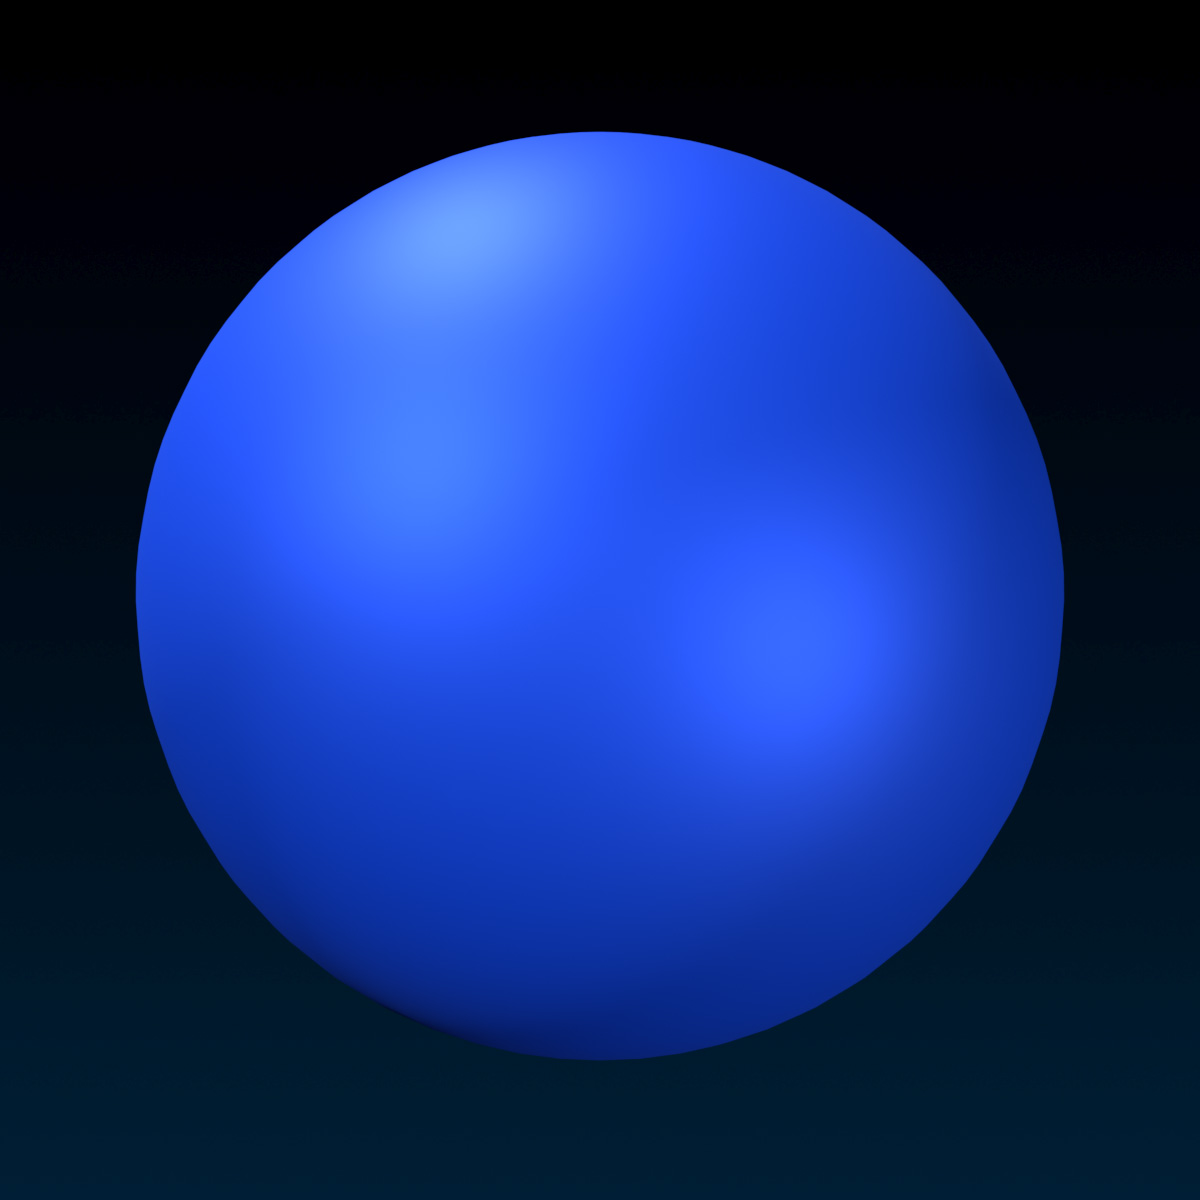
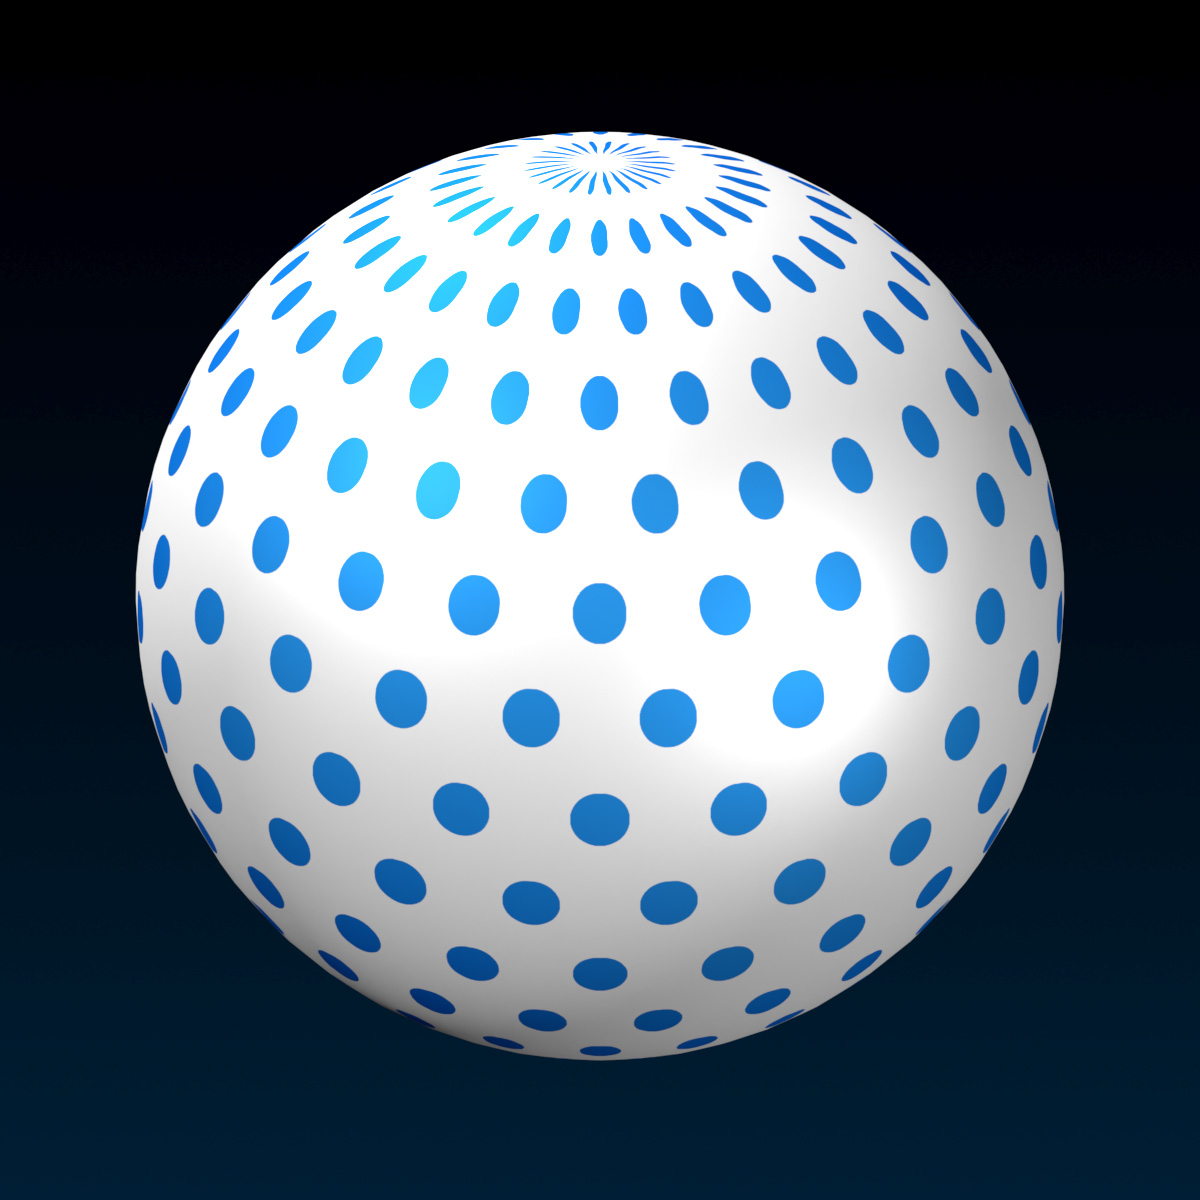
You can use AlphaMode.Opaque mode to ignore the alpha channel of the ColorMap altogether. In this case the alpha value is assumed to be 1 (fully opaque).
The following example demonstrates how the Opaque mode works using a blue object as reference:
Overlay#
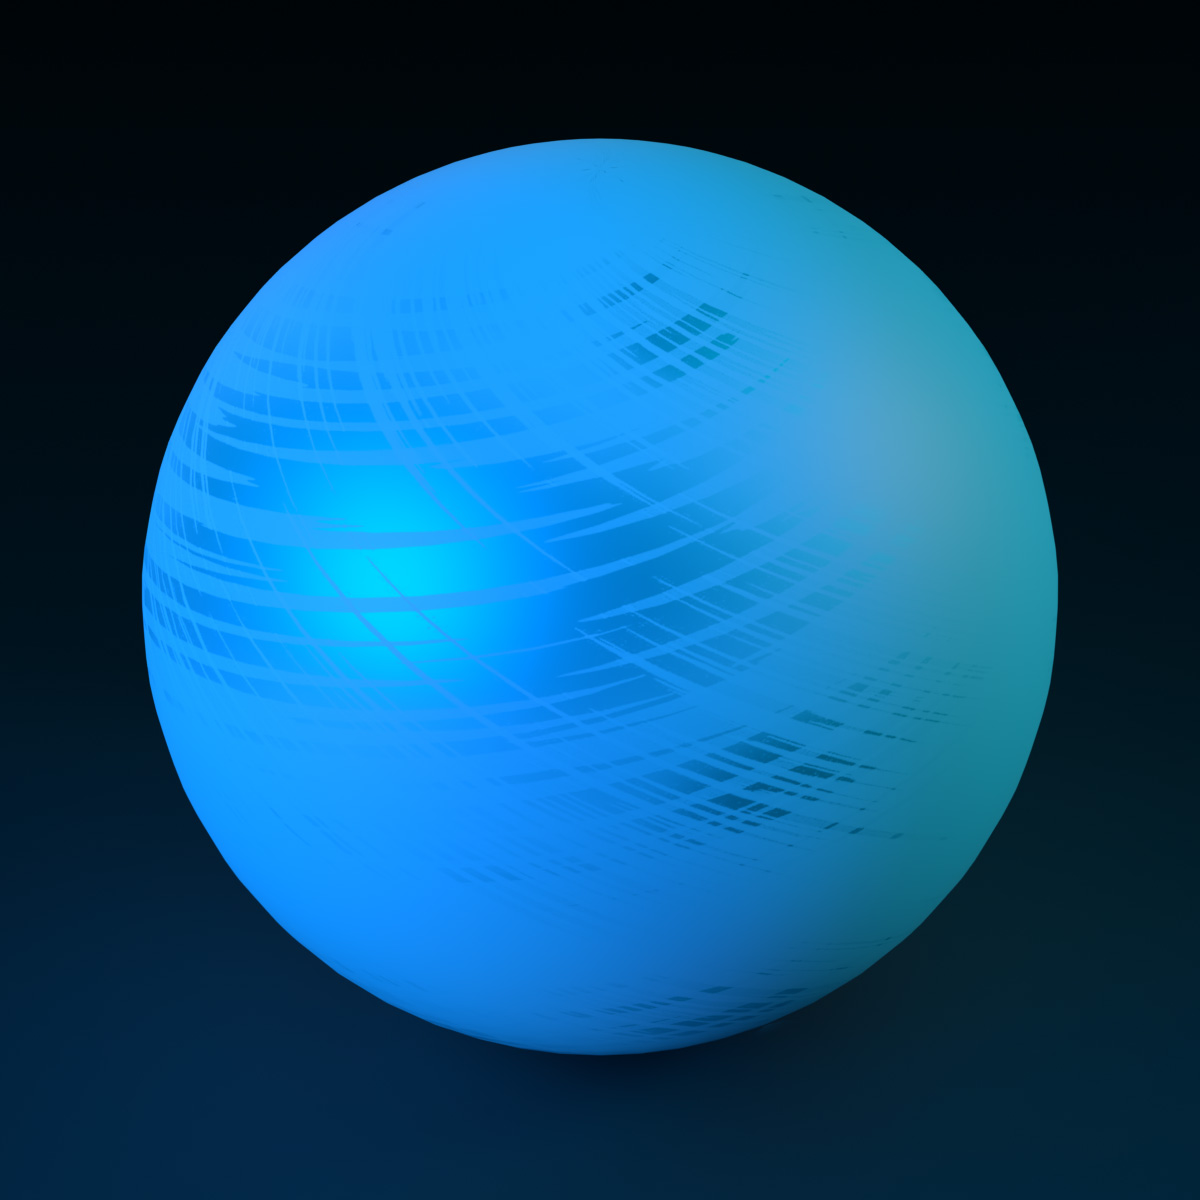
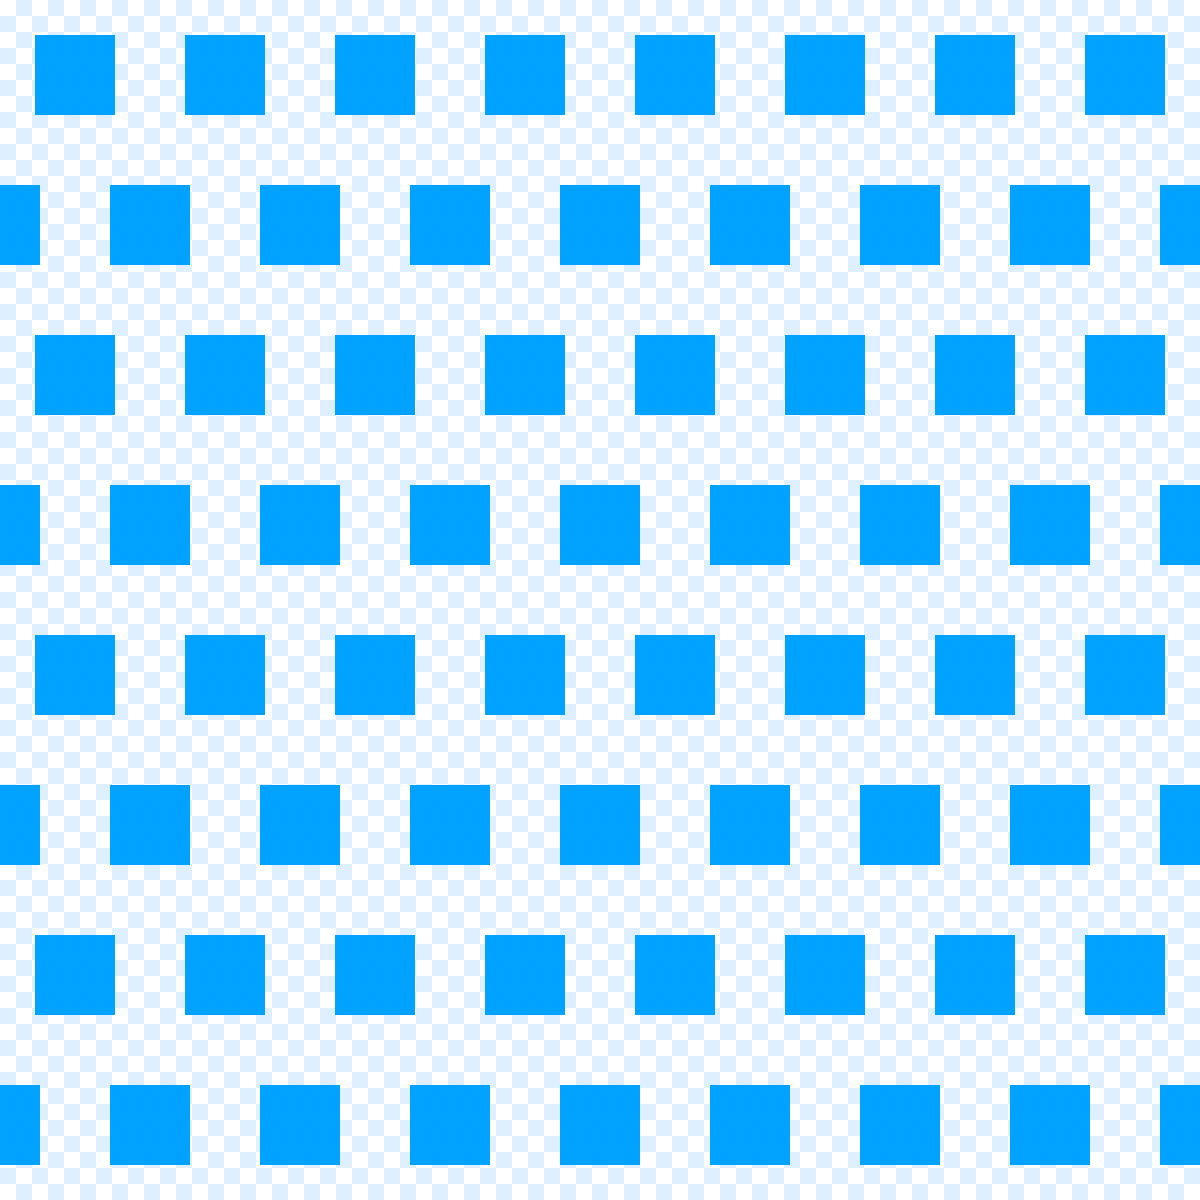
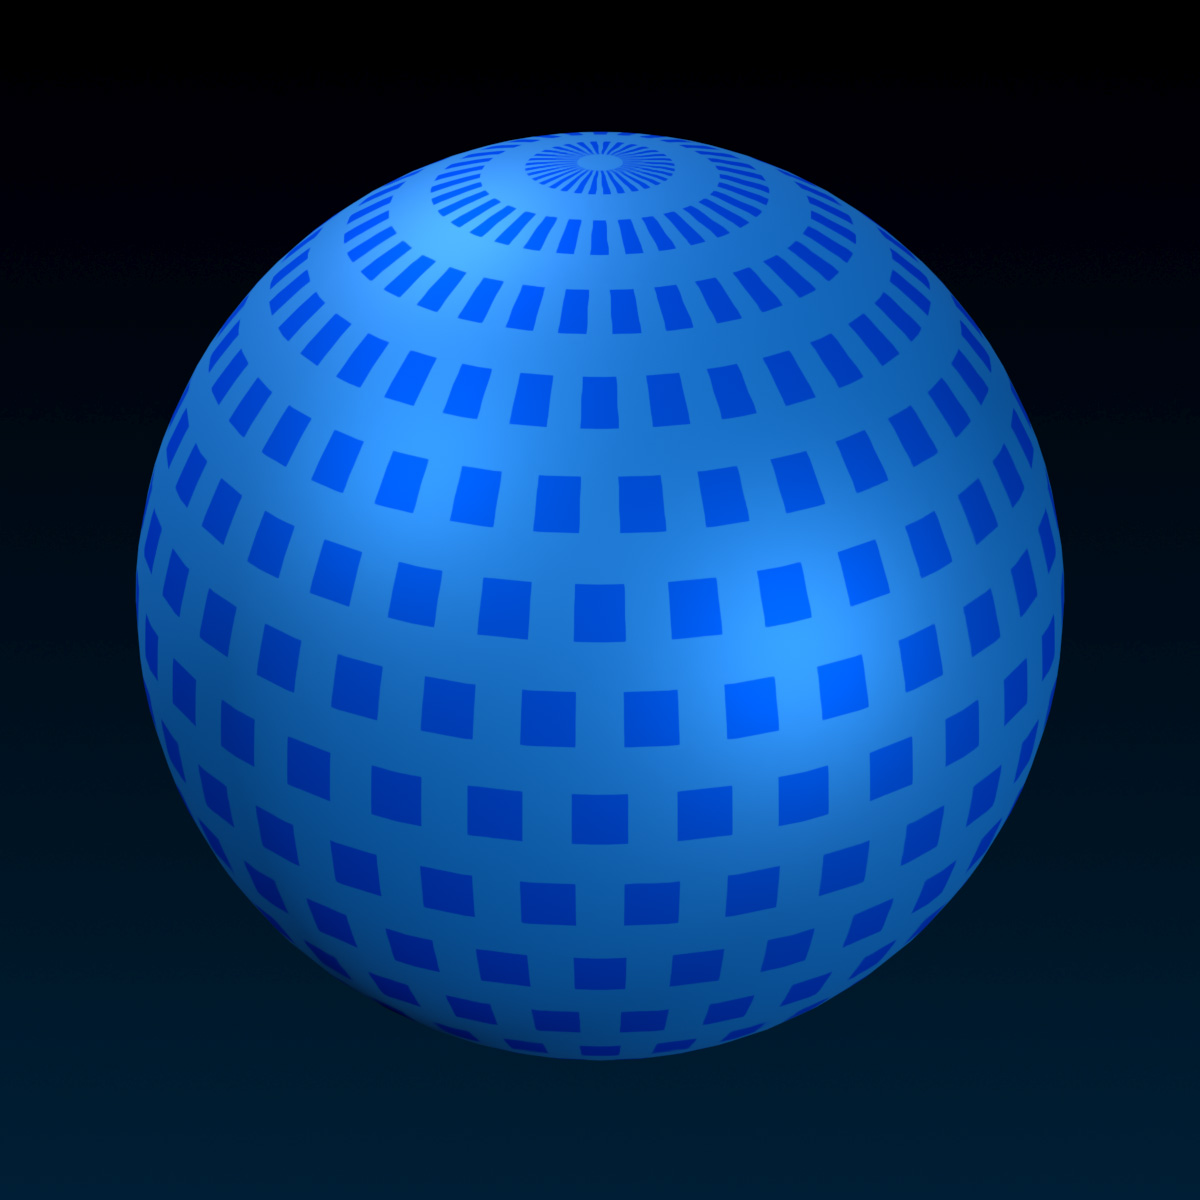
You can use AlphaMode.Overlay to reveal sections of the mesh's original color. Since the transparent areas of the color map expose the underlying color, you can design a unique texture map that partially or fully reveals the mesh's Color property for custom skin tones or other situations with unique colors.
The following example demonstrates how the Overlay mode works using a light blue sphere reference:
The following example uses the Overlay mode for custom characters, revealing the character's original skin-tone:
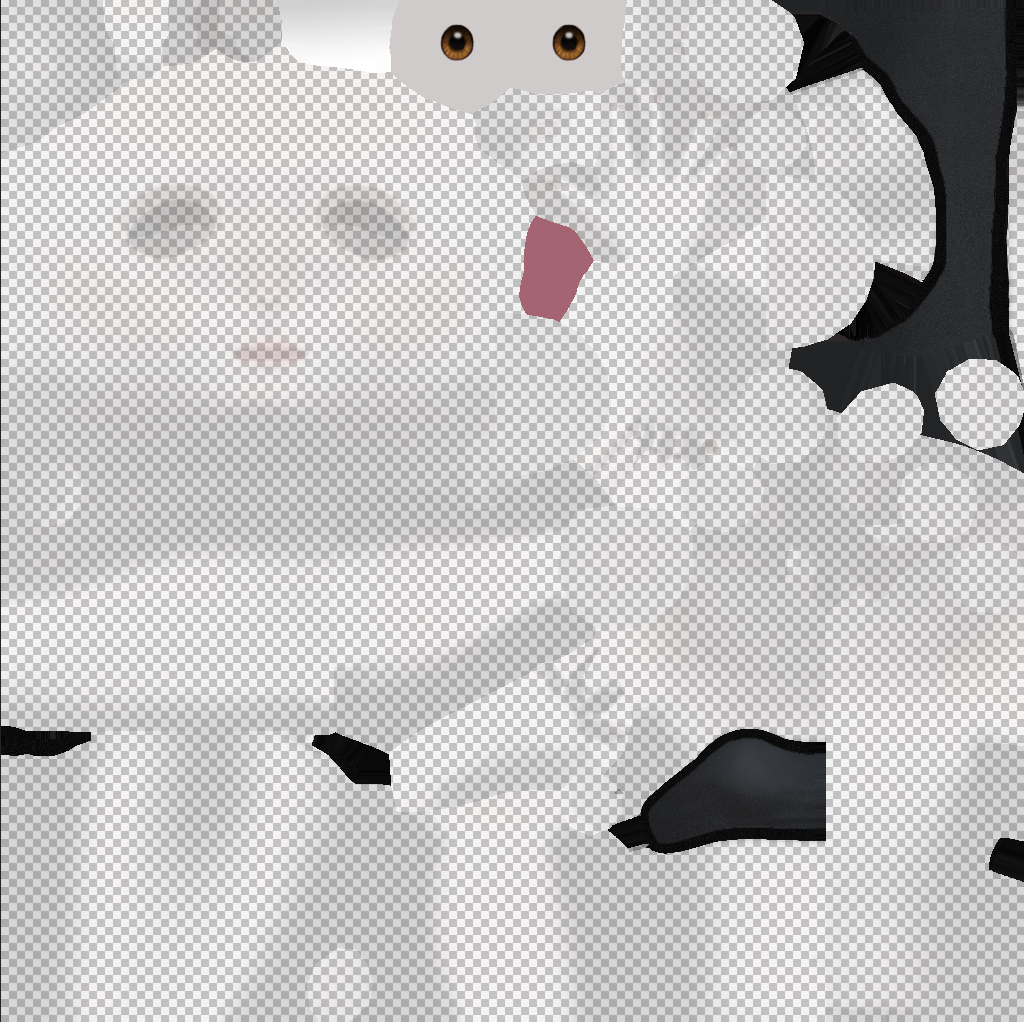
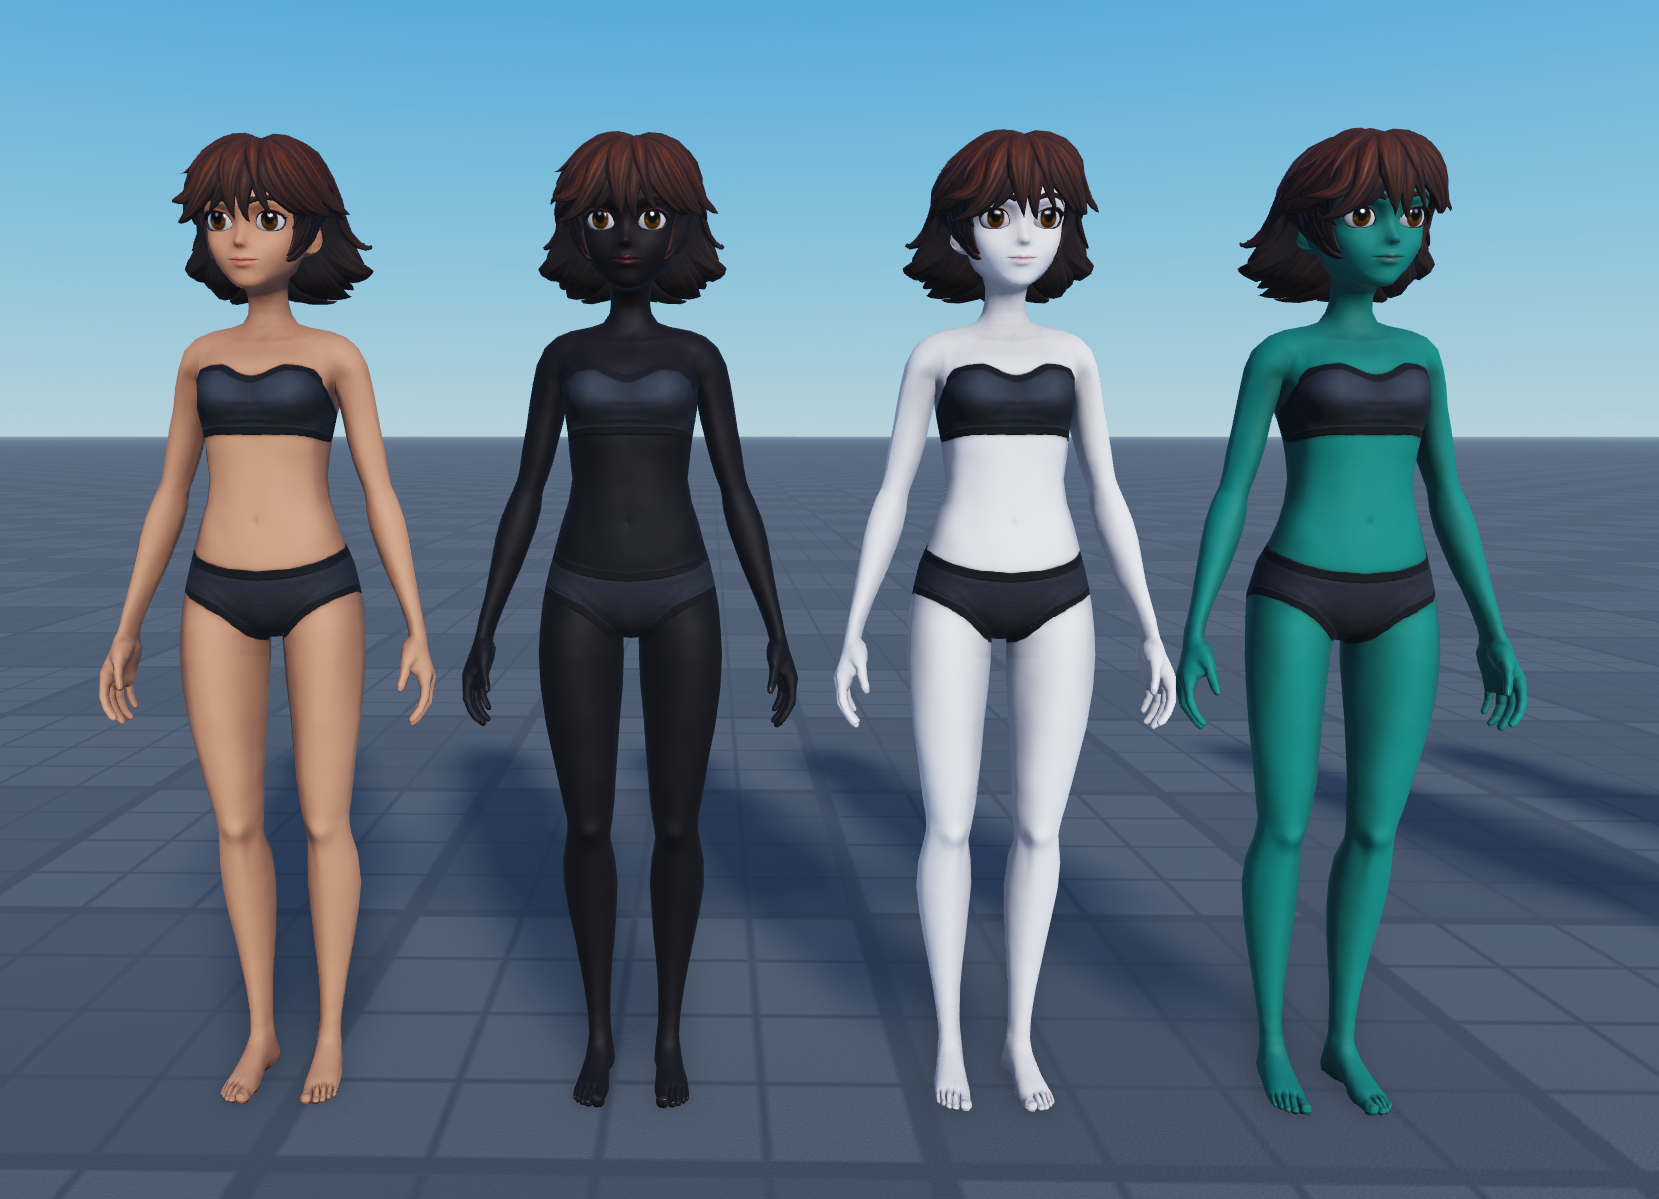
Overlay modeSee custom skin tone for additional details on optimizing an overlay for skin and similar applications.
Transparency#
You can use the AlphaMode.Transparency mode to create complex or extremely fine objects, such as lace or netting, by removing visible parts of the mesh as an alternative to sculpting the mesh geometry. Since this does not affect the geometry of the mesh object, this can allow you to create detailed objects without the performance impact of an intricate mesh model.
The following example demonstrates how a partial and full transparency in this mode visually removes sections of the mesh:
Sample Meshes
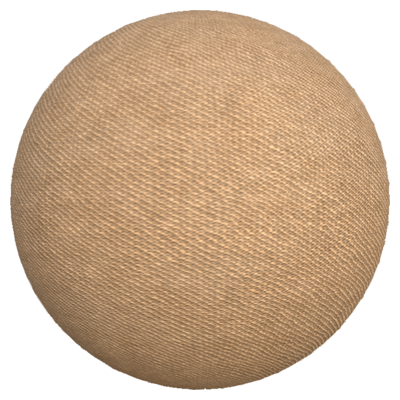
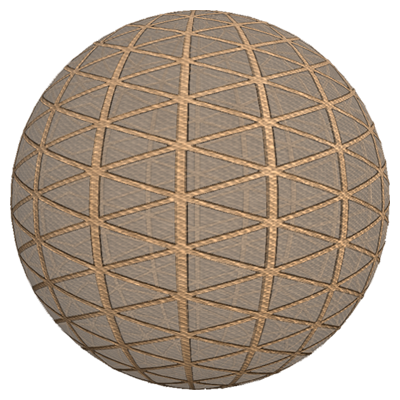
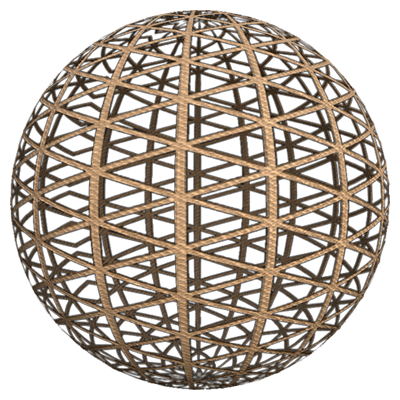
Image Maps
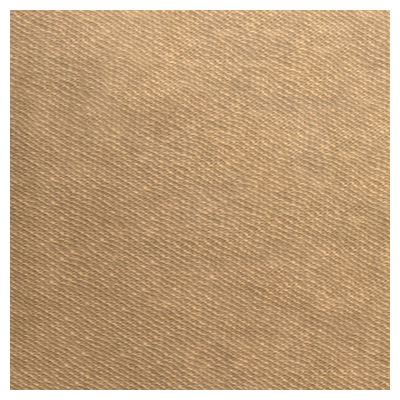
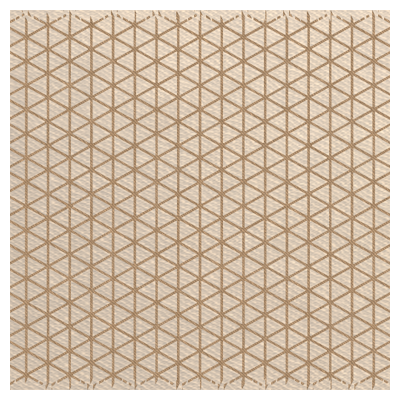
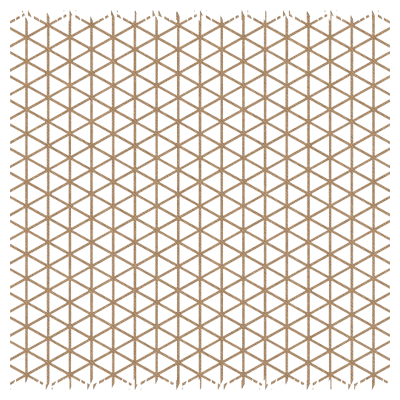
There are two outcomes of Transparency mode, depending on whether the MeshPart.Transparency is set to 0 or at least 0.02, although numerical precision may result in small values such as 0.01 triggering the opaque transparency.
- When alpha is used to cut out the shape of mostly opaque objects with hard edges such as foliage, lace fabric, and netting, set the
MeshPart.Transparencyto0. When parts of the surface are fully opaque, the Roblox engine can render them with proper depth‑based occlusion. Opaque surfaces also generally work better with depth‑based effects likeDepthOfFieldEffect, glass and water refraction, and water reflection. - When alpha is used to add detail to semi‑transparent objects or objects with smooth gradients of transparency, set the
MeshPart.Transparencyto at least0.02. This improves the quality of blending for objects such as dirty windows and soft‑edged feathers, but it will not work with all effects.
Tint mask#
You can use the AlphaMode.TintMask mode to apply SurfaceAppearance.Color tinting to selective areas of a surface. The tinting is strongest where the alpha channel is fully visible and not applied where the alpha channel is transparent.
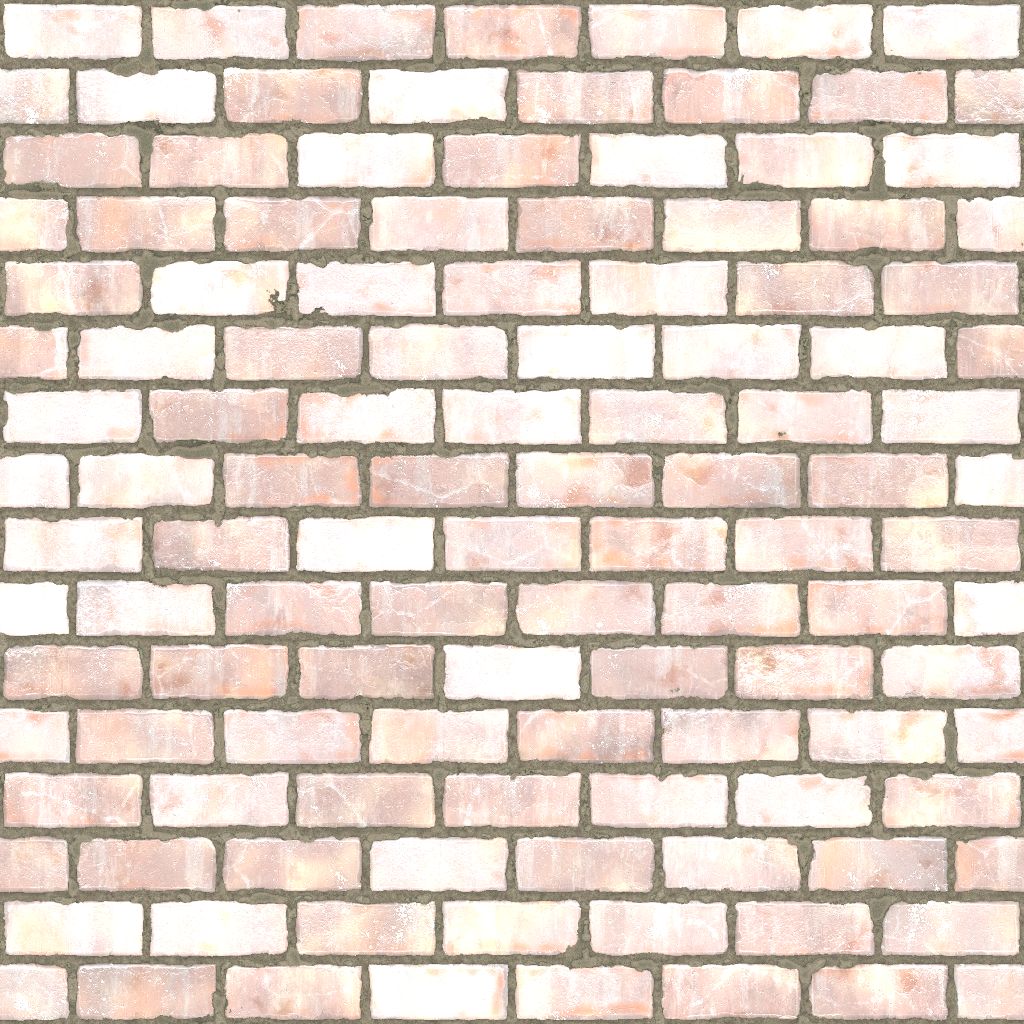
ColorMap RGB
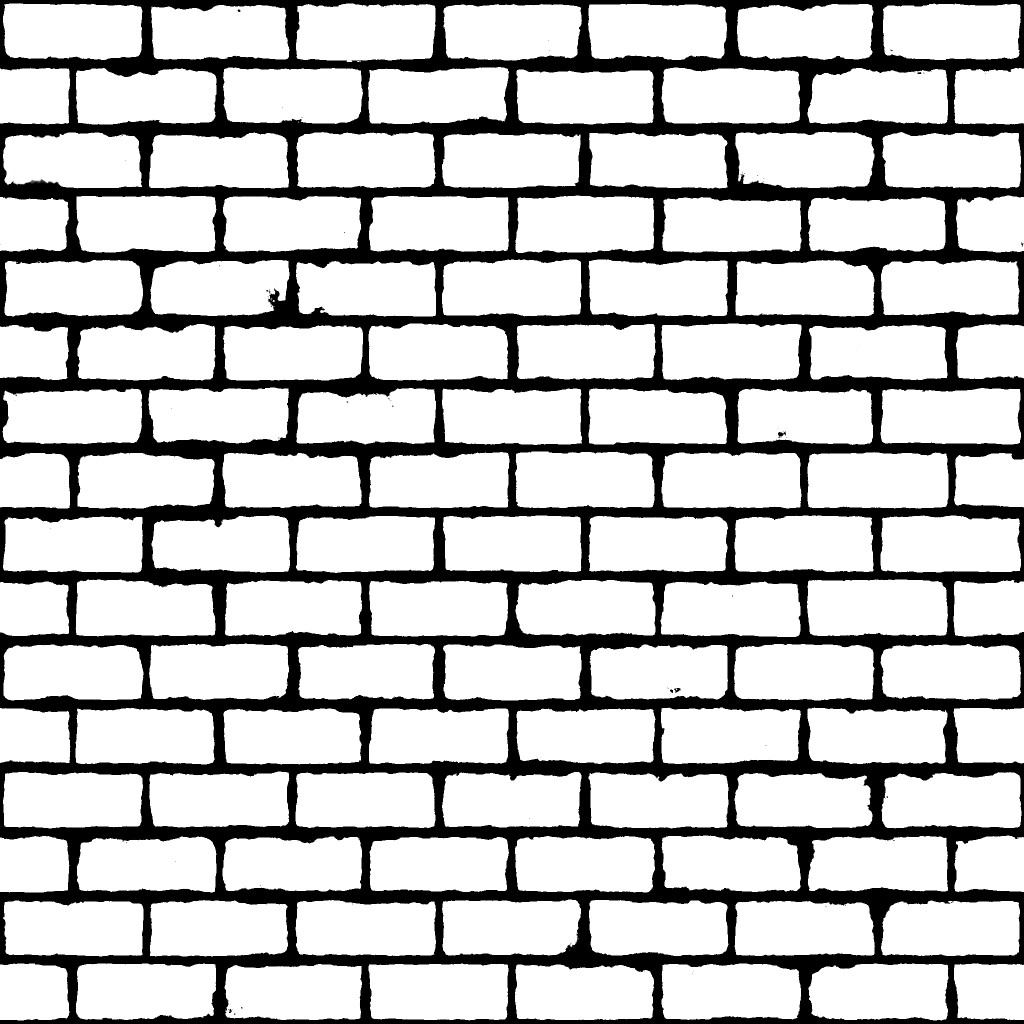
ColorMap Alpha
Example Results
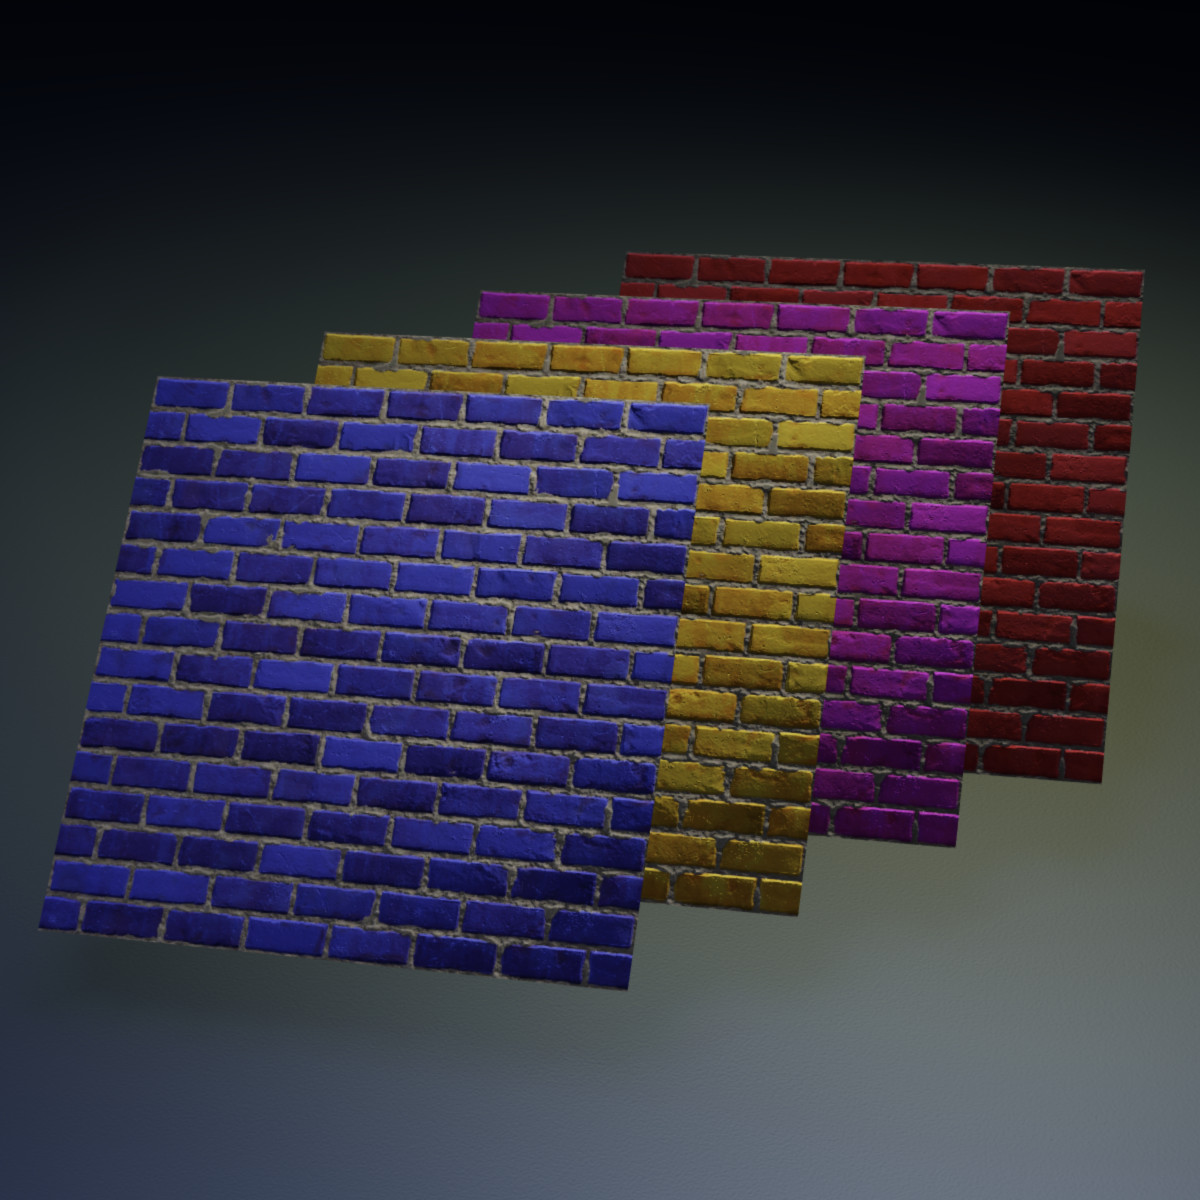
When creating SurfaceAppearance.ColorMap textures for use with a tint mask, preserve color in the transparent regions and turn off options such as pre-multiplied alpha that darken the color in transparent areas. The alpha values can also be semi-transparent to apply a partial tint to areas of the texture.
Color tinting#
You can apply a tint to your color map by modifying the SurfaceAppearance.Color property. Tinting does not affect performance and you can save on memory by reusing a single color map with different tints. Use color tinting to create additional low-cost variation between your MeshPart PBR textures or to programmatically modify your PBR surface colors in real-time.
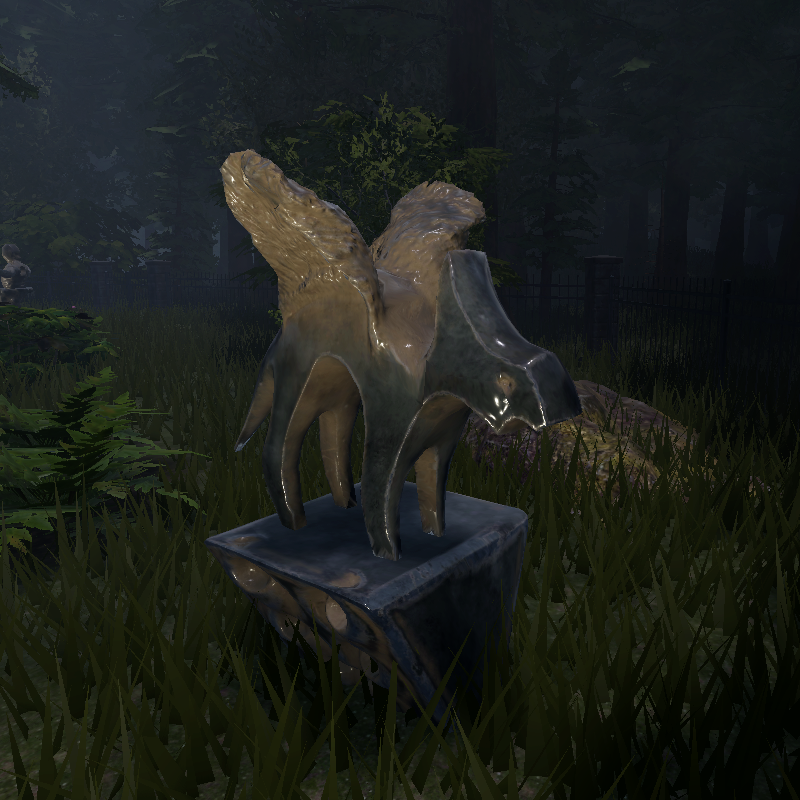
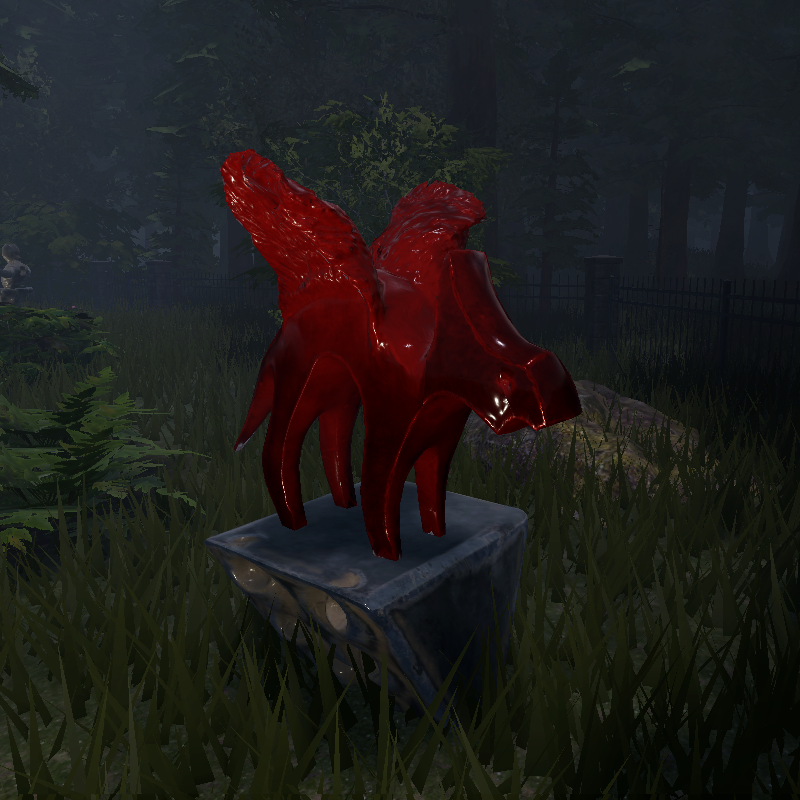
Color set to red.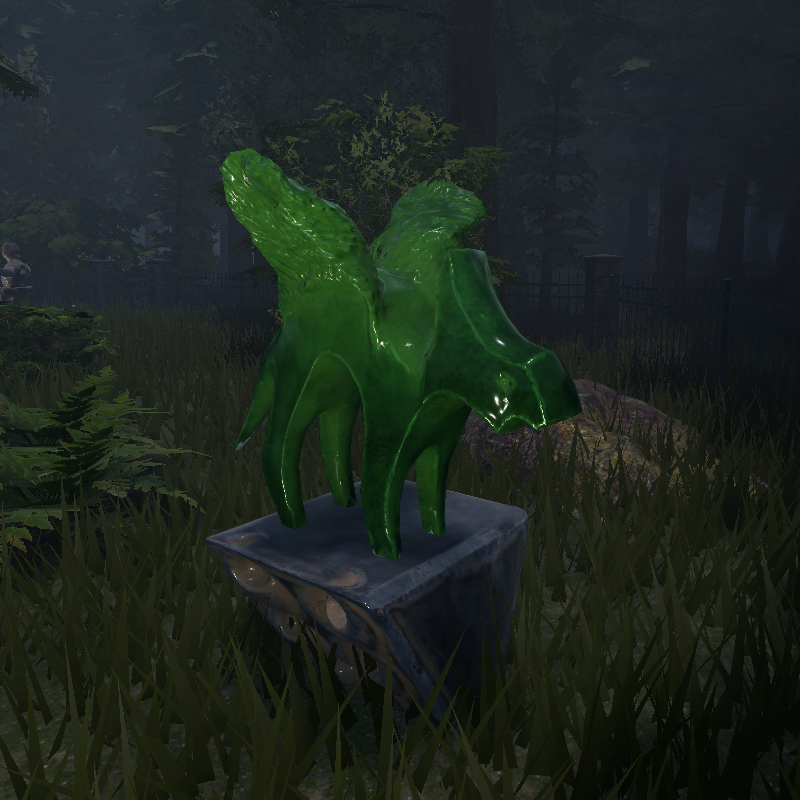
Color set to green.SurfaceAppearance.Color tinting applies as a multiplier, so the final appearance is a function of Color3 (texel color) times SurfaceAppearance.Color. This means that authoring your original SurfaceAppearance.ColorMap in near-white grayscale colors creates the strongest tinting effect when this property is applied.
Tinting only applies to the SurfaceAppearance.ColorMap and not the MeshPart.Color. You can continue to use alpha channels when applying transparency.
When SurfaceAppearance.AlphaMode is set to Overlay and an alpha channel is present, the underlying MeshPart.Color is revealed and SurfaceAppearance.Color tinting only applies to the visible SurfaceAppearance color map.
When SurfaceAppearance.AlphaMode is set to TintMask and an alpha channel is present, the alpha channel controls the amount of SurfaceAppearance.Color tinting. The tinting is strongest where the alpha channel is fully visible and not applied where the alpha channel is transparent.
Transparency AlphaMode
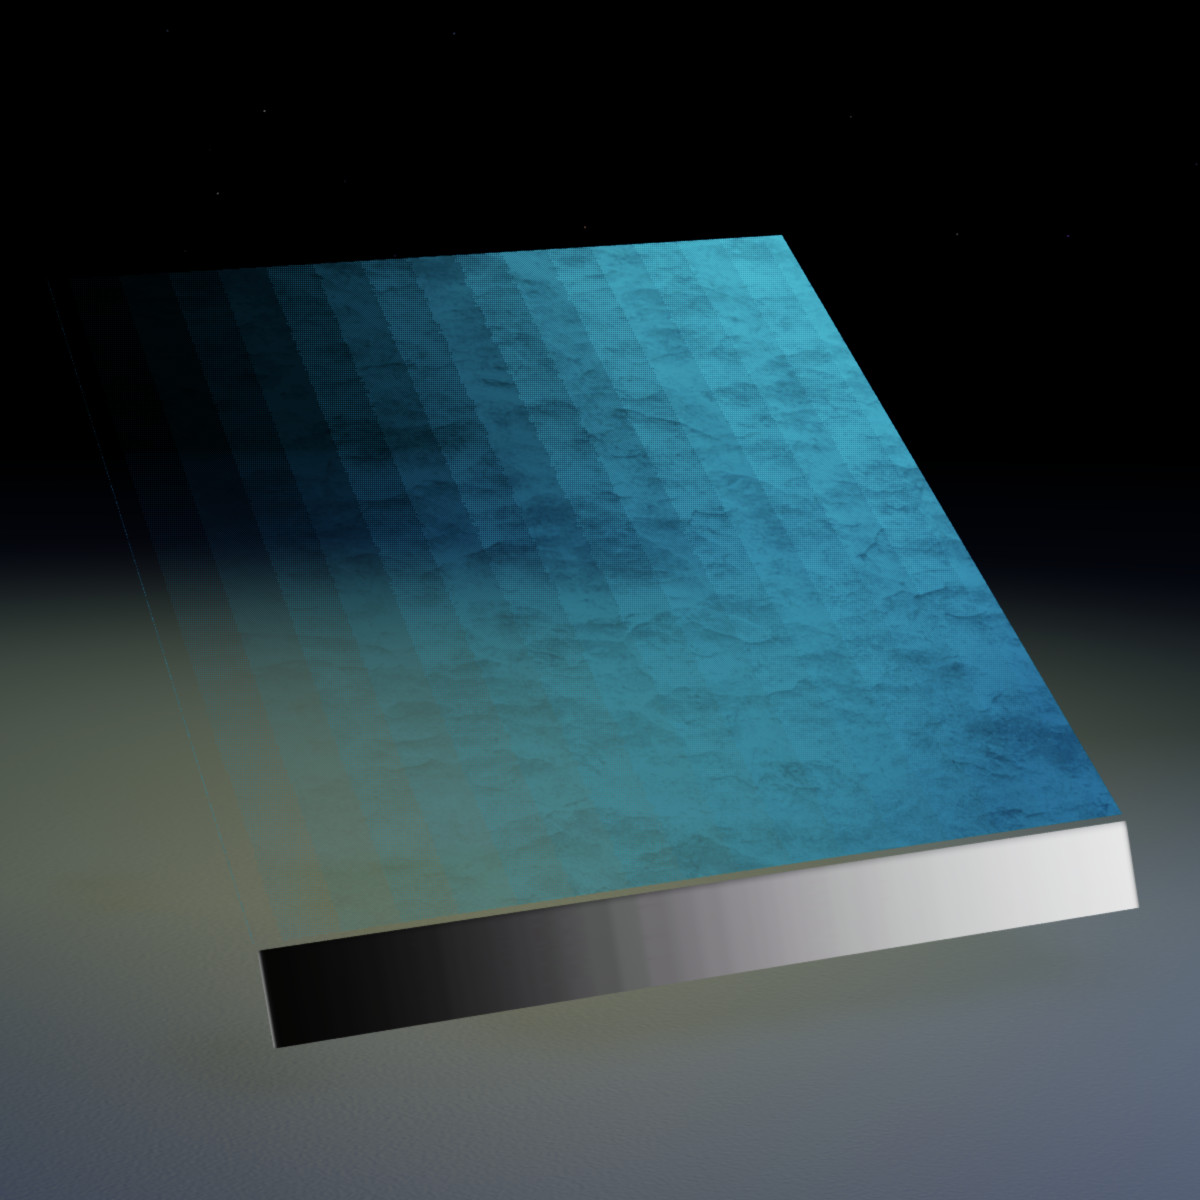
AlphaMode set to Transparency. The greyscale gradient bar at the bottom indicates the alpha value. MeshPart.Color is set to red and SurfaceAppearance.Color is set to cyan.Overlay AlphaMode
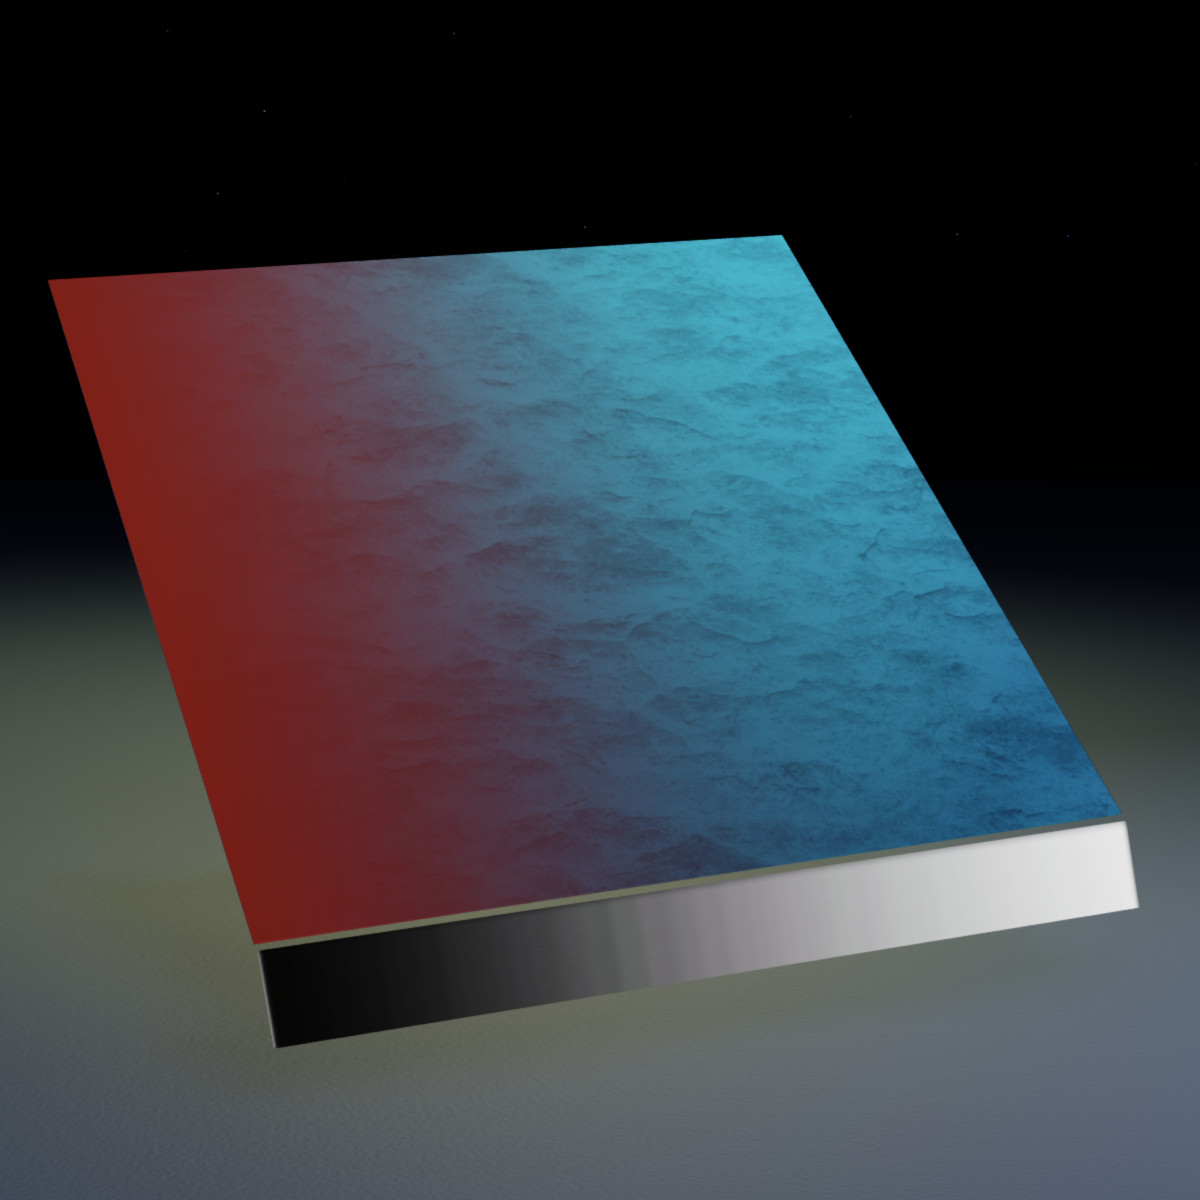
AlphaMode set to Overlay. The greyscale gradient bar at the bottom indicates the alpha value. MeshPart.Color is set to red and SurfaceAppearance.Color is set to cyan.TintMask AlphaMode
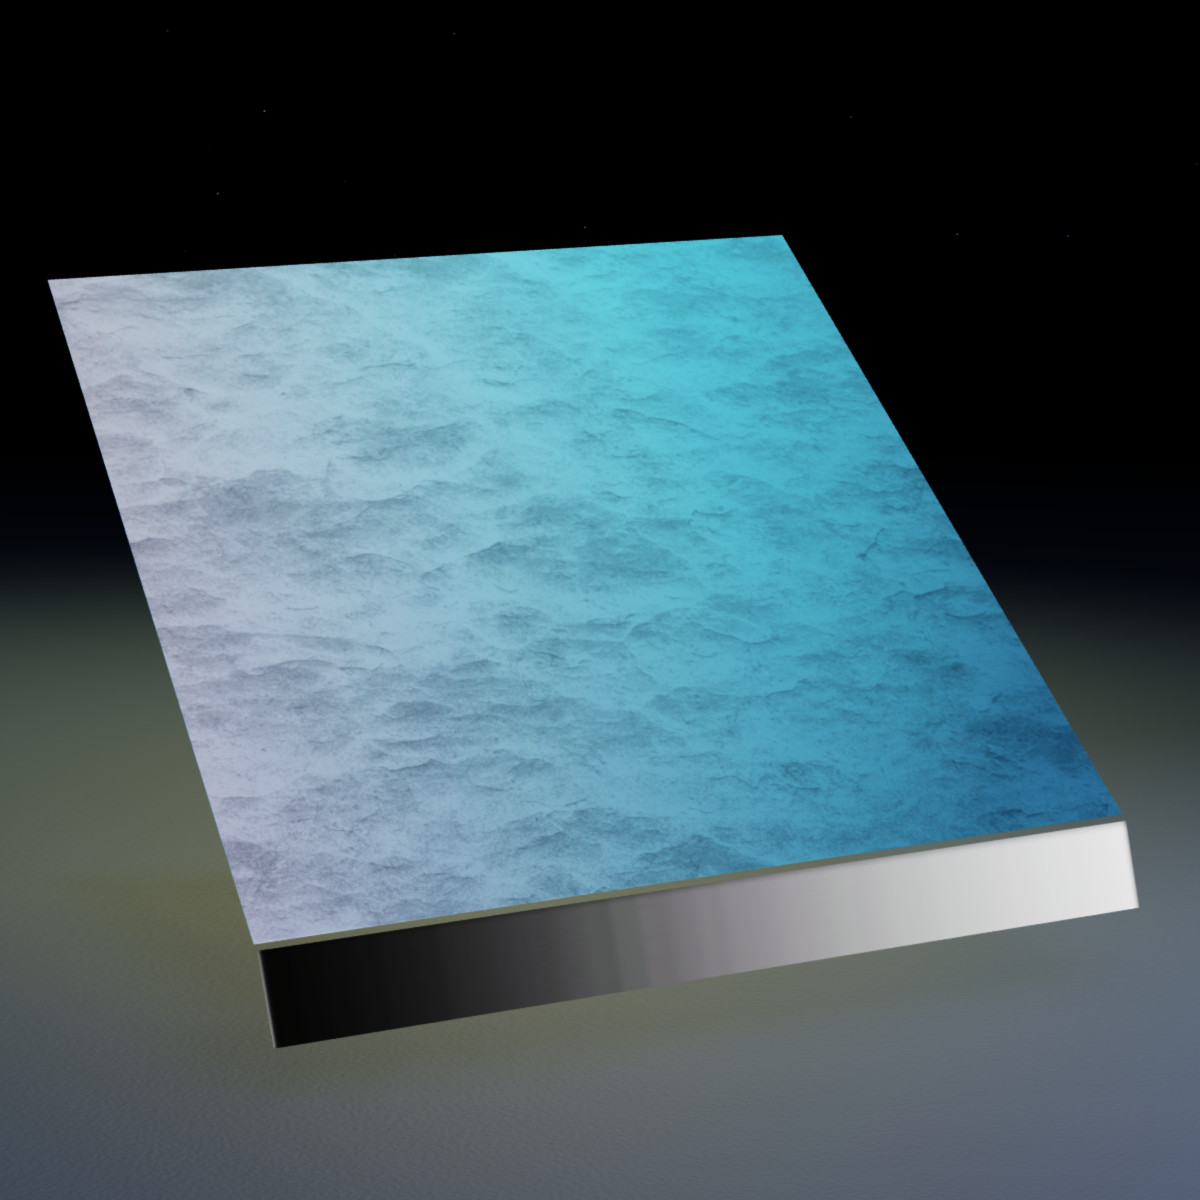
AlphaMode set to TintMask. The greyscale gradient bar at the bottom indicates the alpha value. MeshPart.Color is set to red and SurfaceAppearance.Color is set to cyan. Tint masking is not affected by MeshPart.Color.Normal#
The normal, or surface, map adds texture depth to your surface and behaves similarly to a height map. As a result, the effect may fade or intensify depending on the viewing angle and lighting environment.
In the following figure, you can switch between the mesh reference and the map reference for comparisons of normal map values:
Sample Meshes
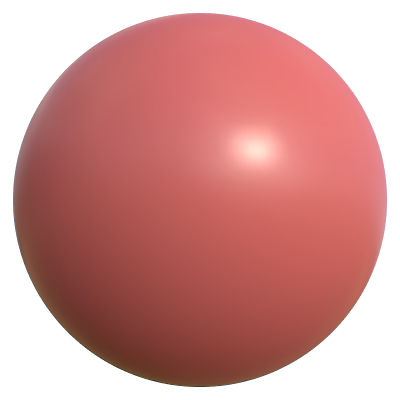
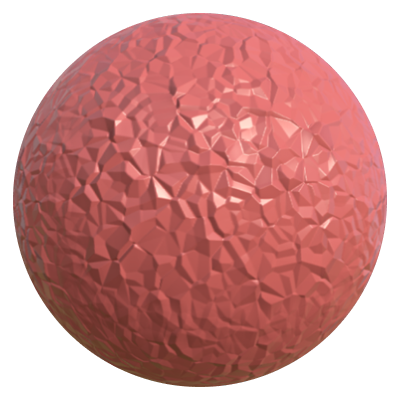
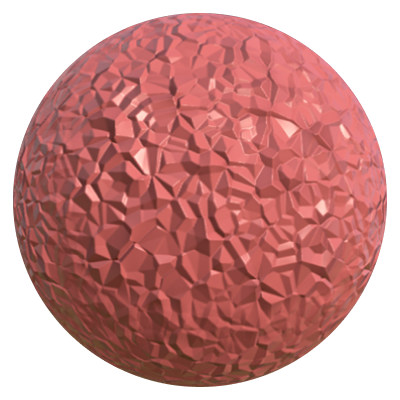
Image Maps
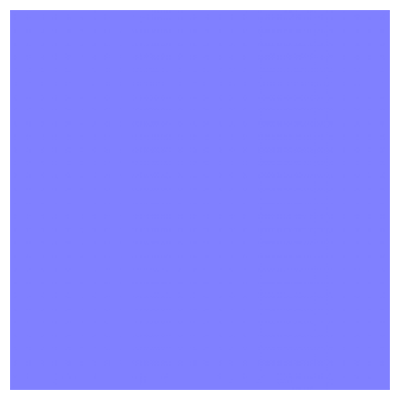
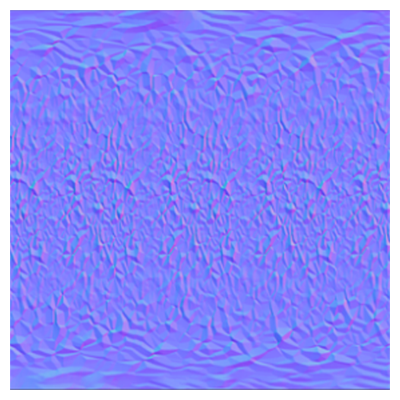
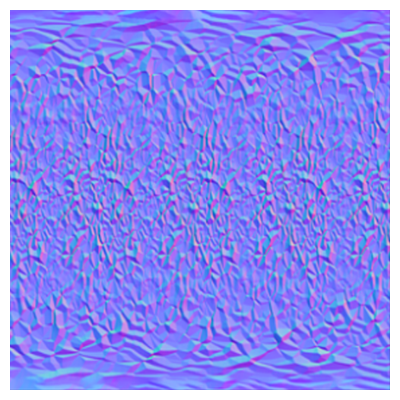
The R, G, and B channels of the image correspond respectively to the X, Y, and Z components of the local surface vector. A uniform image of color [127, 127, 255] translates to a completely flat normal map. Roblox only supports OpenGL format - Tangent Space normal maps.
Normal maps prominently affect the visual surface of a mesh and can accentuate awkward seams in your texture. Whenever possible, keep your texture seams hidden to avoid visual issues with your mesh.
Roughness#
Roughness, or microsurface, maps determine how light is spread across your model's surface. When roughness is at 0%, the surface doesn't scatter light at all, resulting in a much sharper and brighter reflection and glossiness on your material. At 100%, light and reflections evenly scatter over the model resulting in a less reflective matte-like surface.
The following figure shows comparisons of various roughness map values:
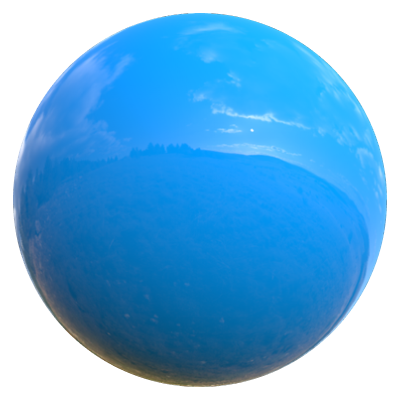
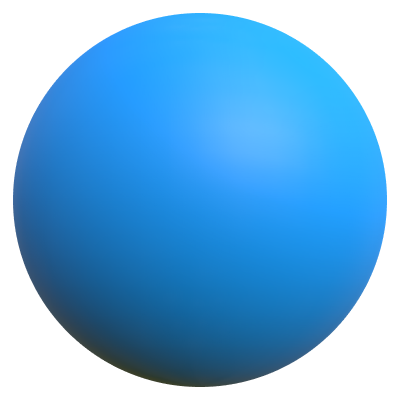
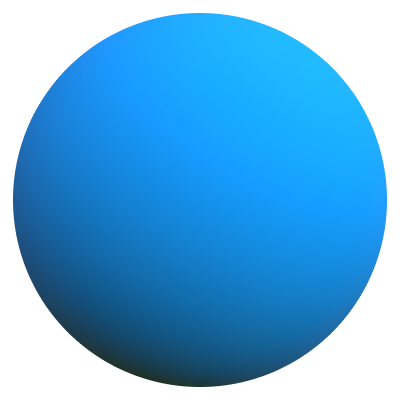
Roughness may impact how reflective an object is at different angles, referred to as the Fresnel effect. Studio's fresnel processing aims for physical real-world accuracy, although you may get unexpected specular contribution at certain angles even with rough surfaces. In some cases, you can compensate by increasing your roughness map value by around 0.1 more rough to achieve a consistent lighting response with your materials.
Even though Roblox renders this lighting effect accurately, the brightness and reflectivity of a surface may not respond consistently between your texture content creating software, such as Substance Painter, and Studio. See clothing examples for differences in rendering between applications.
Various combinations of the roughness and metalness can represent almost every possible real-world material surface. See material references for examples and references of how combinations of material values can create various surface appearances.
Metalness#
Metalness determines the reflectivity of a surface. In most cases, you should set this value to either 0% (non-metal) or 100% (metal), although you can use partial metalness values when creating surfaces with moderate reflective properties like satin or silk. This practice can subtly fake the reflections in the material to highlight the color from the color/albedo map over colors reflected in the environment.
See the following figure for comparisons of various metalness map values:
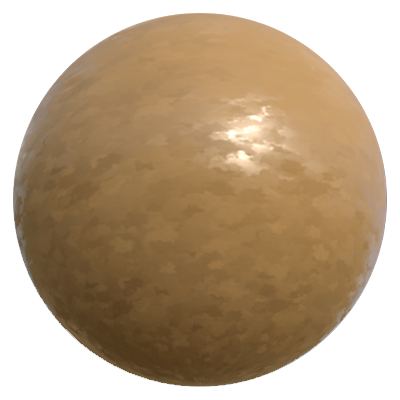
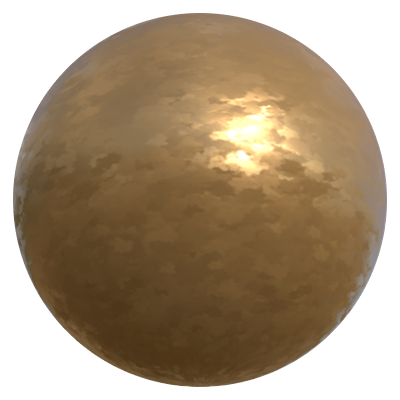
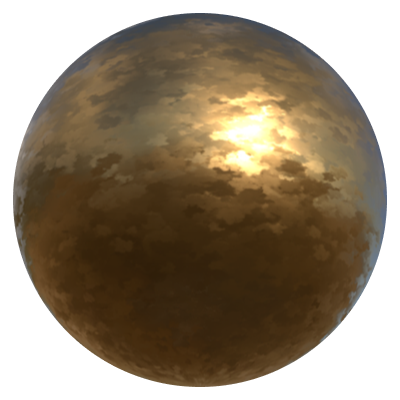
Different PBR renderers use various workflows for processing reflectiveness. Studio only uses the metalness workflow which determines whether a material is a nonmetal or a metal, sometimes referred to as an insulator or conductor.
Various combinations of the roughness and metalness can represent almost every possible real-world material surface. See material references for examples and references of how combinations of material values can create various surface appearances.
Emissive mask#
A grayscale EmissiveMaskContent content texture applies an emissive mask across the surface. This lets you use a texture to control emissiveness for more artistic control than the all‑or‑nothing Neon material and allows you to create detailed glowing effects like illuminated text, futuristic armor, or bioluminescent creatures.
The associated EmissiveTint property determines the tinting color for emissive contribution, and EmissiveStrength determines the strength of emissive contribution.
You can use emissive masks on avatar items published to the Marketplace, not just objects inside experiences. This applies to 3D accessories and layered clothing, and to avatar bodies, where any single emissive body part classifies the whole body as an emissive item. 2D clothing doesn't support emissive qualities. Emissive support doesn't yet extend to makeup, though Face Makeup, Lip Makeup, and Eye Makeup will gain support for emissive qualities in a future update. Creating emissive items through In-Experience Creation (IEC) also isn't supported at launch and is planned as a follow-up release. Items published to the Marketplace must keep EmissiveStrength between 0 and 40 to pass validation.