Particle emitters
Particle emitters emit 2D images to simulate special effects like fire, smoke, and sparks.
A ParticleEmitter is an object that emits customizable 2D images (particles) into the world, useful for simulating special effects like fire, smoke, and sparks.
Create particle emitters#
You can parent a ParticleEmitter to an Attachment or an object of the BasePart class. When parented to a BasePart, particles spawn randomly within the part's bounding box or shape; when parented to an Attachment, particles spawn from the attachment's position.
Additionally, the EmissionDirection property determines the face (NormalId) of emission when the emitter is parented to a BasePart. When you change this property, you consequently change the particle emission direction as well.
When you rotate an emitter's parent BasePart, the orientation of its
face also changes, altering the direction of particle emission. Alternatively,
if you add an emitter to an Attachment, you can rotate the attachment
itself instead of using EmissionDirection.
To create a particle emitter on a part or attachment:
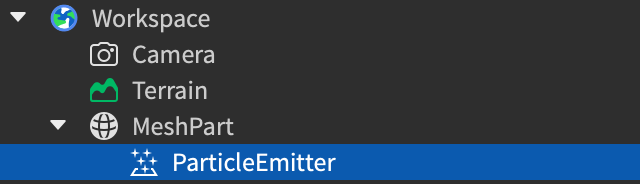
In the Explorer window, hover over the part or attachment and click the ⊕ button. A contextual menu displays.
From the menu, insert a ParticleEmitter. The particle emitter immediately emits particles within the part's area or from the attachment's position.
Customize particles#
By experimenting with the following properties, you can customize a particle's visual appearance to make unique gameplay elements like bursting volcanos, magical dust, and dust motes.
The visual quality of your particles can change depending on the graphic settings on the player's device. To review your particles across quality levels, it's recommended to open Studio Settings, search for Editor Quality Level, and set it to the both the lowest and highest level after you finish customizing your particles.
Texture#
The Texture
property renders the image that each particle displays. By default,
particle emitters have particles with a white sparkle texture, but you
can change it to any texture to achieve interesting effects.
Texture assetsIf you're creating an image to use as a particle texture, it's best to use .png format with a transparent background. If your texture is grayscale with no alpha channel, try setting the particle emitter's LightEmission property to 1 to hide the darker regions.
For steps on how to import an image for use as a particle texture, see here.
To insert an image into a particle emitter:
From Studio's Window menu or Home tab toolbar, open the Toolbox.
If you want to insert an image that you have previously imported, click the Inventory tab. If you want to insert an image from another creator, click the Creator Store tab.
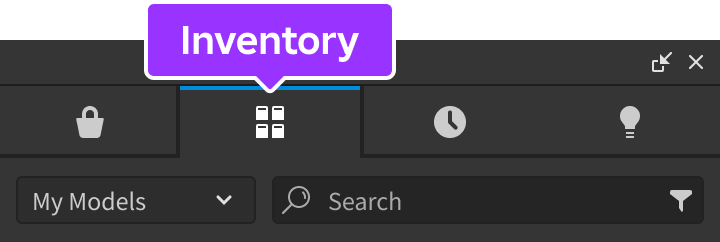
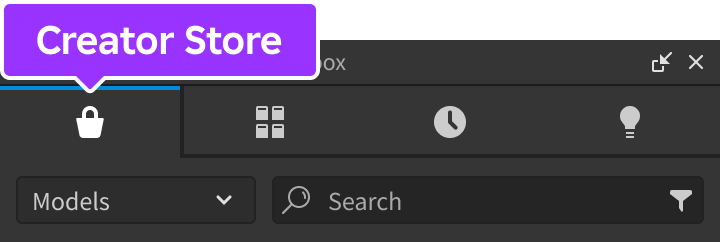
Right-click on the image you want to insert into a particle emitter and select Copy Asset ID.
In the Explorer window, select a
ParticleEmitter.In the Properties window, paste the asset ID into the Texture property.
Color#
The Color property tints each particle's texture to either a specific hue, or to a gradient ColorSequence across its lifetime.
Constant Color
In the Explorer window, select the
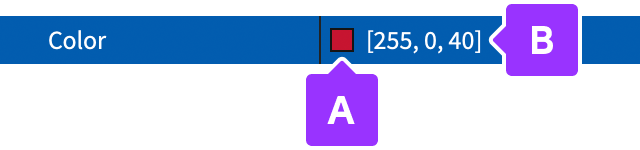
ParticleEmitter.In the Properties window, select the Color property. You can either:
- Click on the color square to open the Colors pop-up window and select a color.
- Input three numbers into the RGB color value field.
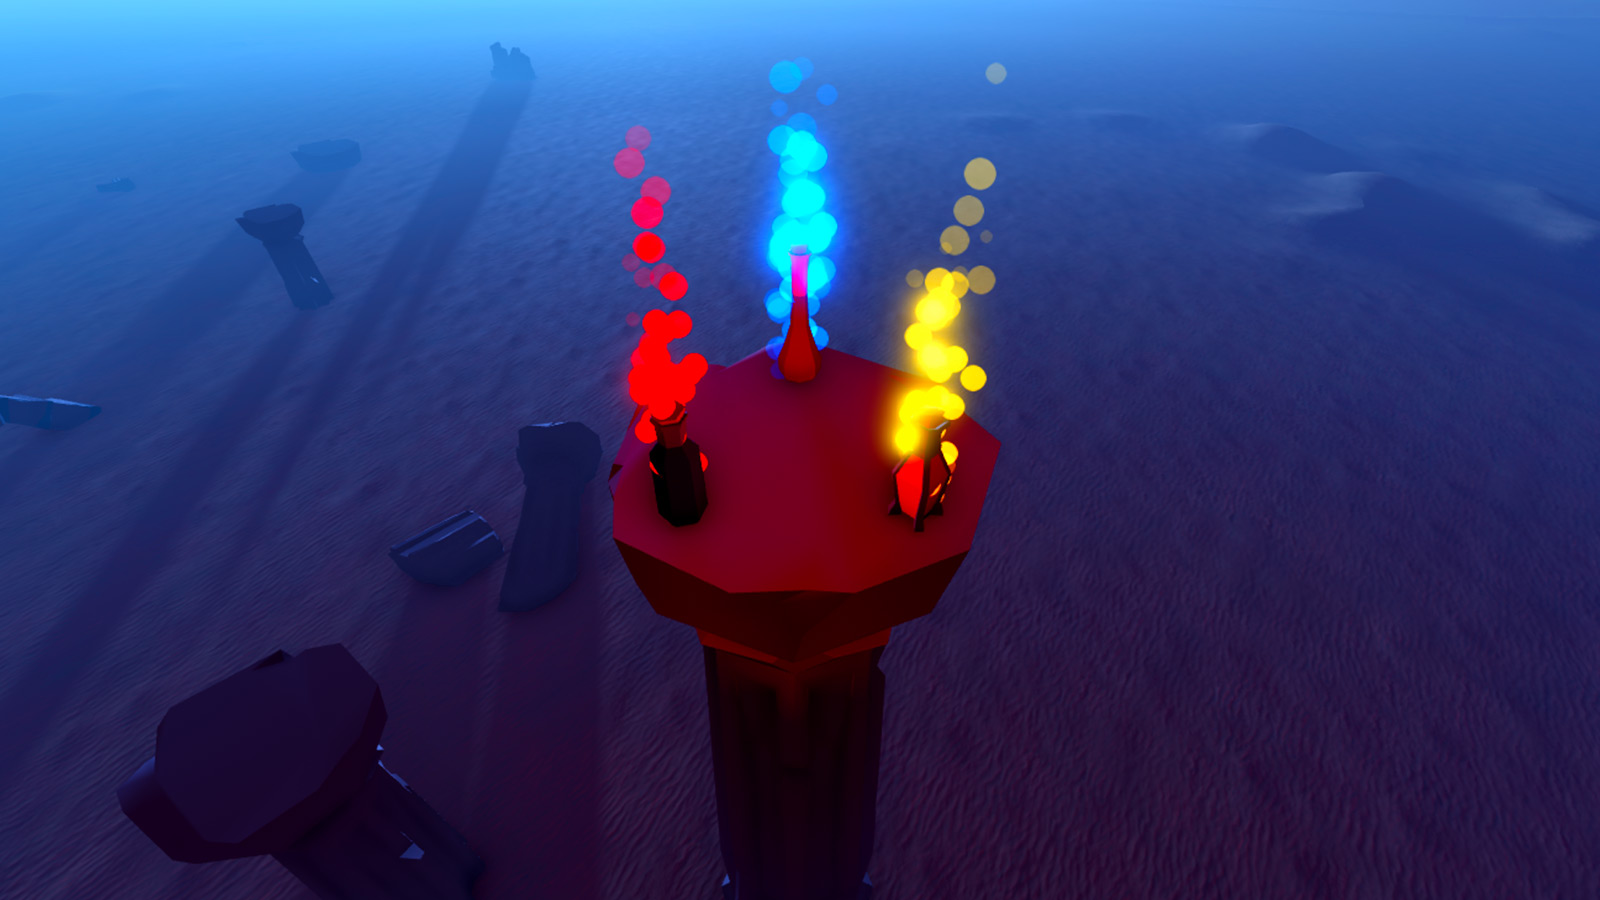
Similar particle emitters with different colored particles
Color Gradient
In the Explorer window, select the
ParticleEmitter.In the Properties window, click inside the Color property field, then click the ⋯ button.

In the color sequence popup, each triangle on the bottom axis is a keypoint that determines the color value of the property at that point in the particle's lifetime.
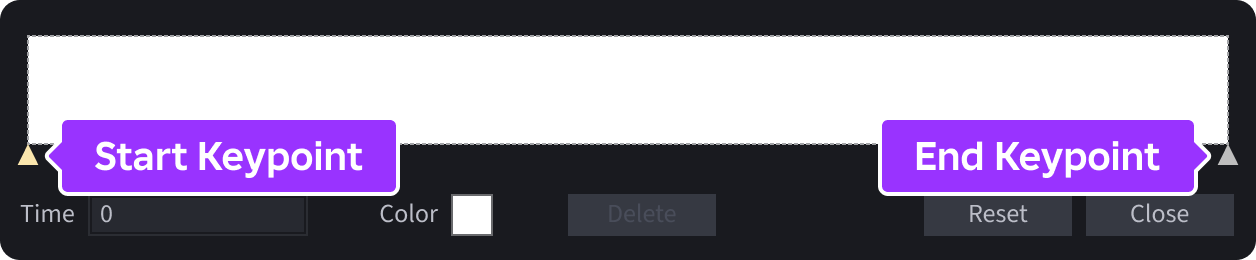
Click the keypoint at the start of the color sequence, click the small square next to Color, and select a color from the popup window.
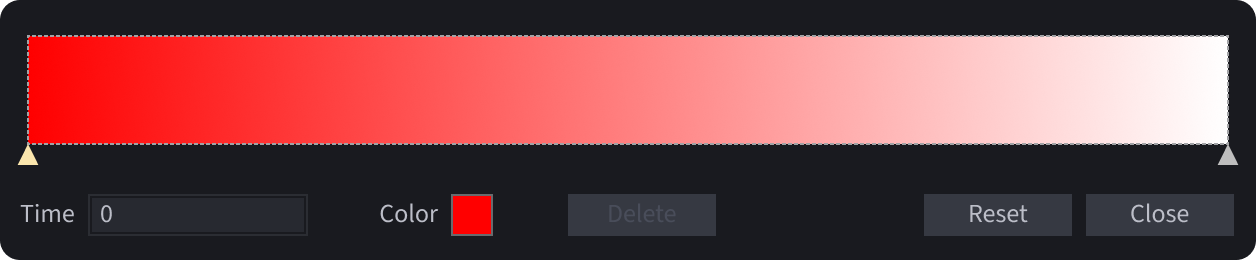
If you want particles to change their color near the end of their lifetime, click the keypoint at the end of the color sequence, click the small square next to Color, and select a color from the popup window.
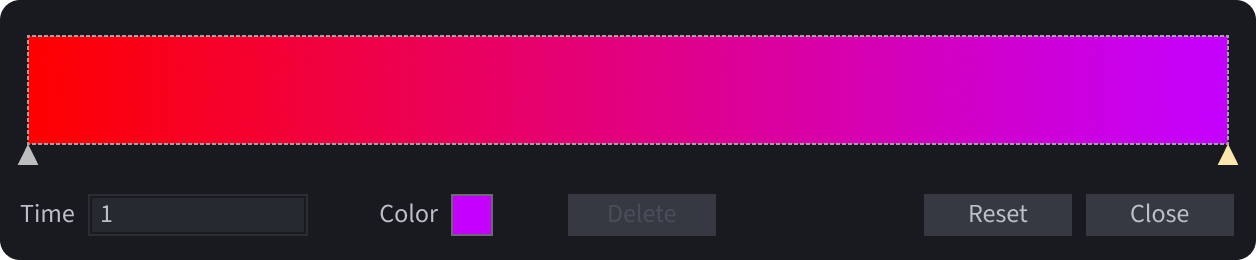
For more customization, you can:
- Add another keypoint by clicking anywhere on the graph.
- Make a color change sooner or later within the gradient by dragging an intermediary keypoint to a new position.
- Delete an intermediary keypoint by selecting it and clicking the Delete button.
- Reset the entire sequence by clicking the Reset button.
Size#
The Size property sets the size of each particle to a consistent size, or to a NumberSequence across its lifetime.
Constant Size
- In the Explorer window, select the
ParticleEmitter. - In the Properties window, select the Size property.
- Input the size that you want each particle to be.
Number Sequence
In the Explorer window, select the
ParticleEmitter.In the Properties window, click inside the Size property field, then click the ⋯ button.

In the number sequence popup, each square at the start and end of the graph is a keypoint that determines the size value of the property at that point in the particle's lifetime. By default, the graph defaults to a straight line and a particle remains the same size throughout its lifetime.
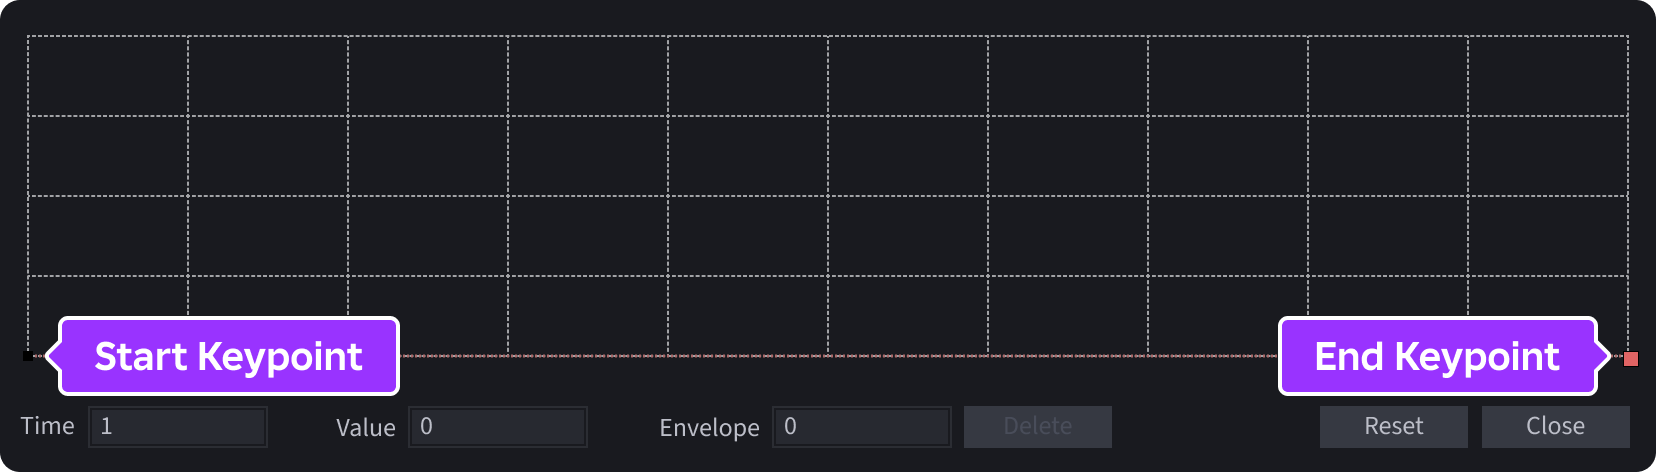
Perform any of the following actions:
To change the size at a point, click on a keypoint and either drag it up or down, or enter a value in the Value field.
To insert a new keypoint, click on any point in the graph.
To delete a keypoint, select it and click the Delete button.
Reset the entire sequence by clicking the Reset button.
To add a random range for size, click on any keypoint and drag the envelope lines up or down. At that time, particles generate at a random size between the pink envelope.
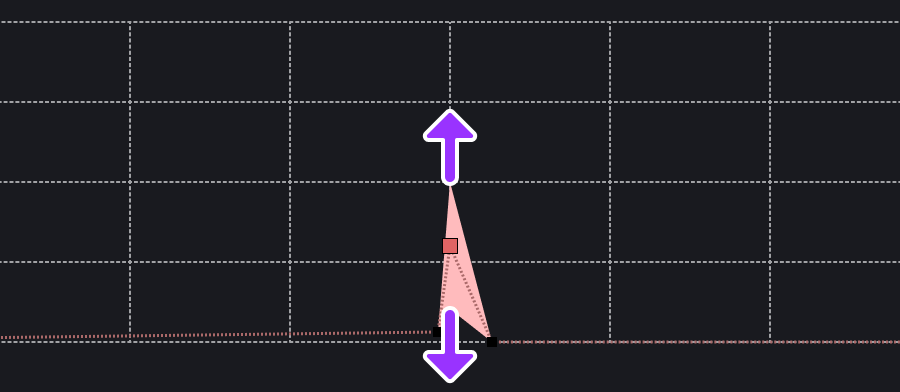
Emitter with large size envelope toward end of its lifetime
Particle size can impact performance due to fill-rate. The more pixels particles occupy on a player's screen, the more costly it is on the GPU.
Transparency#
The Transparency property sets the opacity of each particle as a consistent value, or as a NumberSequence opacity across its lifetime. Opacity can range from 0 (totally opaque) to 1 (fully clear). For details on how to set particles to either a specific opacity or to a number sequence, follow the process in customizing Size but use the emitter's Transparency property field instead.
The Transparency property is one of the most vital properties of a particle emitter. Fading particles near the start and/or end of their lifetime avoids a popping in/out effect and provides a more realistic effect.
Lifetime#
The Lifetime
property sets the lifetime of a particle in seconds. You can set this
property either as a consistent value, or provide a Min and Max
range from which a random lifetime will be chosen for each particle.
Particles have a maximum lifetime of 20 seconds. Lifetime values higher than this will be internally capped at 20.
Speed#
The Speed property determines a random range of velocities (minimum to maximum) at which new particles will emit, measured in studs per second. Each particle's velocity is chosen upon emission and it applies in the EmissionDirection. Negative values cause particles to travel in reverse.
Note that changing Speed does not affect active particles and they retain whatever speed they already have. However, Acceleration, Drag, and VelocityInheritance can be used to affect the speed of active particles over their lifetime.
Rate#
The Rate property sets the number of particles that emit per second. A single particle emitter can create up to 400 particles per second (100 per second on mobile). For best performance, keep the particle rate as low as possible and experiment with size and other properties to achieve the desired visual effect.
Particle count can impact performance due to overdraw, especially when particles are overlapping. The more layers of transparent effects on screen, the more costly it is on the GPU.
Orientation#
The Orientation property determines which
orientation mode to use for an emitter's particle geometry.
| Orientation | Particle behavior |
| FacingCamera | Standard camera-facing billboard quad; default behavior. |
| FacingCameraWorldUp | Facing the camera, but rotating only on the vertical upward world Y axis. |
| VelocityParallel | Aligned parallel to their direction of movement. |
| VelocityPerpendicular | Aligned perpendicular to their direction movement. |
LightEmission#
The LightEmission property determines the blending of particle Texture colors with the colors behind them. A value of 0 uses normal blending mode while a value of 1 uses additive blending. Higher values can make particles glow even in environments with low lighting.
SpreadAngle#
The SpreadAngle property has an X and a Y value which determine the range of angles from which a particle can emit. The range is calculated from both sides around the axes; for example, a value of (45, 0) emits particles in a range of 0° to 45° away from the EmissionDirection across the X axis.
WindAffectsDrag#
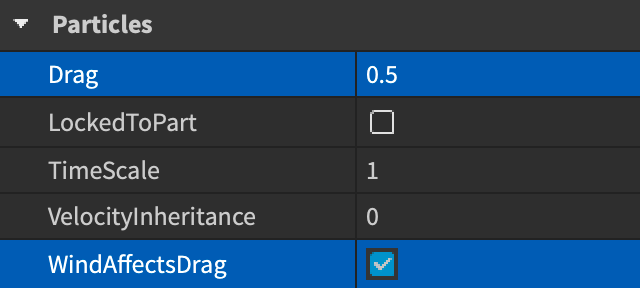
If you've enabled global wind in a game, particles will follow the global wind vector as long as the emitter's WindAffectsDrag property is enabled and its Drag property is greater than 0.
Shape#
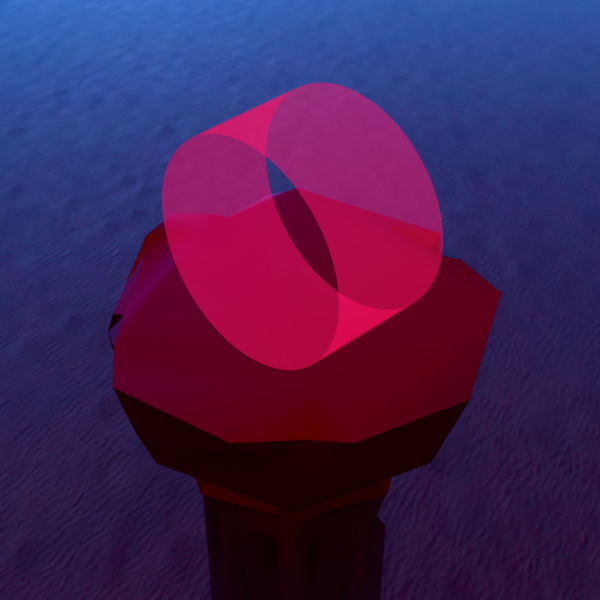
The Shape property sets the shape of the particle emitter to either a Box, Sphere, Cylinder, or Disc.
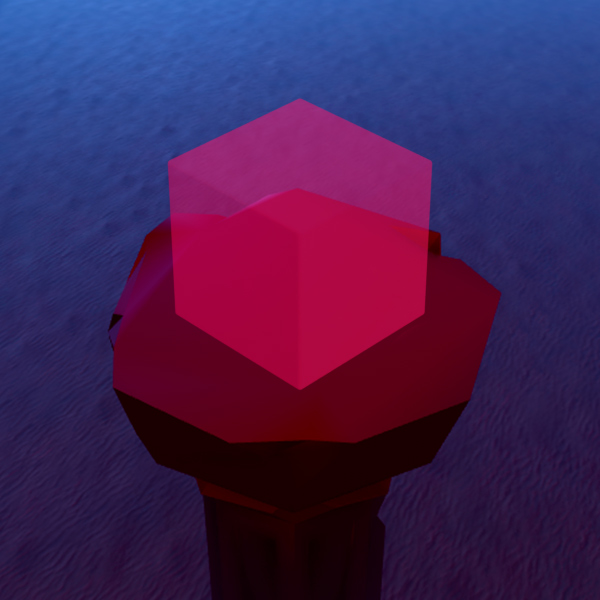
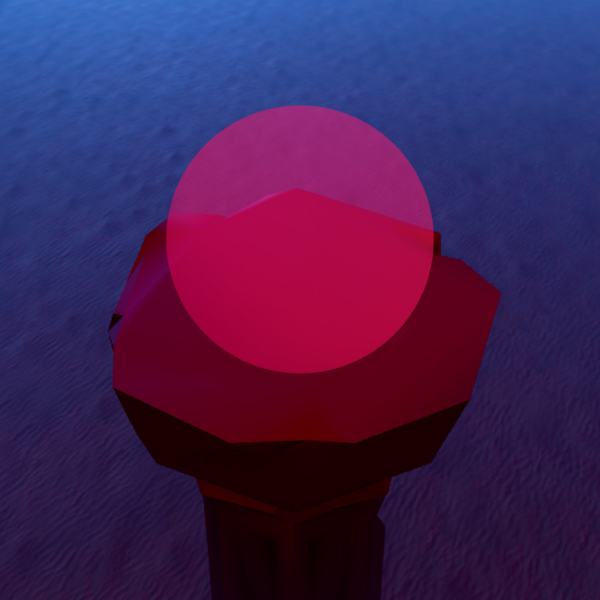
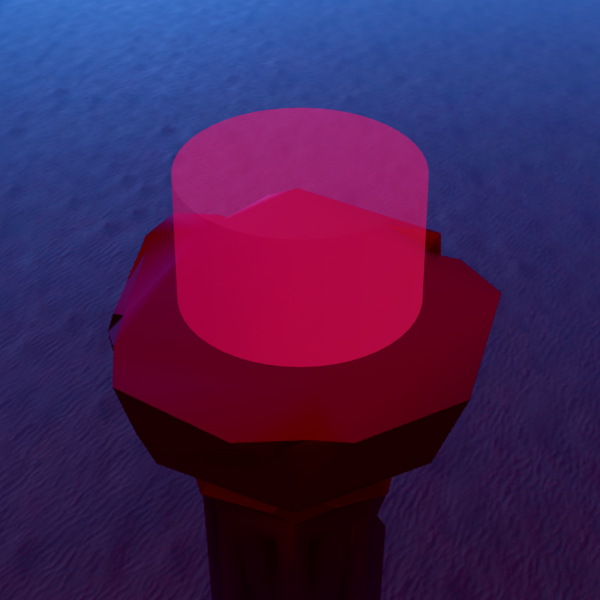
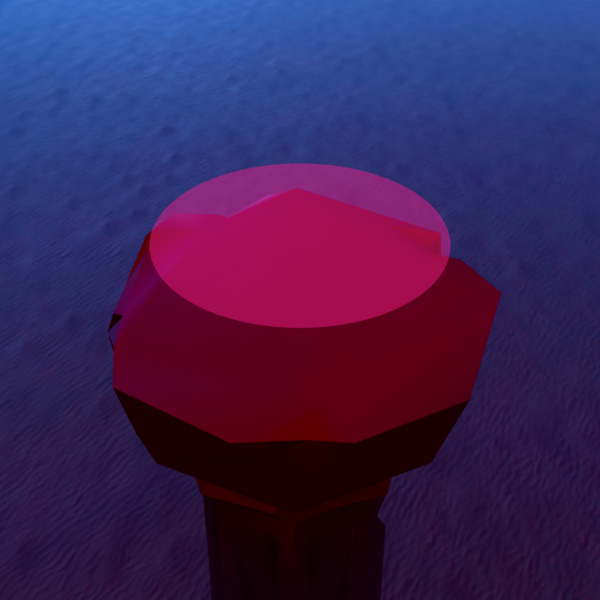
After you select a shape for your particle emitter, you can experiment with the ShapeStyle, ShapeInOut, and ShapePartial properties to further customize particle emission.
If you parent a particle emitter to an Attachment, the Sphere and Cylinder shapes will not display correctly. These shapes should only be used if the emitter is parented to a BasePart.
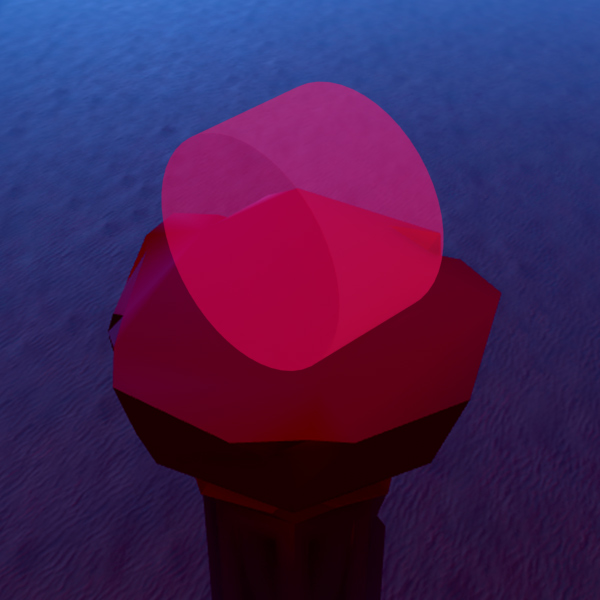
ShapeStyle#
The
ShapeStyle
property sets the emission type to either:
- Volume — Particles emit anywhere within the shape.
- Surface — Particles only emit from the outside of the shape.
ShapeInOut#
The ShapeInOut property sets the emission as follows:
- Inward — Particles emit toward the shape.
- Outward — Particles emit away from the shape.
- InAndOut — Particles randomly behave as both Inward and Outward.
ShapePartial#
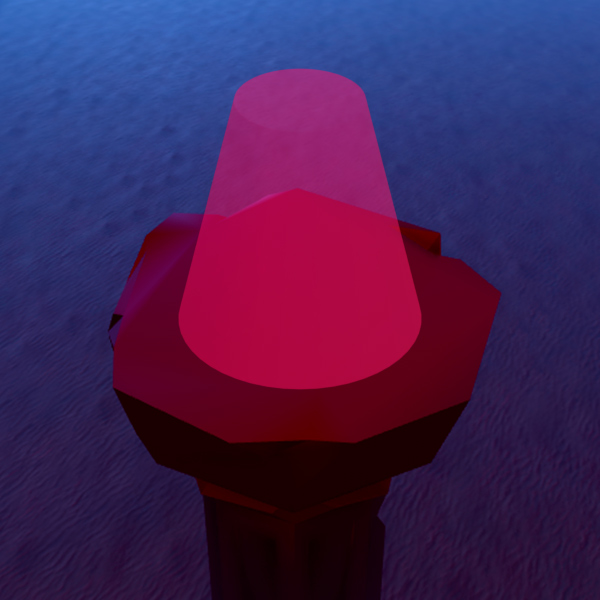
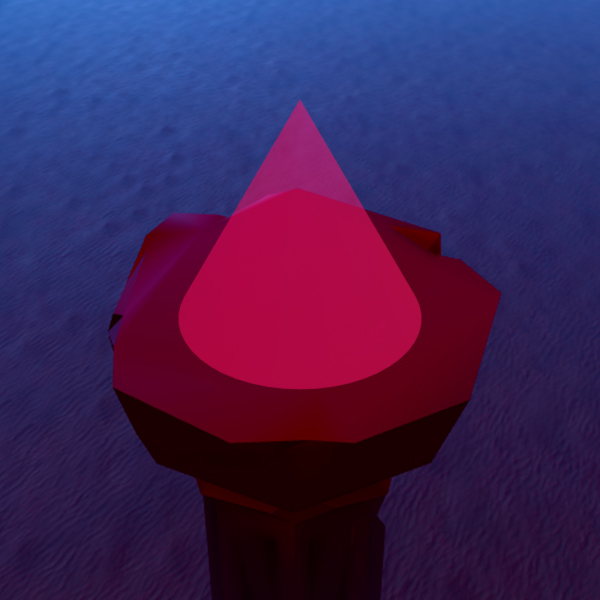
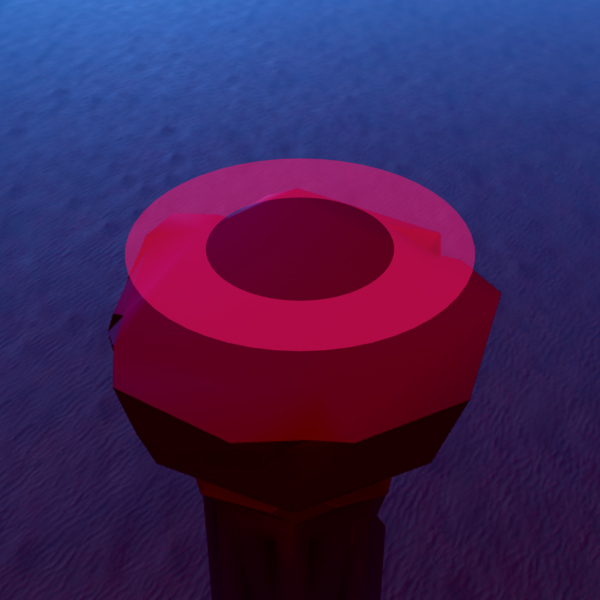
The ShapePartial property is a factor you can use to further modify Cylinder, Disc, and Sphere shapes.
Cylinder
For cylinders, ShapePartial multiplies the radius of the cylinder on the side of its EmissionDirection.
Disc
For discs, ShapePartial inversely multiplies the inner radius of the disc.
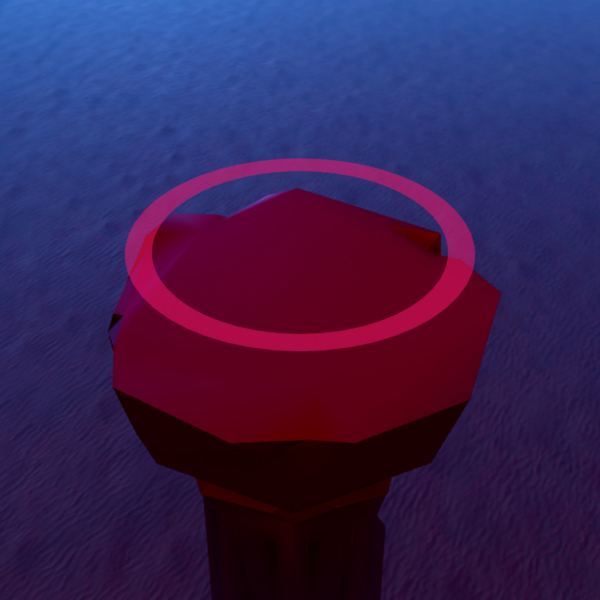
Sphere
For spheres, ShapePartial multiplies the hemispherical angle.
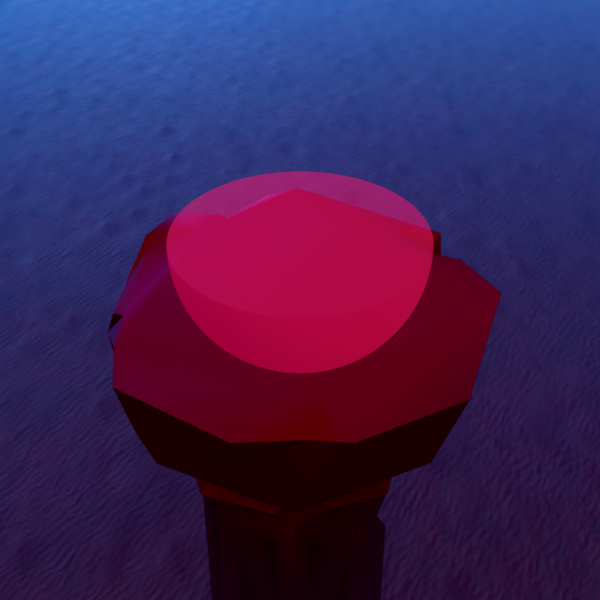
Squash#
The Squash property allows for non-uniform scaling of particles, curve-controlled over their lifetime. Values greater than 0 cause particles to both shrink horizontally and grow vertically, while values less than 0 cause particles to both grow horizontally and shrink vertically. For details on how to set the squash amount to either a constant or to a NumberSequence, follow the process in customizing Size but use the emitter's Squash property field instead.
Flipbooks#
Particle flipbook textures let you animate a particle's texture over its lifetime.
The flipbook texture can have a frame layout of 2×2, 4×4, 8×8, or custom. For example, the following 1024×1024 image has an 8×8 layout, so it's suitable for a 64‑frame animation.
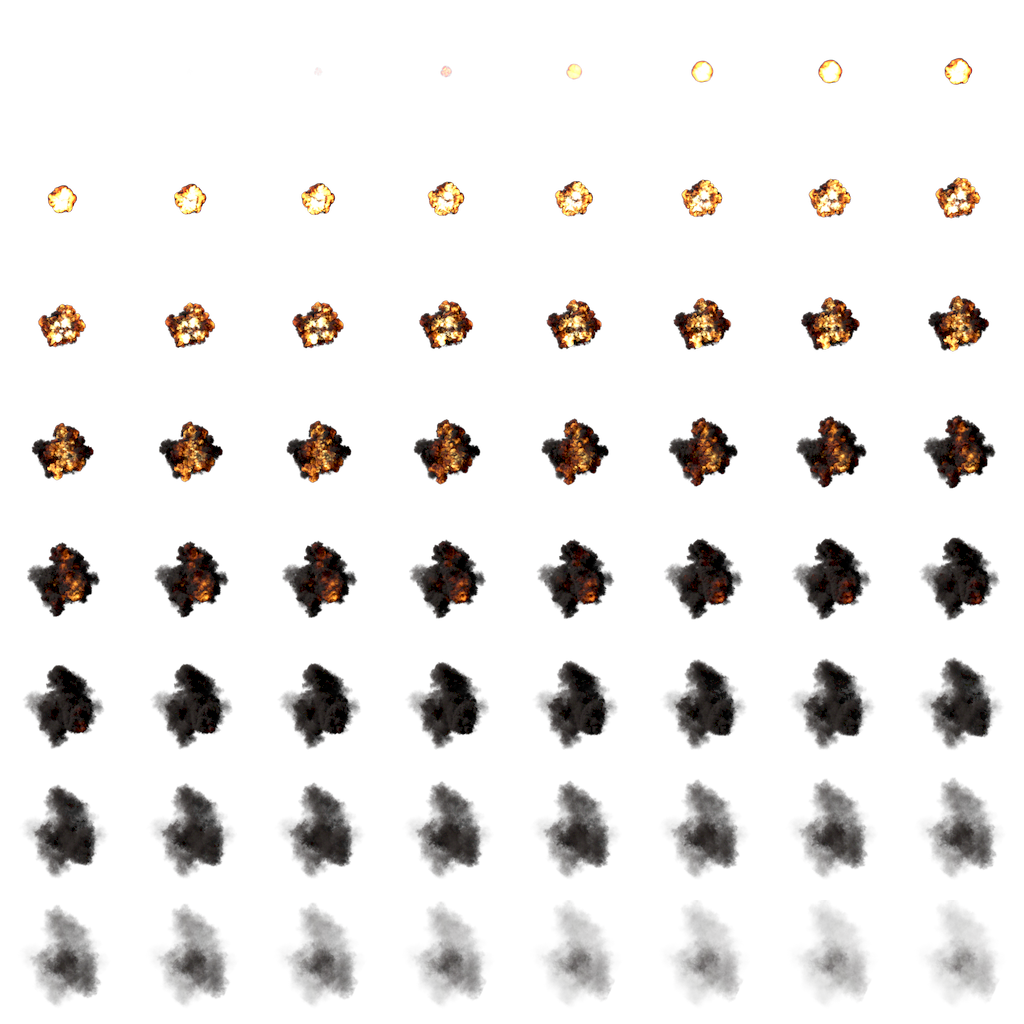
When you create a flipbook texture, include spacing between each of the particle frames. In some cases, mip filtering might require even more spacing. The previous image has transparent spacing around each frame for the flipbook texture.
Features with custom textures such as flipbooks cost memory to render. If you use many flipbooks with other features that use high memory, then clients automatically deactivate flipbooks when they are low on memory, which is likely for older mobile phones. To reduce the memory usage of flipbooks, use fewer unique animated particle effects or choose a texture of smaller resolution when possible. Reusing textures costs less memory than using unique textures.
Once you've specified a valid flipbook texture for the emitter's Texture property, the FlipbookLayout property determines the layout of the texture. It can be any value of the ParticleFlipbookLayout enum:
None— Disable flipbook features and use the texture as a single static texture over the particle's lifetime.Grid2x2— 2×2 frames for a 4-frame animation.Grid4x4— 4×4 frames for a 16-frame animation.Grid8x8— 8×8 frames for a 64-frame animation.Custom— A custom grid size defined byFlipbookSizeXandFlipbookSizeY.
To further customize the flipbook behavior, you can adjust the following properties:
FlipbookFramerate
The FlipbookFramerate property determines how fast the flipbook texture animates in frames per second. Like Lifetime, you can set a minimum and maximum range to randomize the framerate of the flip book, with a maximum of 30 frames per second.
FlipbookMode
The FlipbookMode property determines the type of the flipbook animation. The property can be any value of the ParticleFlipbookMode enum:
- Loop — Continuously play through all frames, starting back at the first frame after playing the last.
- OneShot — Play through the animation only once across the particle's lifetime. With this setting, the
FlipbookFramerateproperty doesn't apply; instead, the framerate is determined by the particle'sLifetimedivided evenly by the number of frames in the animation. OneShot animations are useful for clear non-repeating animations, such as an explosion that creates a puff of smoke and then fades out. - PingPong — Play from the first to the last frame, then in reverse from the last to the first, repeating throughout the
Lifetimeof the particle. - Random — Play the frames in a random order, blending/crossfading from one frame to the next. This can be useful for organic particle textures at low framerates, such as stars slowly twinkling between subtly different shapes.
FlipbookStartRandom
The FlipbookStartRandom property determines whether each particle begins at a random frame of the animation instead of always starting at the first frame. One use case is to enable this property and also set FlipbookFramerate to zero, causing each emitted particle to be a static frame chosen randomly from the flipbook texture.
Other properties#
To further customize particles, consider the following emitter properties, and click through to the ParticleEmitter reference page for more details.
Appearance
The following appearance properties are in addition to color, light emission, orientation, size, texture, transparency, squash, and flipbooks.
| Property | Description |
|---|---|
LightInfluence |
Determines how much environmental light affects the color of individual particles. |
Brightness |
Scales the light emitted from the emitter when LightInfluence is 0. |
ZOffset |
Determines the forward-backward render position of particles, in studs, without changing their size on the screen. This allows for multiple emitters to be layered, or to render particles in front of or behind the parent object. |
Emission
The following emission properties are in addition to emission direction, lifetime, speed, rate, spread angle, and shape.
| Property | Description |
|---|---|
Enabled |
Determines if particles emit from the emitter. Setting this to false stops further particles from spawning, but any existing particles remain active until they expire or the Clear() method is called. |
Rotation |
Determines the angle of rotation for newly-emitted particles. Single numbers create particles at that angle, while two numbers (minimum, maximum) set a random rotation for each particle. |
RotSpeed |
Determines the angular speed in degrees per second for particles. This can be a single number or a number range for a randomized speed. Negative values cause particles to rotate counter-clockwise. |
Motion
The following motion properties are in addition to wind influence.
| Property | Description |
|---|---|
Acceleration |
Determines by how much the velocity of particles changes per second. You can use this property to create effects such as particles being affected by gravity. |
Drag |
Determines the rate in seconds that particles lose half their speed. |
LockedToPart |
Determines if particles will "stick" to the emission source to which the emitter is parented. |
TimeScale |
A value between 0 and 1 that controls the speed of the particle effect. |
VelocityInheritance |
Determines how much of the parent object's velocity is inherited by particles when they are emitted. |