UI 9-slice design
UI 9-slice design lets you create UI elements of varying sizes without distorting the borders or corners.
When creating UI with custom borders and corners, you'll often need to render elements at different aspect ratios and visually surround localized text or other contents of unknown dimensions. This lets you create UI elements of varying sizes without distorting the borders or corners.
Under the 9-slice approach, one image (a single Roblox image asset) is
internally divided into nine sub-images, each with different scaling rules.
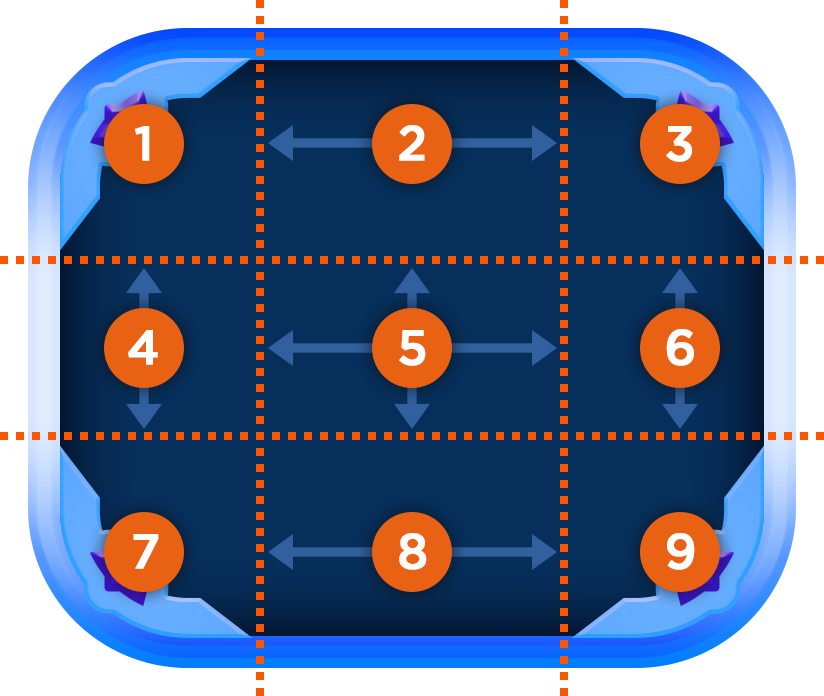
| Sub-image | Scaling |
|---|---|
| 1 3 7 9 (corners) | none |
| 2 8 (top/bottom edges) | horizontal |
| 4 6 (left/right edges) | vertical |
| 5 (center) | horizontal + vertical |
Studio editor#
Slice configuration is possible by directly setting the ScaleType and slice properties on an image label or button, but Studio's built-in 9-Slice Editor is more intuitive.
Opening the editor#
To open the visual 9-Slice Editor in Studio:
- Select an
ImageLabelorImageButtonwith a valid asset ID entered into its Image field.
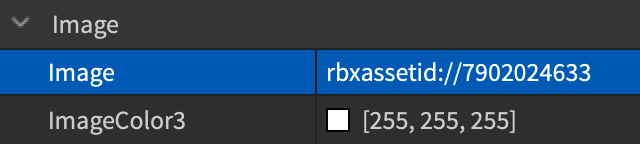
- Set the ScaleType property to Slice.
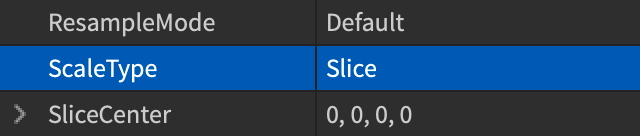
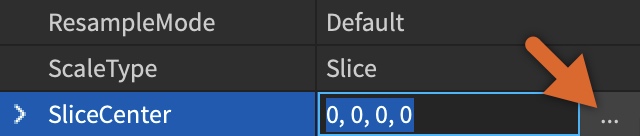
- Click on the SliceCenter property that appears, then click on the … within the row.
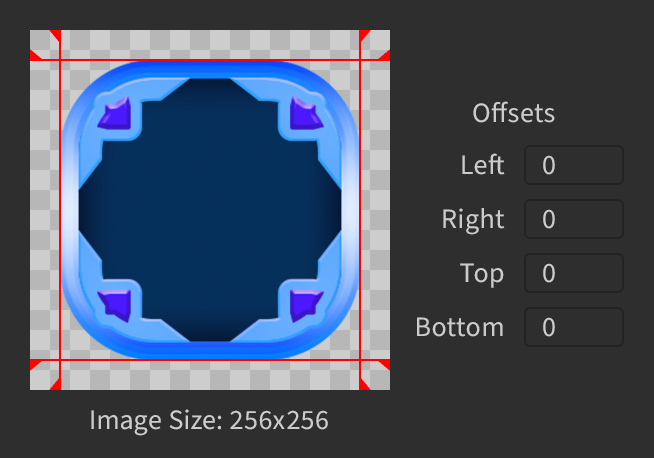
- In the window that opens, 4 red lines overlay the image, representing the edges of the slices. The source image size is also displayed.
Set offsets#
In Studio, drag the red lines to set the offsets from the left, right, top, and bottom edges of the image.
If you need better precision, enter offset values in the fields on the right side of the editor window.
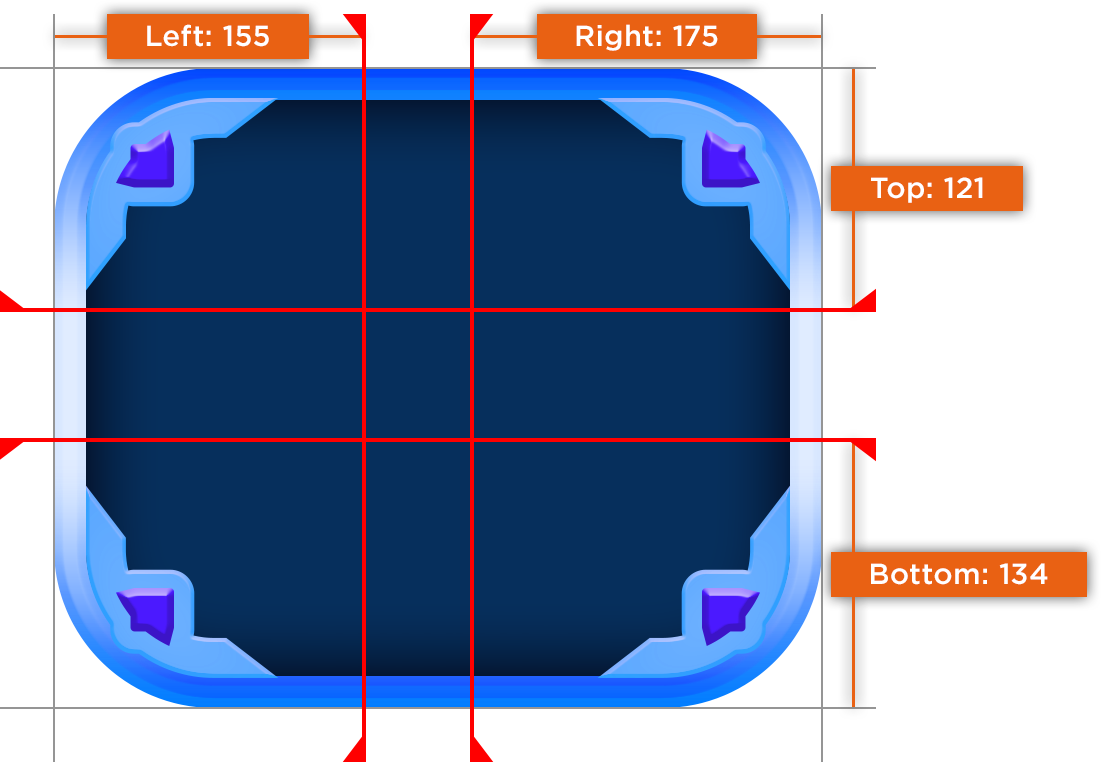
As you reposition the dragger lines, the UI element automatically updates to show the result.
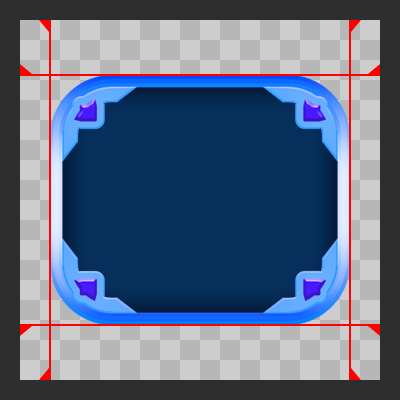
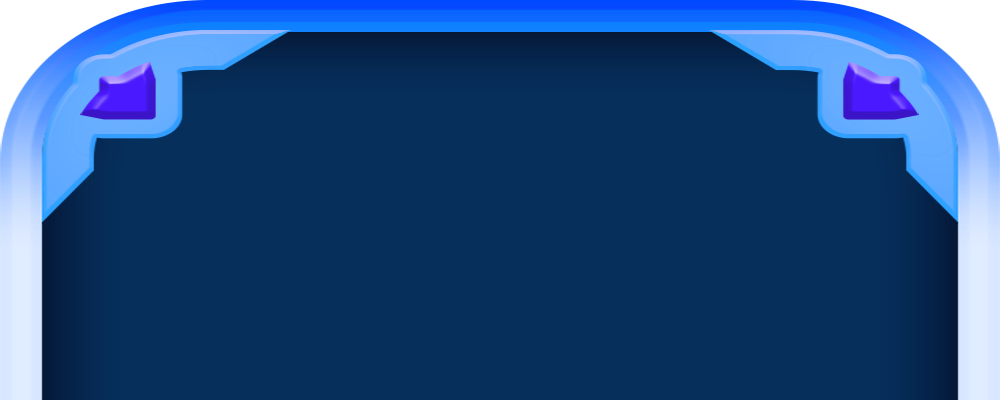
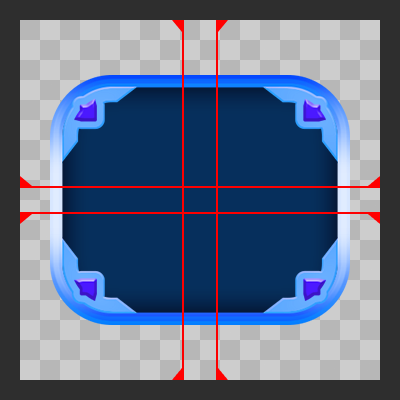
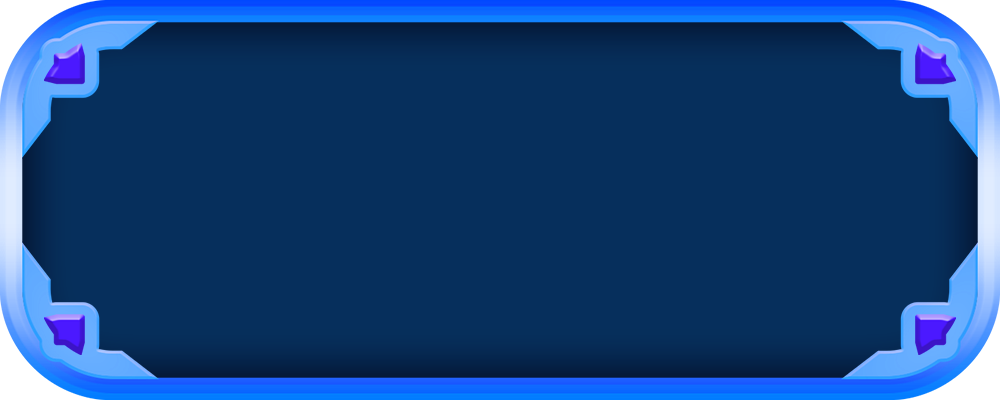
The offset values are different from the UI object's SliceCenter property values and represent the number of pixels between an edge of the source image and the dragger associated with that side.